Sites & Storefronts
For: ops staff managing storefront sites
What you'll learn: how to read a site's status, create a storefront site from a template, redeploy a site, and delete a site.
This is a how-to guide for the dashboard, not the API. If you're building an automated integration or bulk-managing sites instead, see the Usage Guide.
Before you start#
You'll need an admin login for your store and the Sites section visible in the left navigation. If you don't see it, ask your administrator to grant sites management access.
Throughout this guide, screenshots use a demo store — the names and data shown are fake.
1. Open the Sites page#
Log in to the admin dashboard and click Sites in the left navigation.
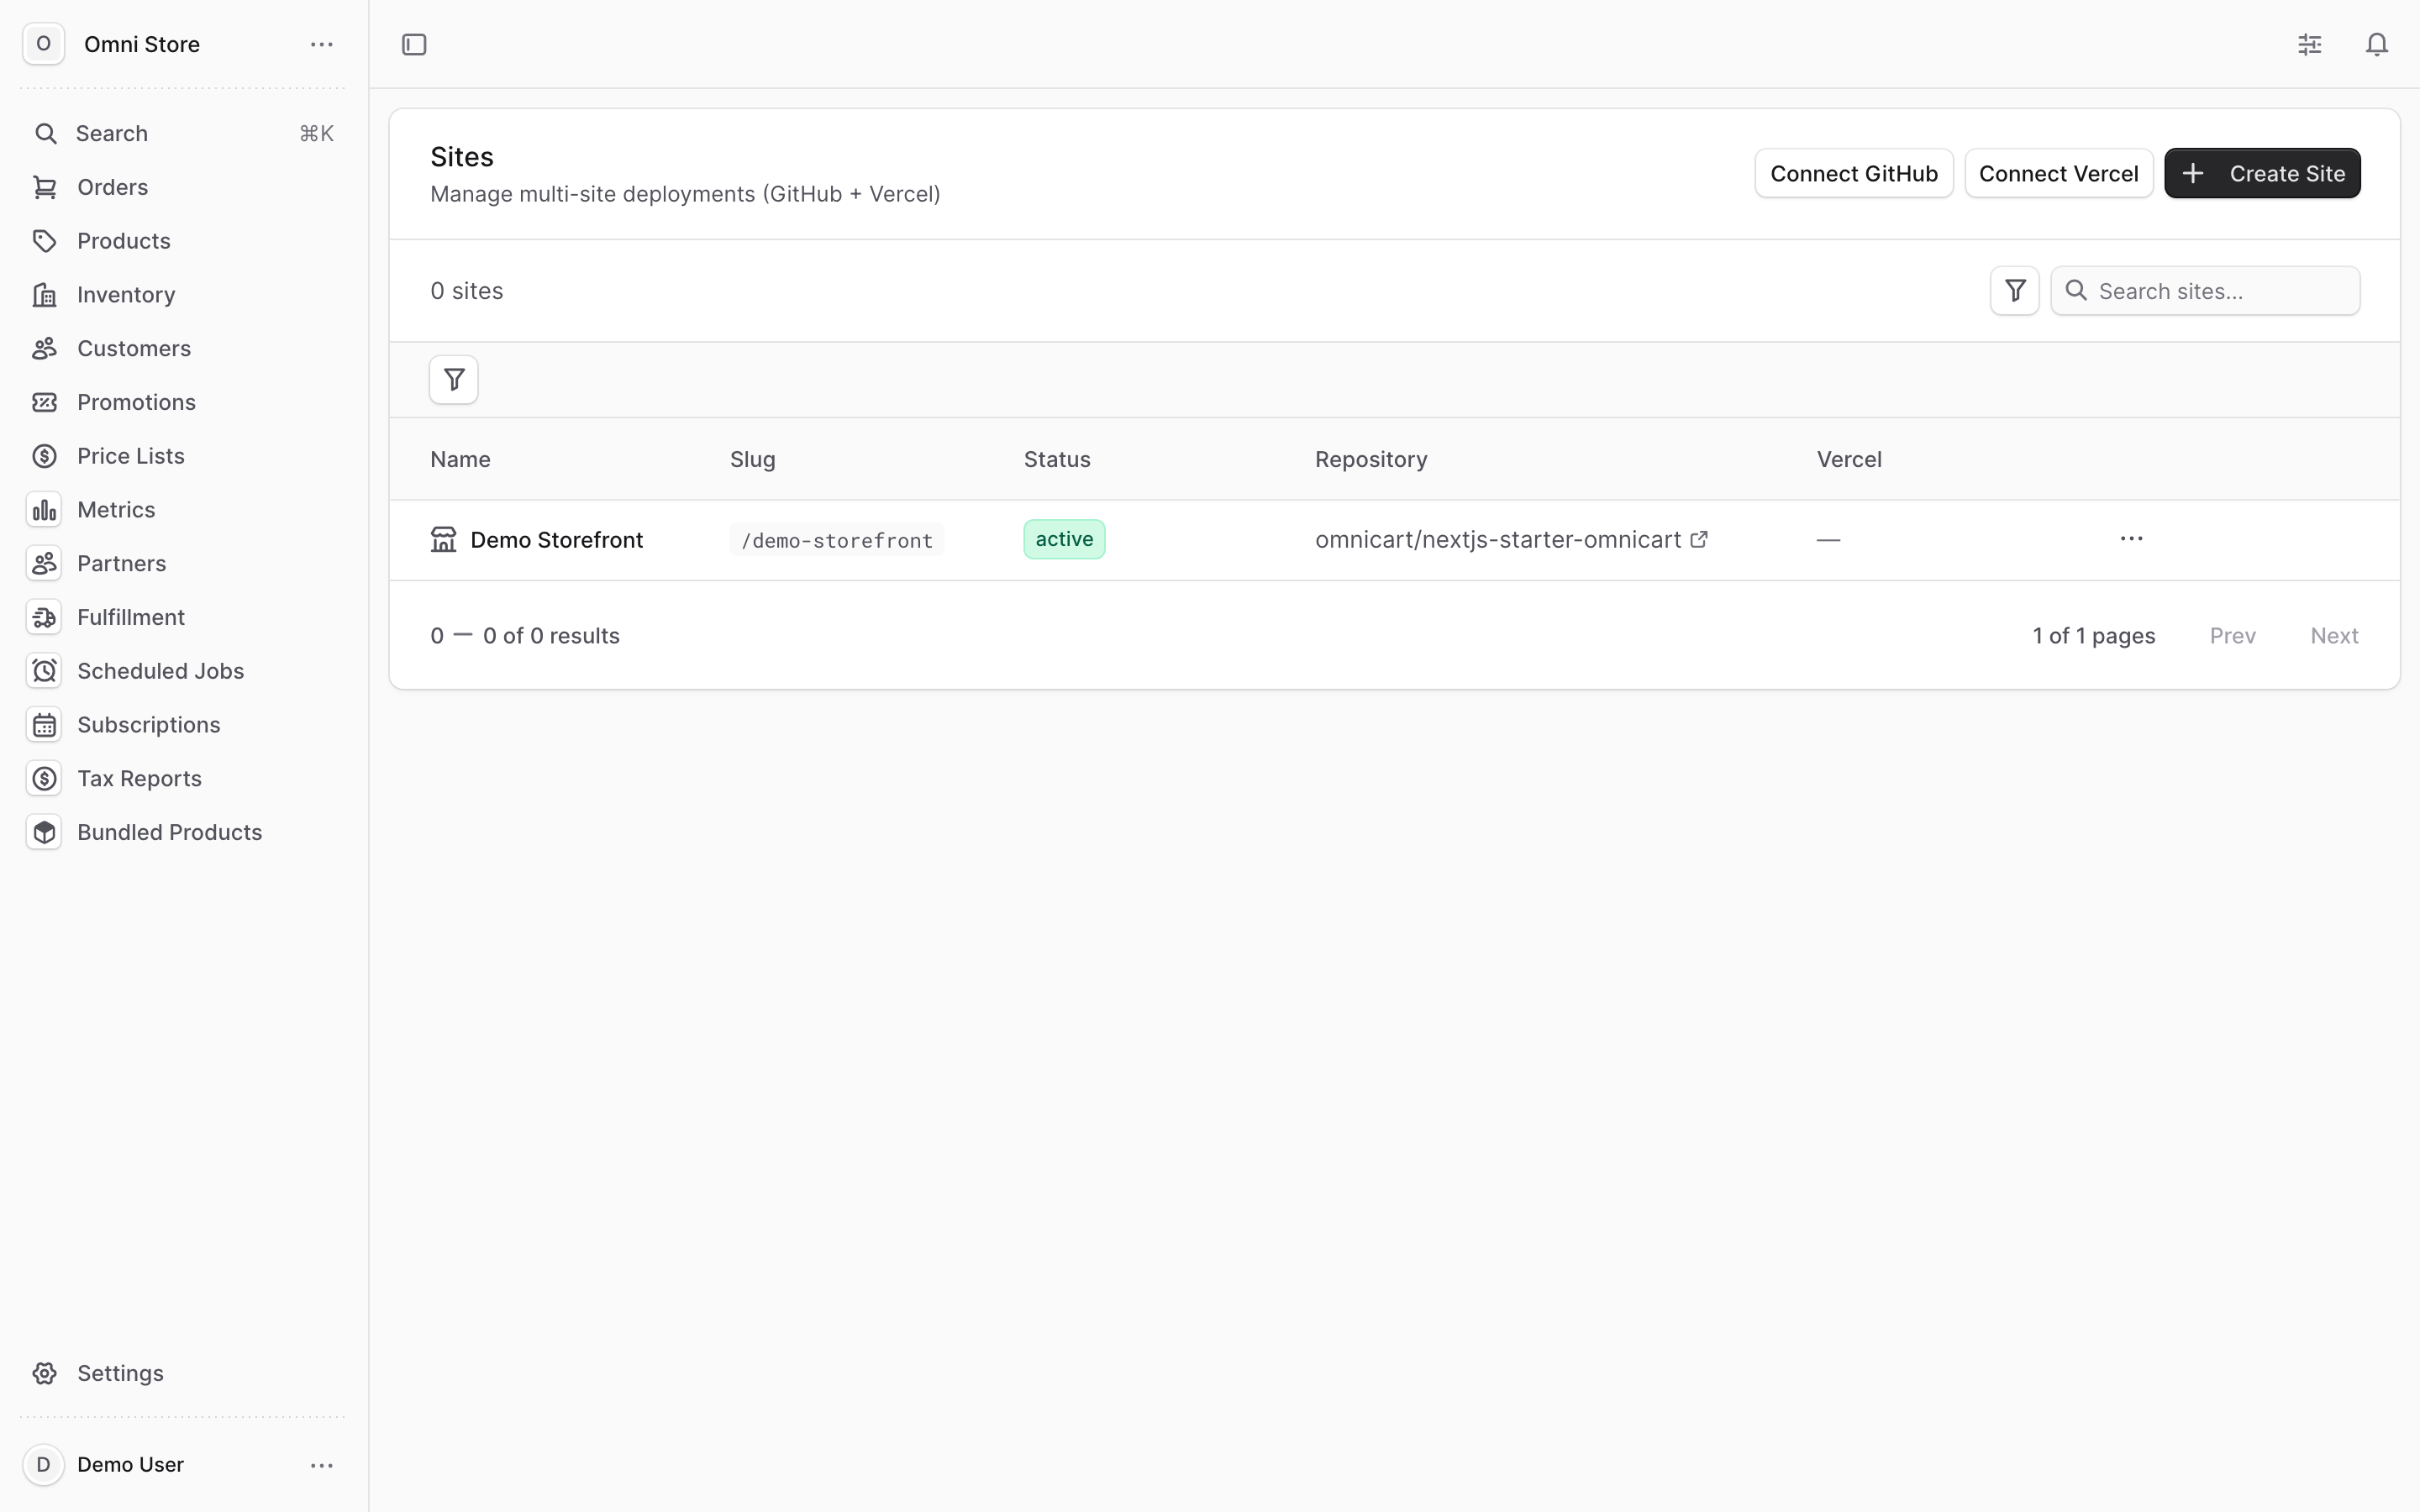
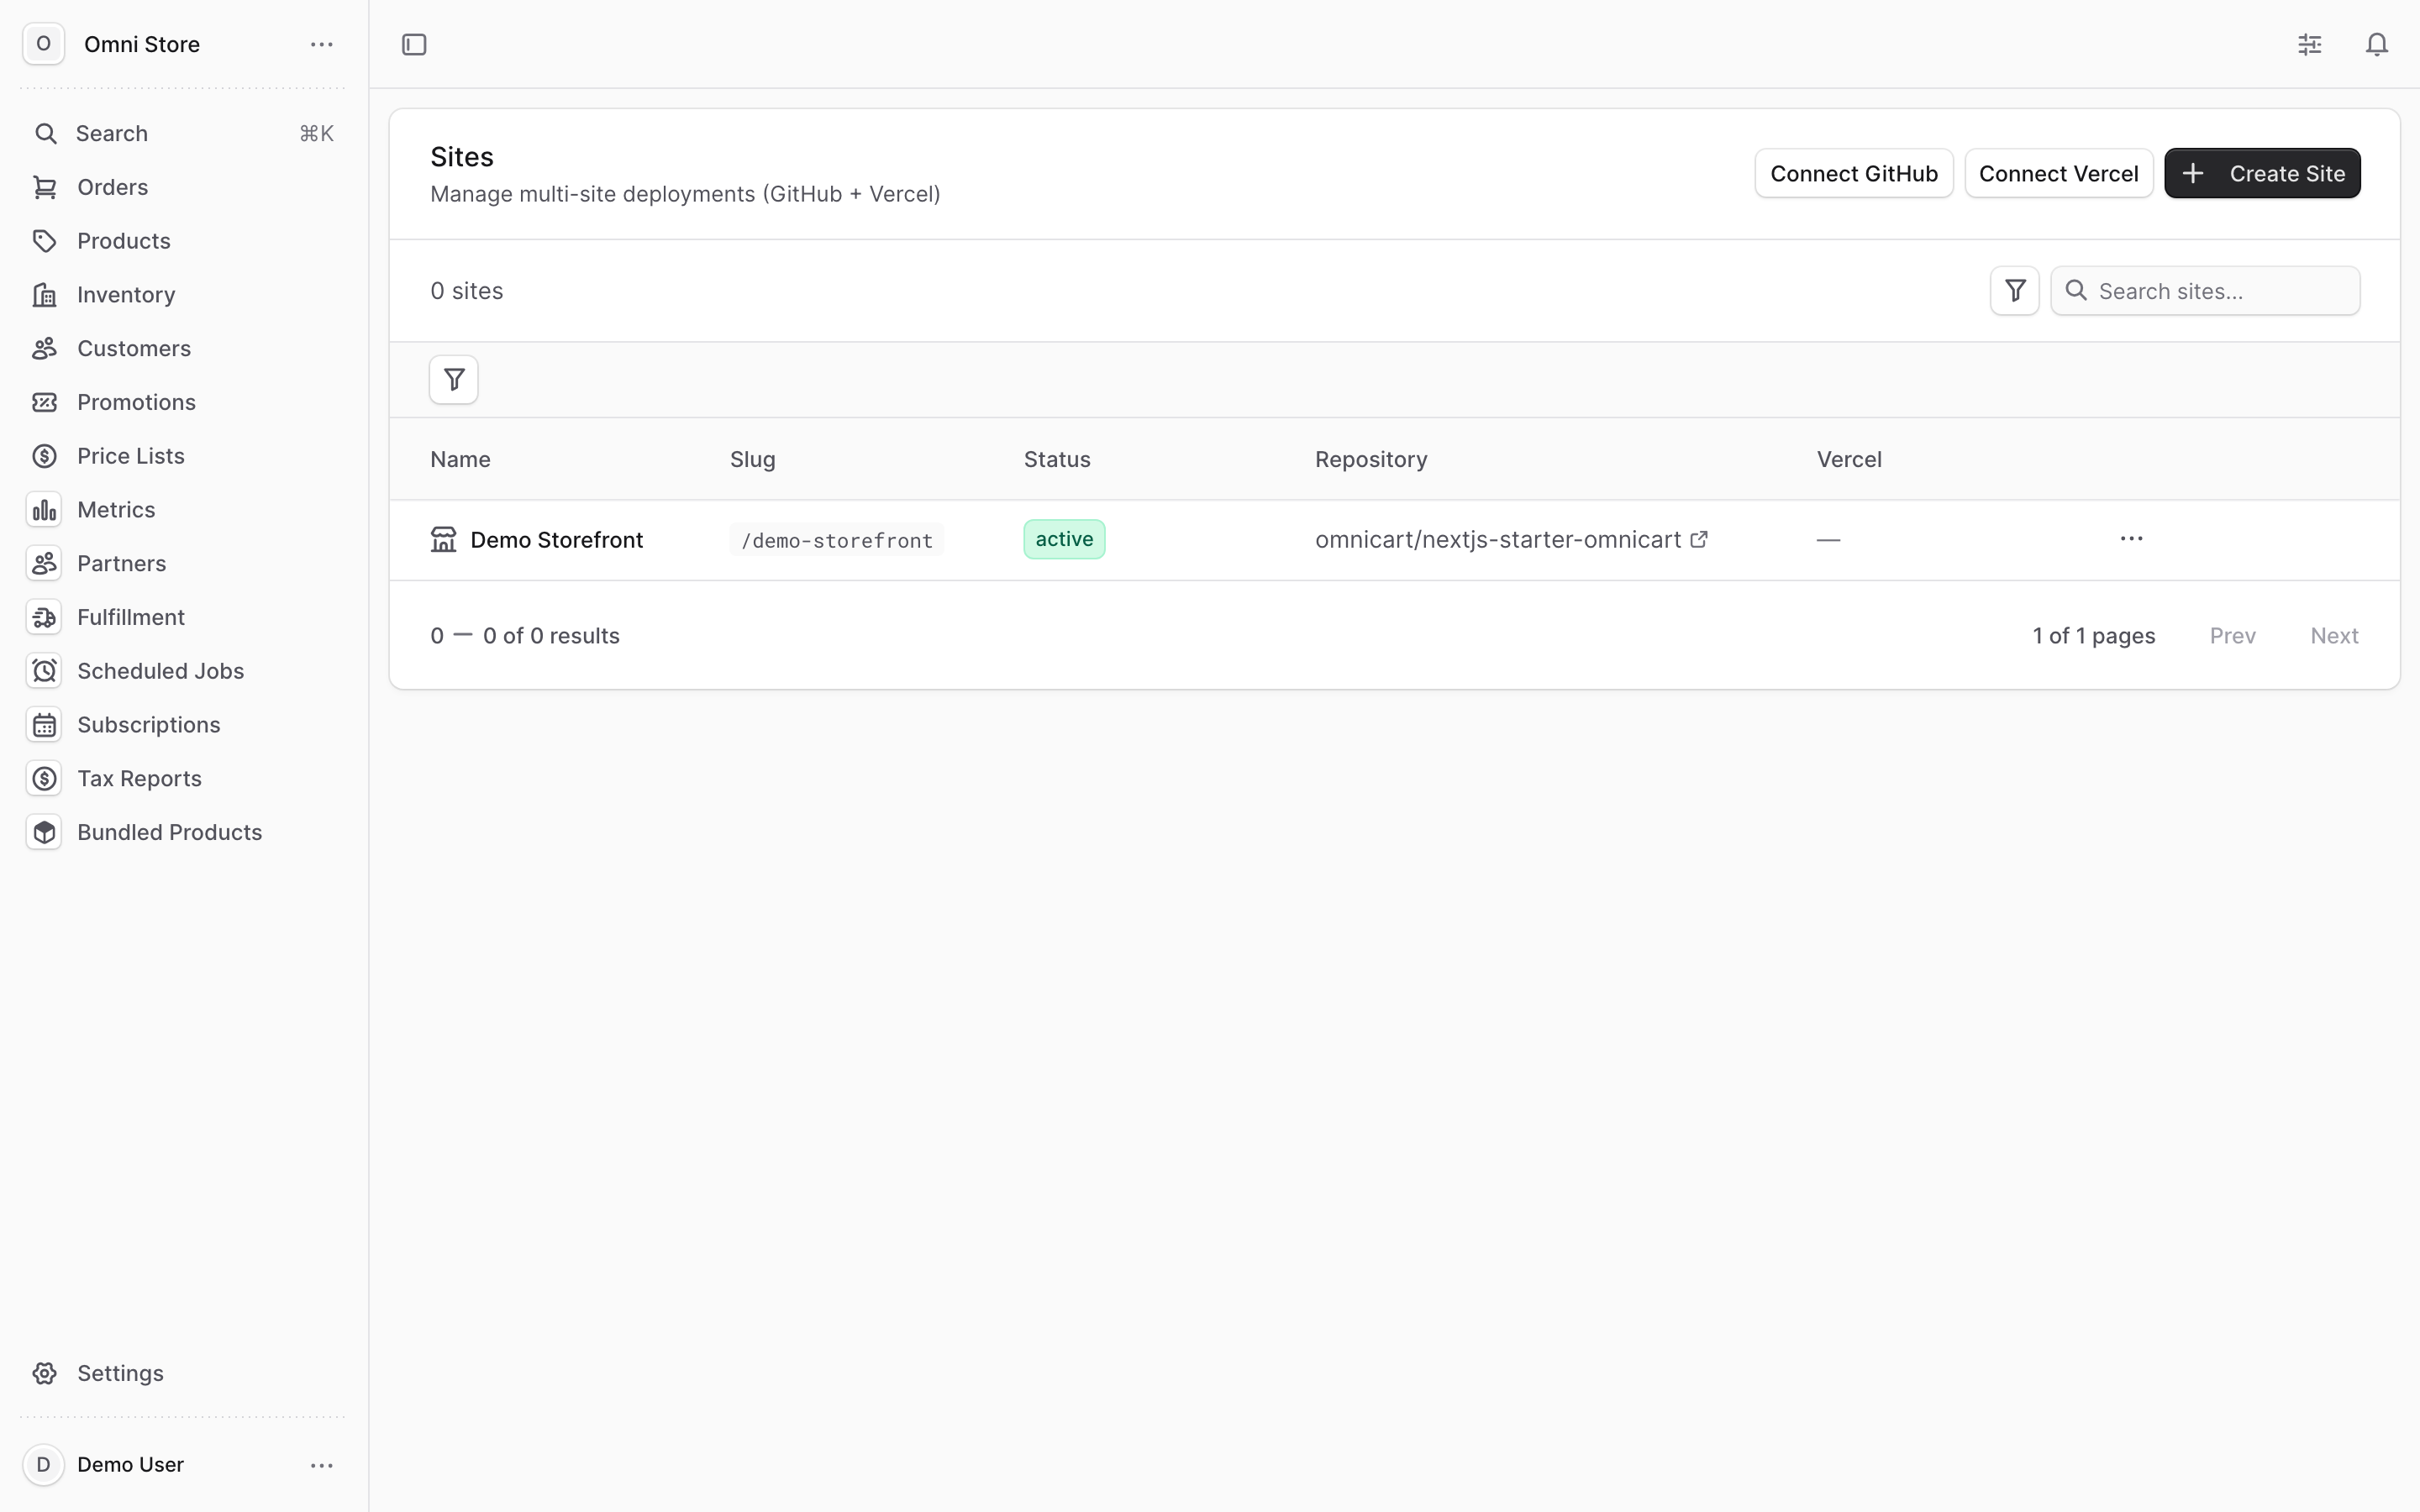
You'll see a list of all your storefront sites. A counter above the table shows how many sites you have. Each row displays these columns:
| Column | What it shows |
|---|---|
| Name | The site's friendly name |
| Slug | The site's short identifier, shown as /your-slug |
| Status | The current state of the site (see the next step) |
| Repository | The linked code repository, if one is connected (otherwise a dash) |
| Vercel | A Connected badge if the site is linked to a deployment project |
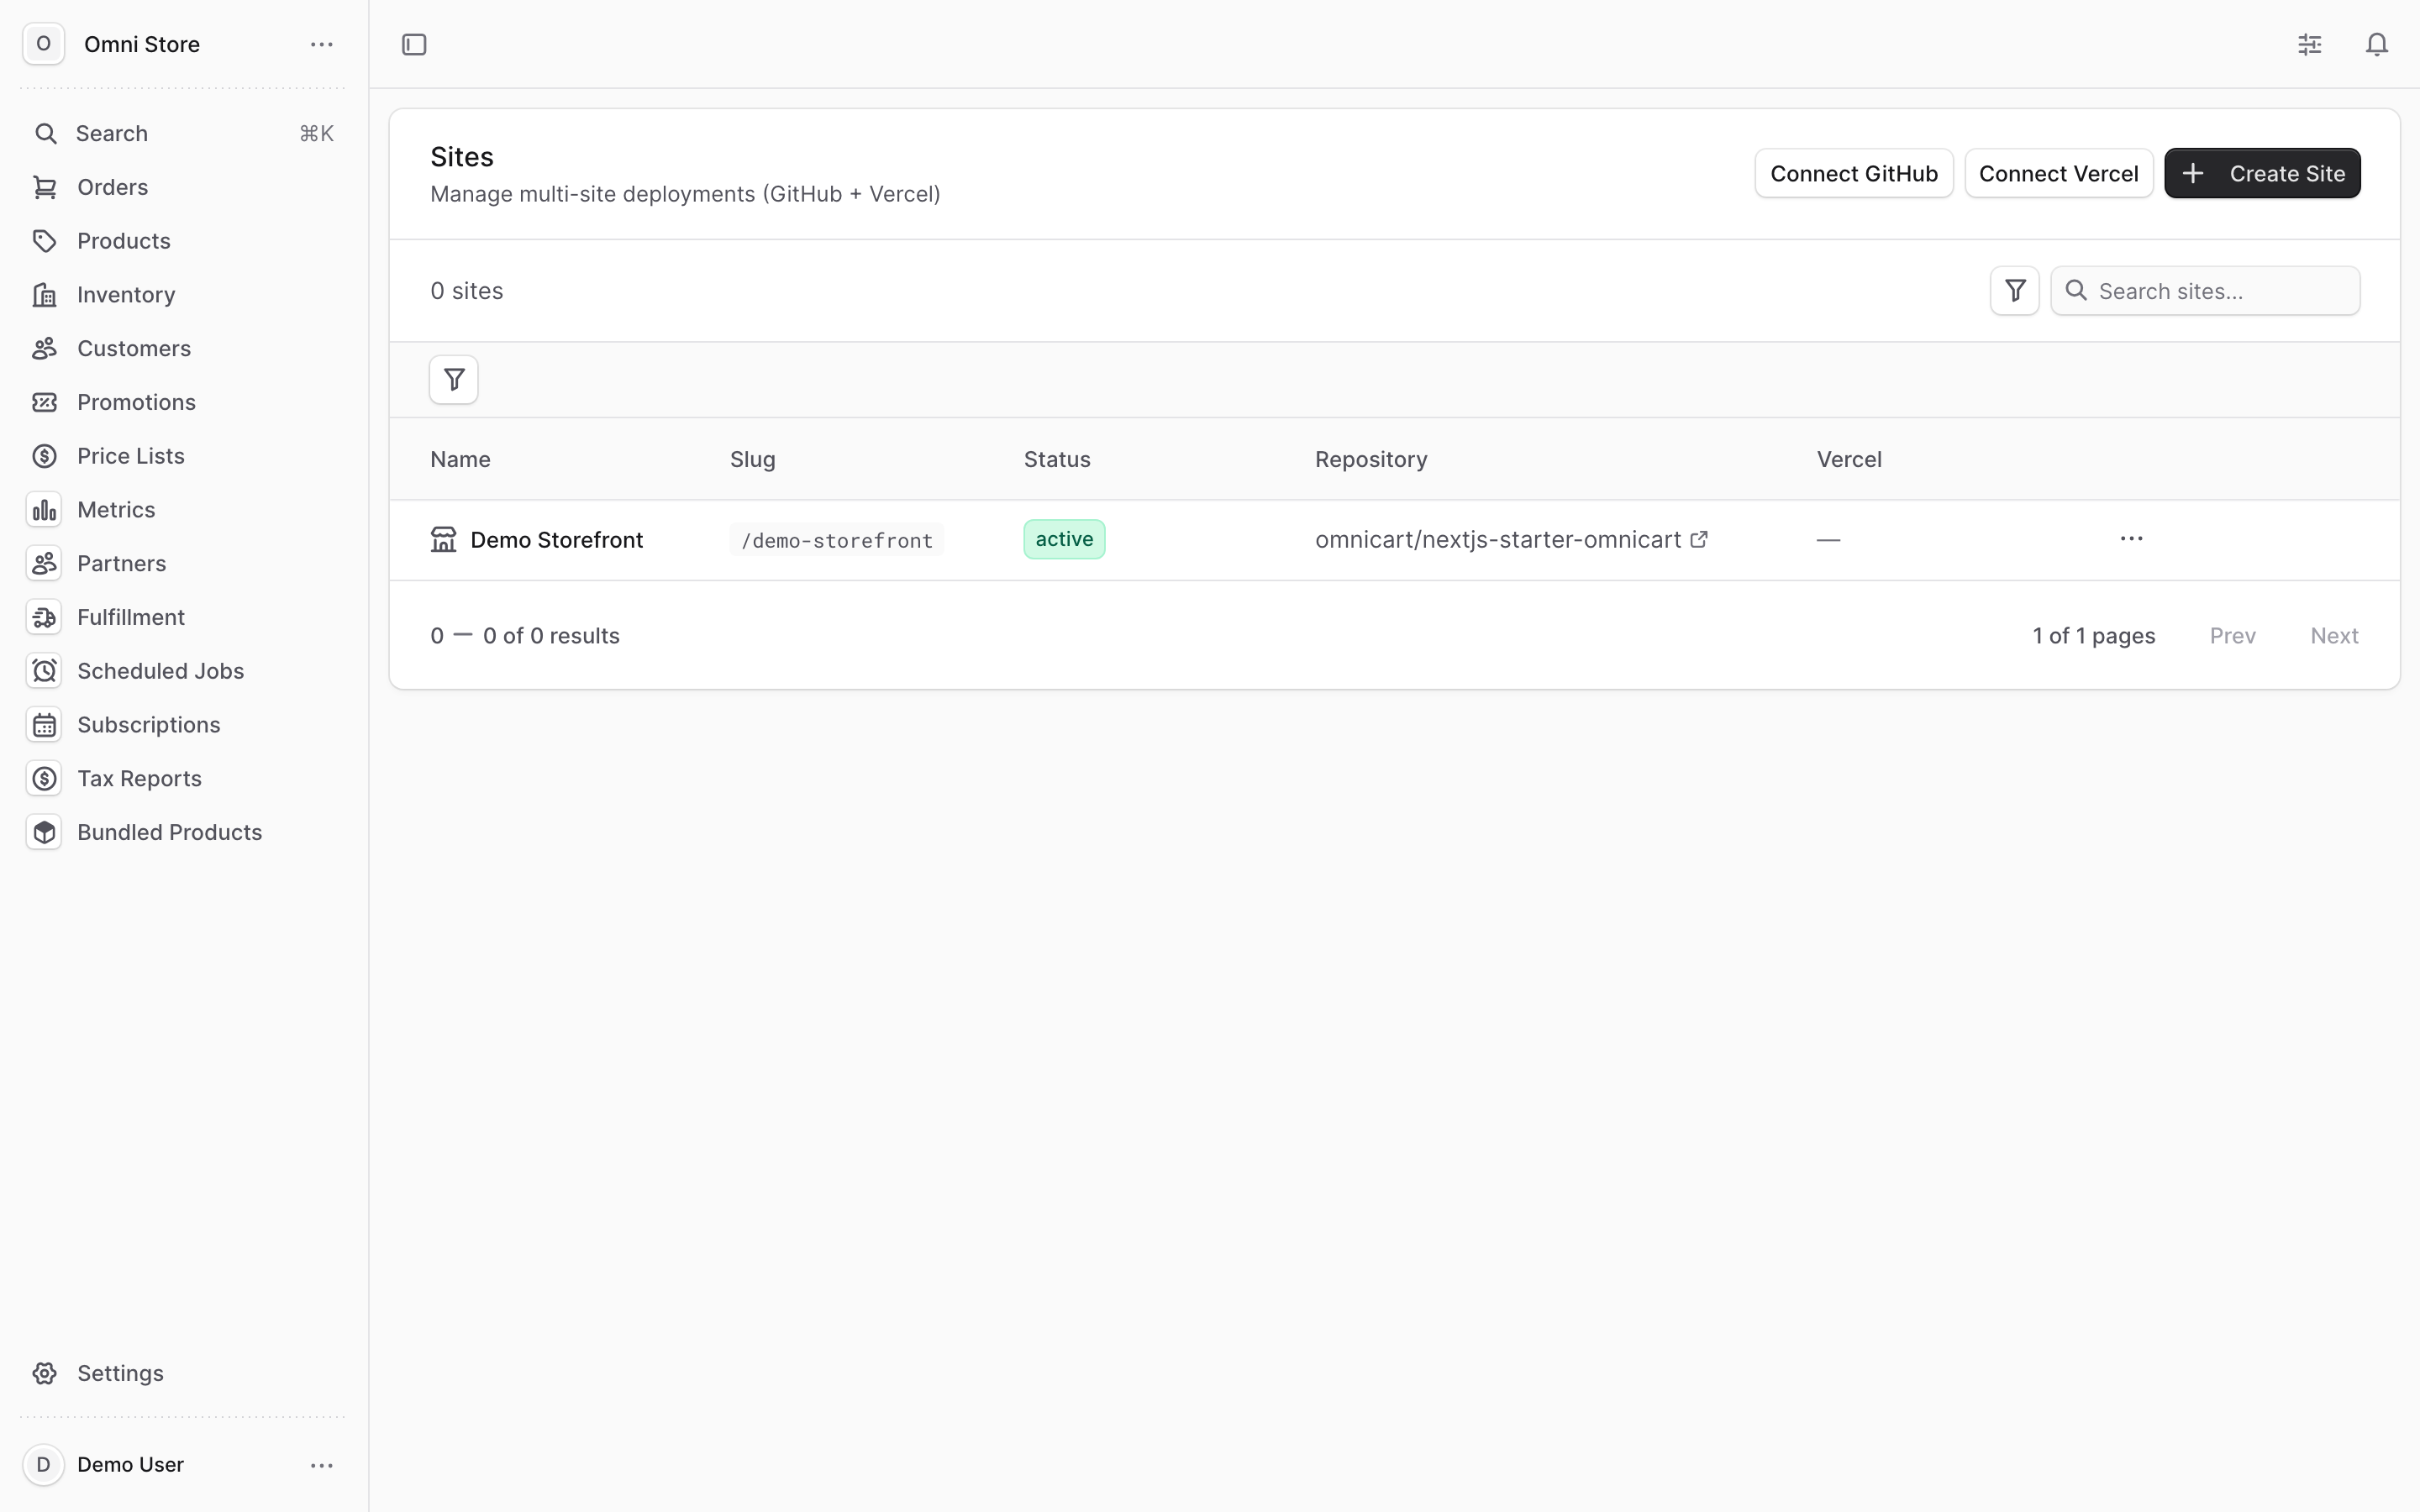
To find a specific site, use the Search sites... box. To narrow the list by state, use the Filter by status menu.
Click any row to open that site's detail page.
2. Read a site's status#
Every site shows a colored status badge. These are the only statuses the dashboard displays:
| Status | Color | Meaning |
|---|---|---|
| Active | Green | The site is set up and ready |
| Provisioning | Orange | The site is still being set up |
| Failed | Red | Something went wrong during setup |
| Unknown | Grey | No status is recorded for the site yet |
Tip: If a site sits on Provisioning for a long time or shows Failed, ask your administrator to check the deployment — the dashboard does not show detailed error logs here.
3. Create a site from a template#
Click Create Site at the top right of the Sites page. This opens a short wizard with four steps across the top: Basics & Repository, Channels, Branding, and Review.
Step 1 — Basics & Repository#
This is the only step with required fields. Fill in:
- Site Name (required) — a friendly name for the storefront (for example, "US Store").
- Slug (required) — a short identifier used for naming. It fills in automatically from the site name; you can edit it. Only lowercase letters, numbers, and dashes are allowed.
- Site Template (required) — choose a template from the dropdown. This decides what kind of storefront is created. A short description appears under the template once you pick one.
You can also set an optional Custom Domain and Subdomain here.
Under Repository Configuration (Optional), you may specify where the template comes from:
- Template Owner — the organization that owns the template repository.
- Template Repository — the template repository name.
Leave the repository fields blank to use the default template configuration. Fill them in only if you need to clone from a different template or target a specific organization.
Steps 2–4 — Channels, Branding, and Review#
The remaining steps are optional and let you refine the site before you finish:
- Channels — pick a sales channel to preview which products the site will carry.
- Branding — attach an existing brand (and its personas), and set a default locale and currency.
- Review — a summary of everything you chose before you commit.
Use Next and Back to move between steps, or click a step name at the top to jump directly. You can leave the optional steps untouched.
Finish#
On the Review step, click Create Site. The site is created and you're taken to its editor.
4. Redeploy a site#
Redeploying pushes the site's latest configuration and code out again — use it after making changes or to recover from a stalled deployment.
You can redeploy in two places:
- From the Sites list — open the actions menu (the ⋯ icon) on a site row and choose Redeploy.
- From the site detail page — click the Deploy button in the top-right of the header, or Redeploy to Vercel in the Repository & Deployment panel.
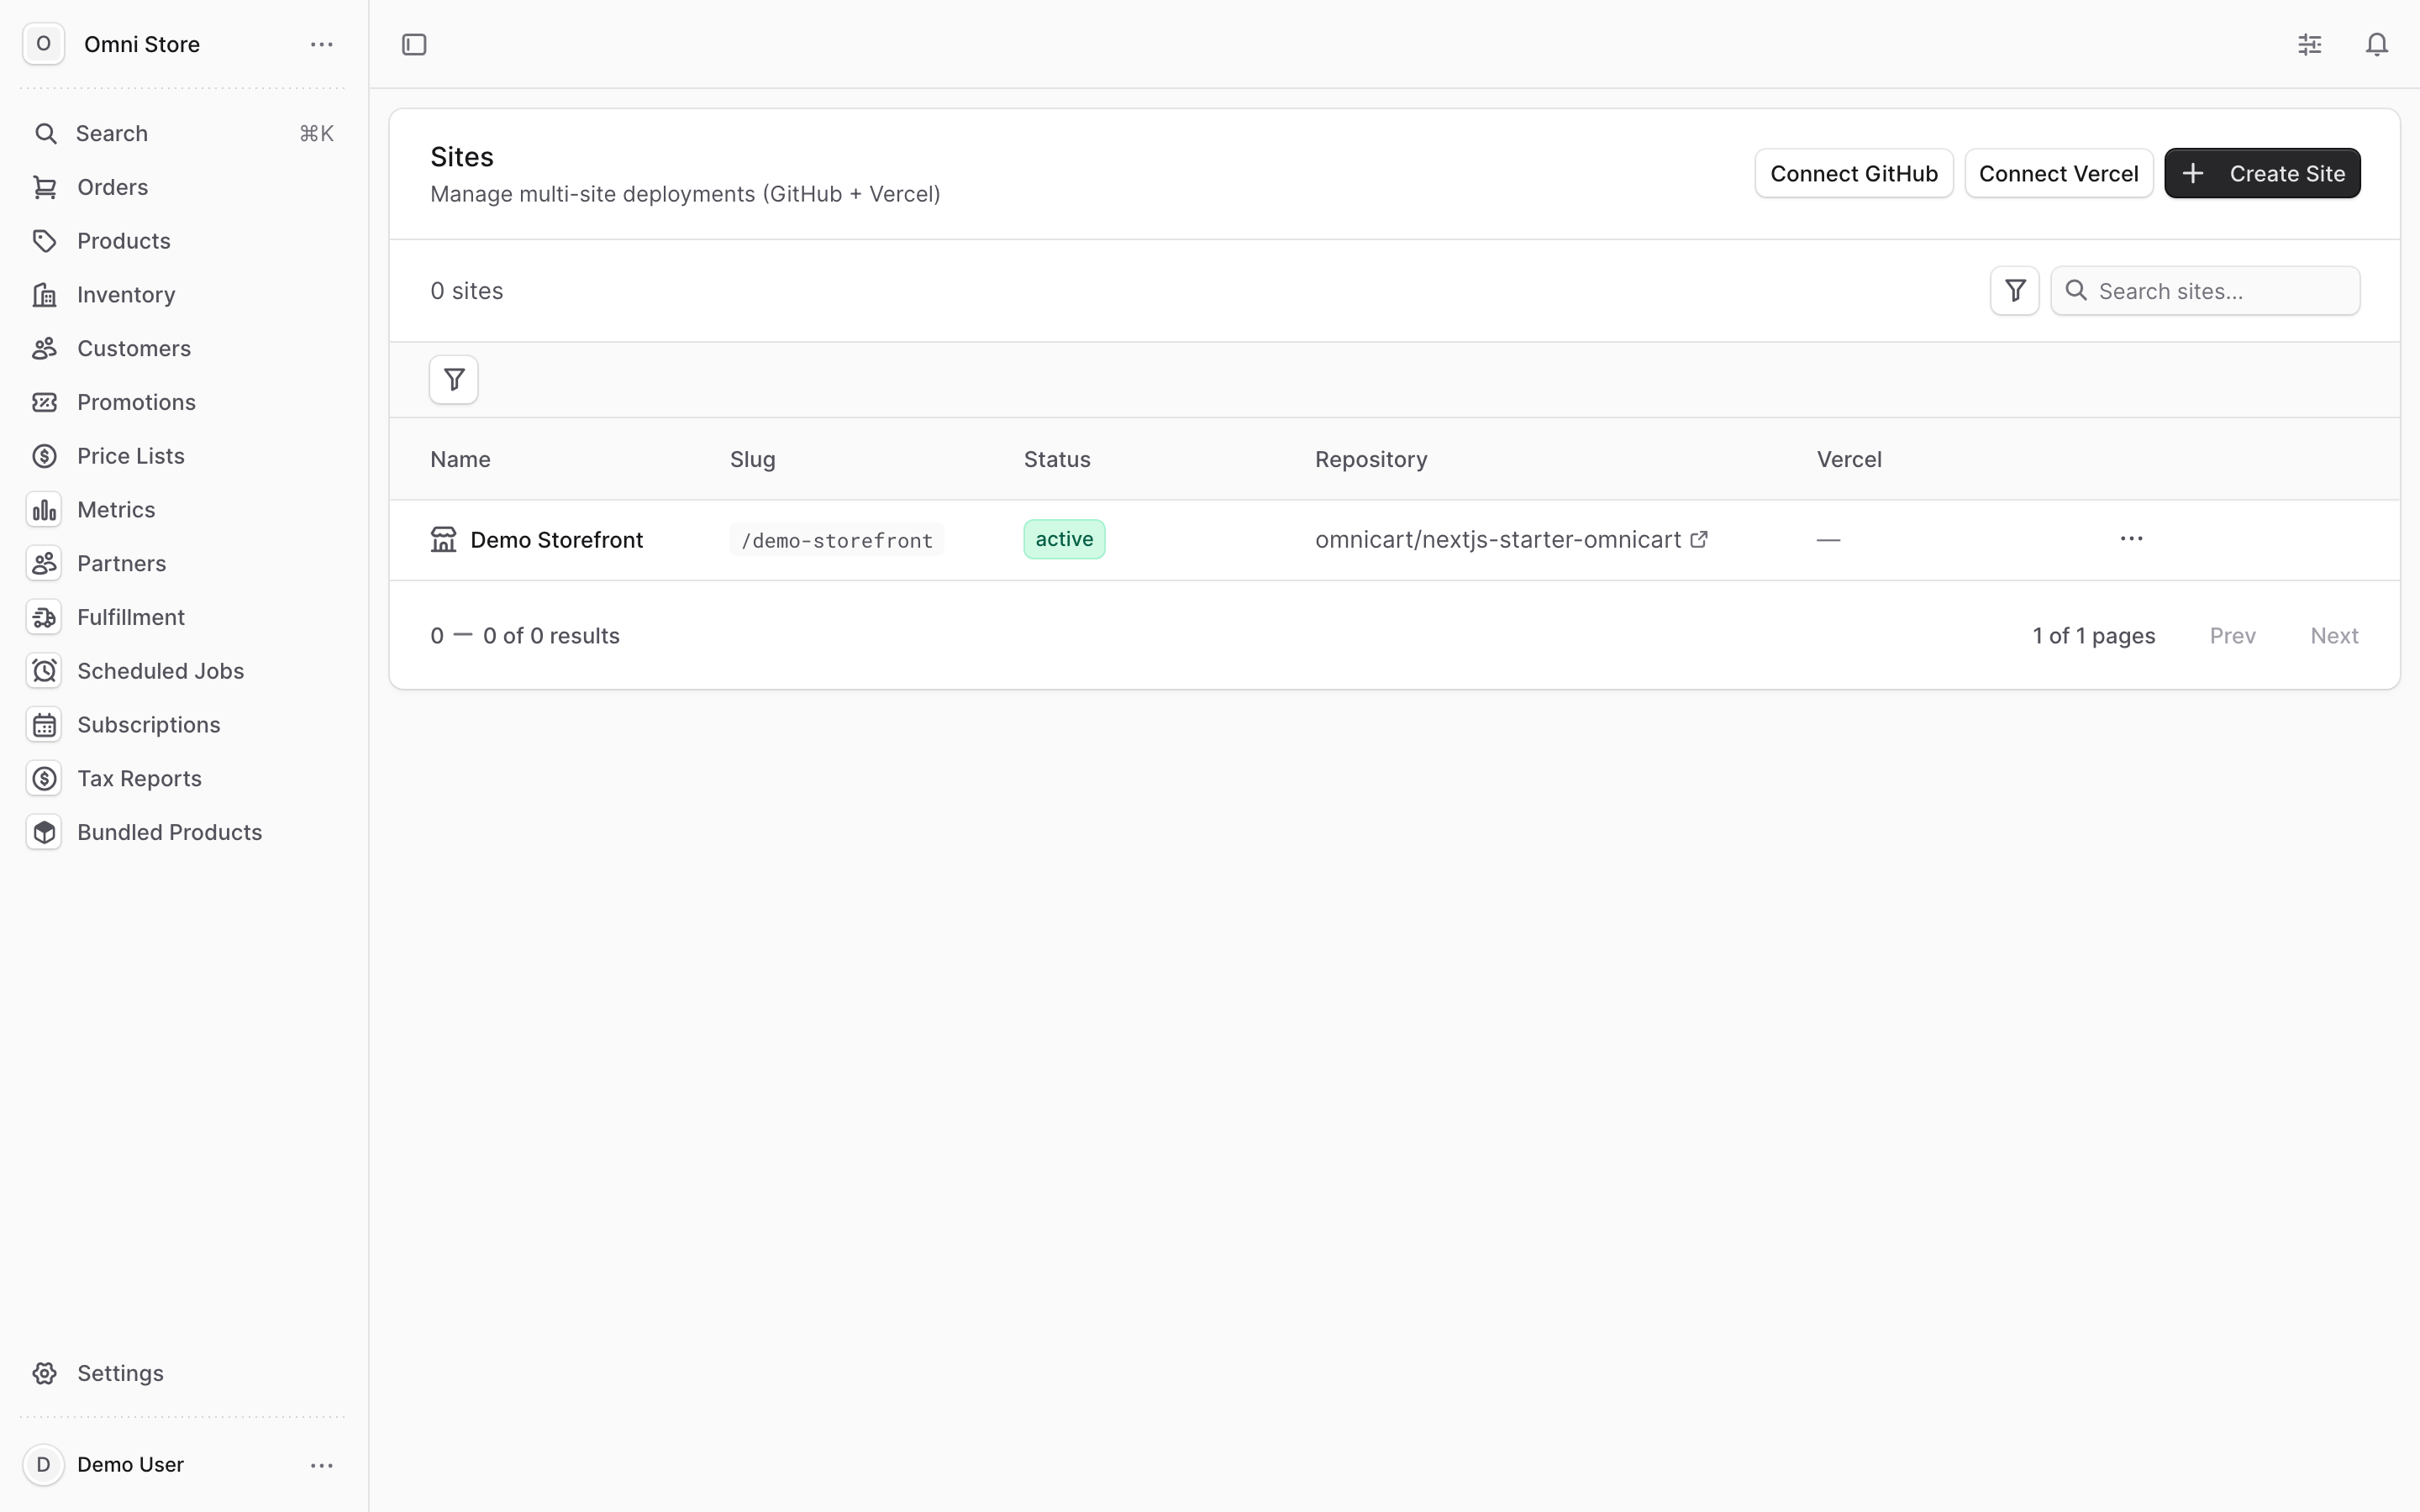
A confirmation message appears telling you the redeploy has been queued. The new deployment runs in the background.
Tip: The site keeps serving its current version while the redeploy runs. It only switches over once the new deployment finishes.
5. Delete a site#
To delete a site, open the actions menu (the ⋯ icon) on the site's row in the Sites list and choose Delete.
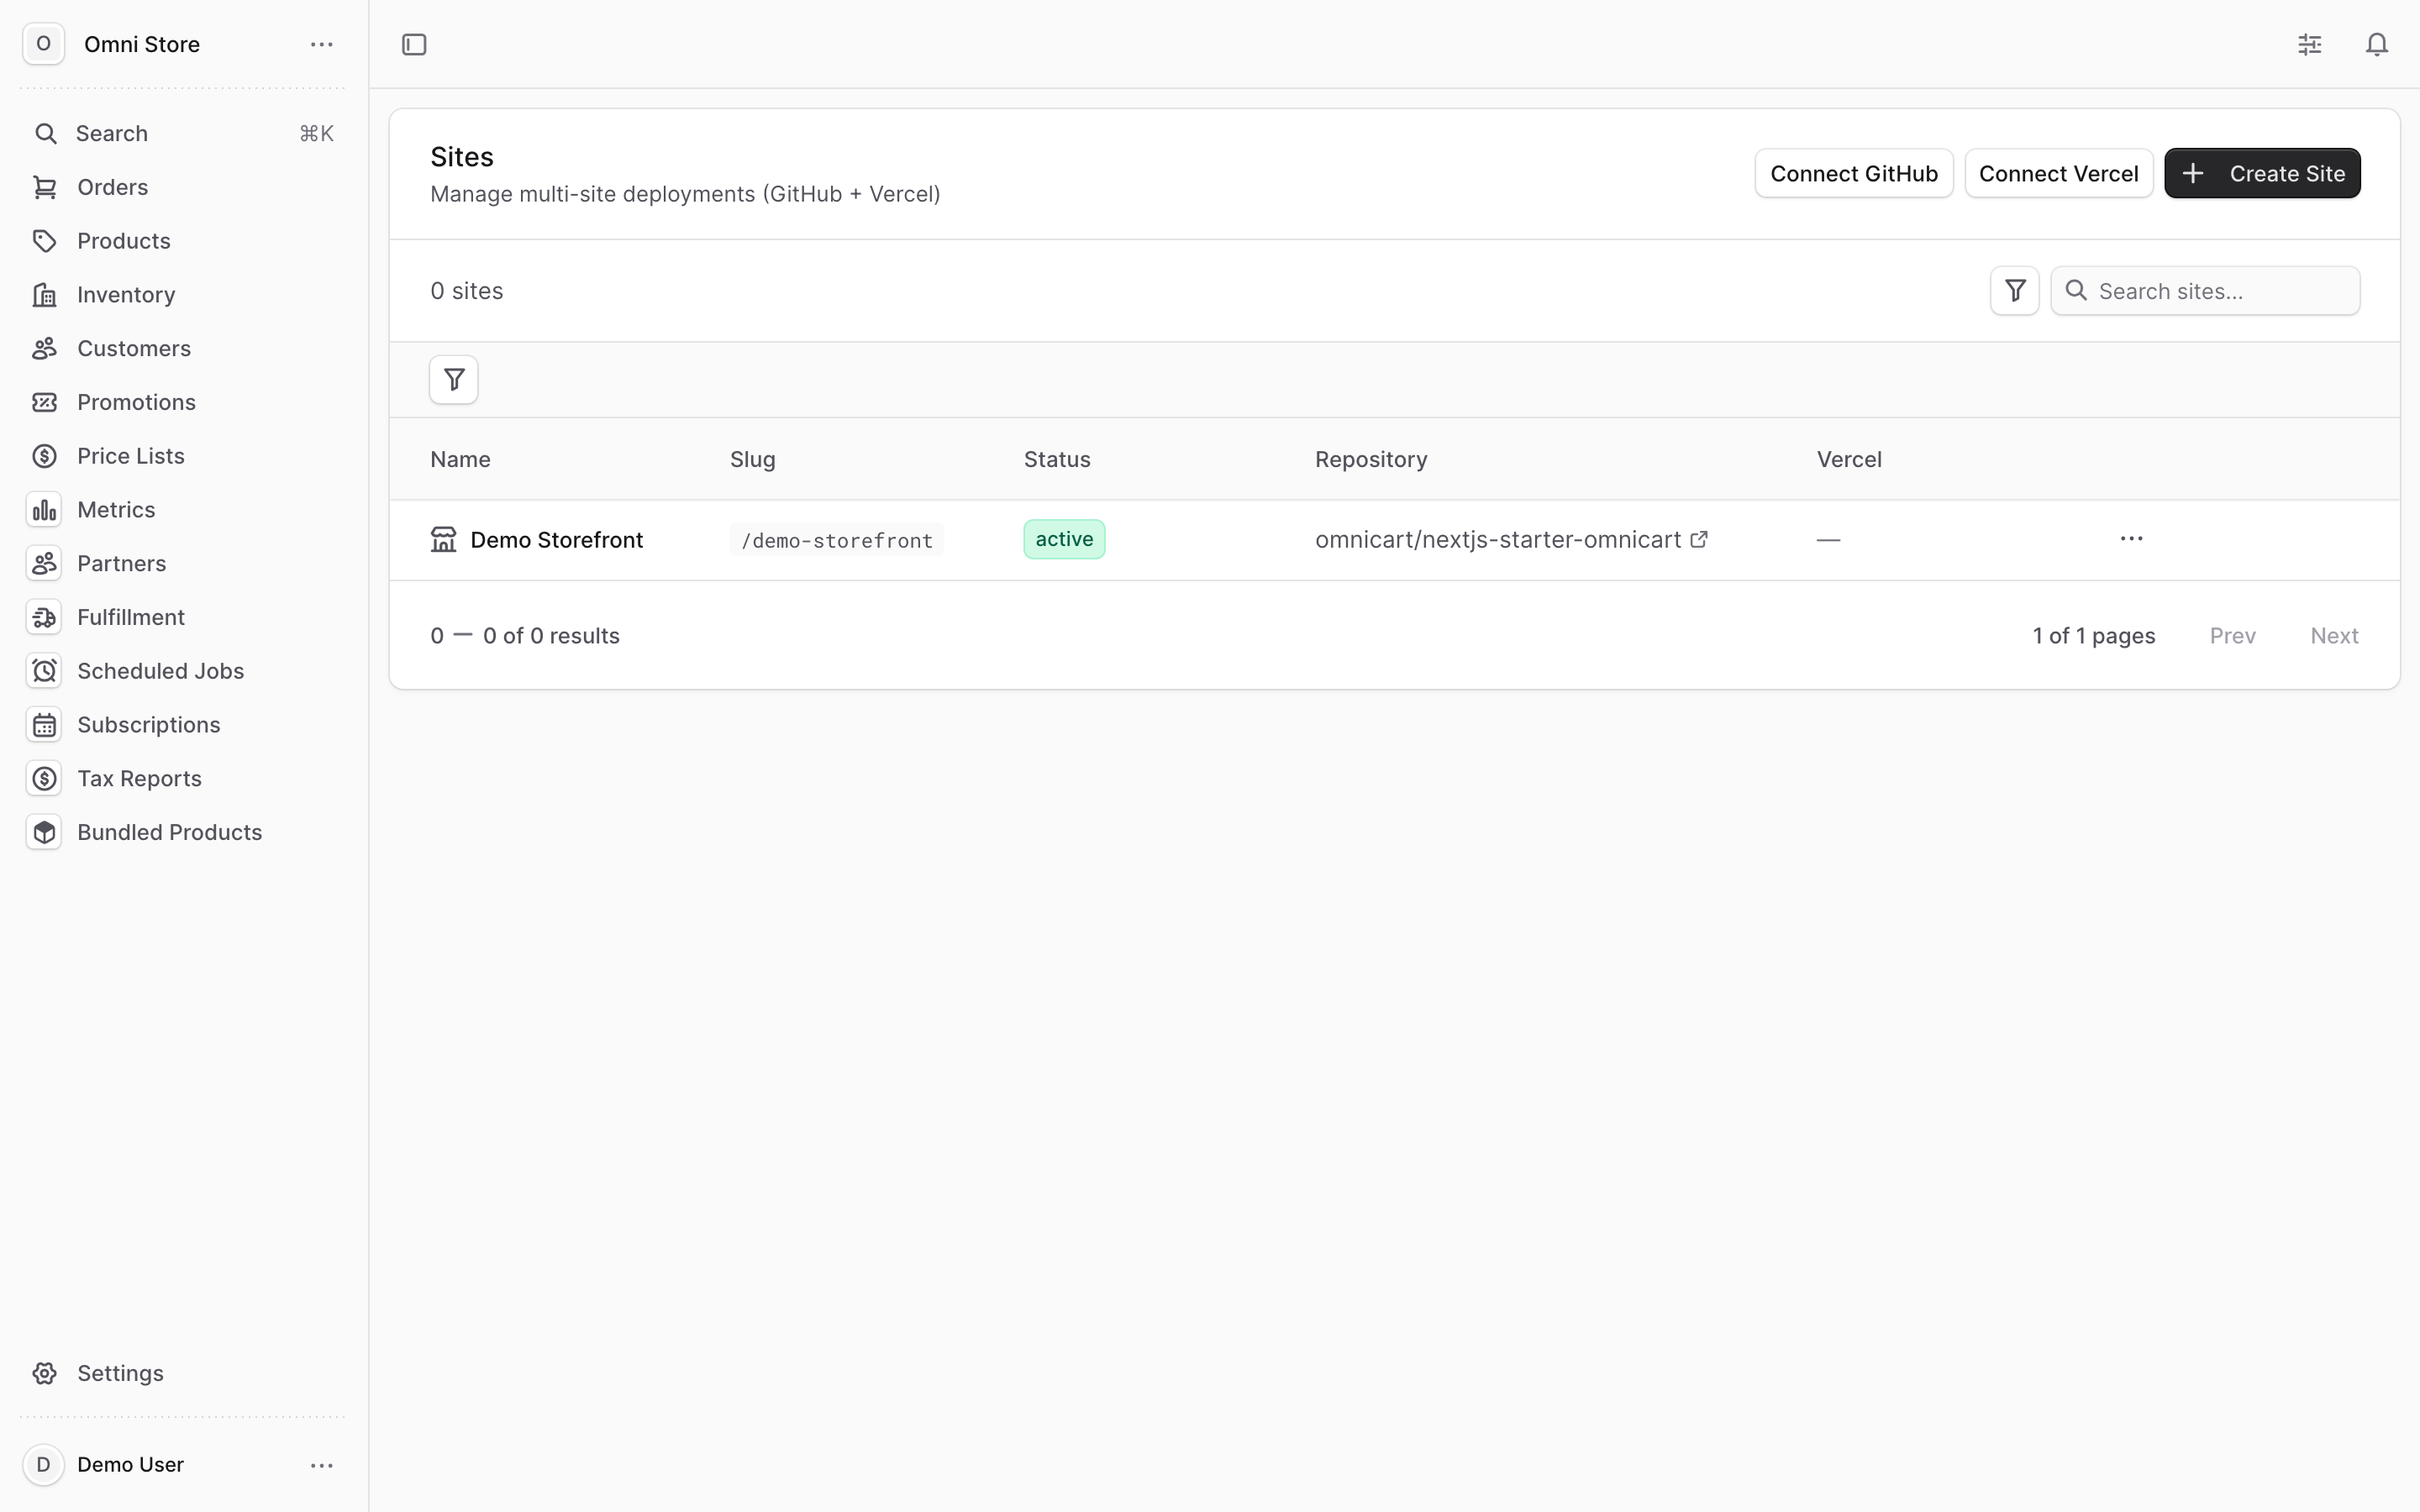
You'll be asked to confirm. Choose Delete to remove the site, or Cancel to keep it.
Caution: Deleting a site is permanent and cannot be undone. If the site is live, deleting it takes down that storefront. Make sure you have the right site selected before you confirm.
Quick reference#
| Task | Where to find it |
|---|---|
| View all sites | Sites page (left navigation) |
| Search for a site | Sites page → Search sites... box |
| Filter by status | Sites page → Filter by status menu |
| Open a site's details | Sites page → click the site row |
| Create a site | Sites page → Create Site → fill Basics & Repository → Review → Create Site |
| Redeploy a site | Site row → ⋯ menu → Redeploy, or site detail page → Deploy |
| Delete a site | Site row → ⋯ menu → Delete → confirm |