Promotions & Discounts
For: marketing and ops staff running discounts and promotional offers
What you'll learn: how to create a promotion, the difference between a discount code customers type in and one that applies automatically, the promotion types (percentage, fixed amount, buy-X-get-Y), how to control who and what a promotion applies to, and how to group promotions into campaigns with budgets — plus how to enable or disable a promotion.
This is a how-to guide for the dashboard, not the API. If you're building an automated discounting or checkout system instead, see the Usage Guide.
Before you start#
You'll need an admin login for your store. Promotions live under Promotions in the left navigation of the admin dashboard. If you don't see the Promotions section, ask your administrator to grant you the right permissions.
A quick vocabulary check before you begin:
- A promotion is a single discount offer — for example "20% off boots" or "$10 off orders over $100."
- A campaign is an optional container that groups promotions together and can cap them with a shared budget.
- A discount code is a promotion the customer has to type in at checkout. An automatic promotion applies on its own whenever the cart qualifies.
All amounts on this platform are decimals, not cents: type 49.99 for $49.99, never 4999.
Throughout this guide, screenshots use a demo store — the names, codes, and amounts shown are fake.
1. Open the Promotions page#
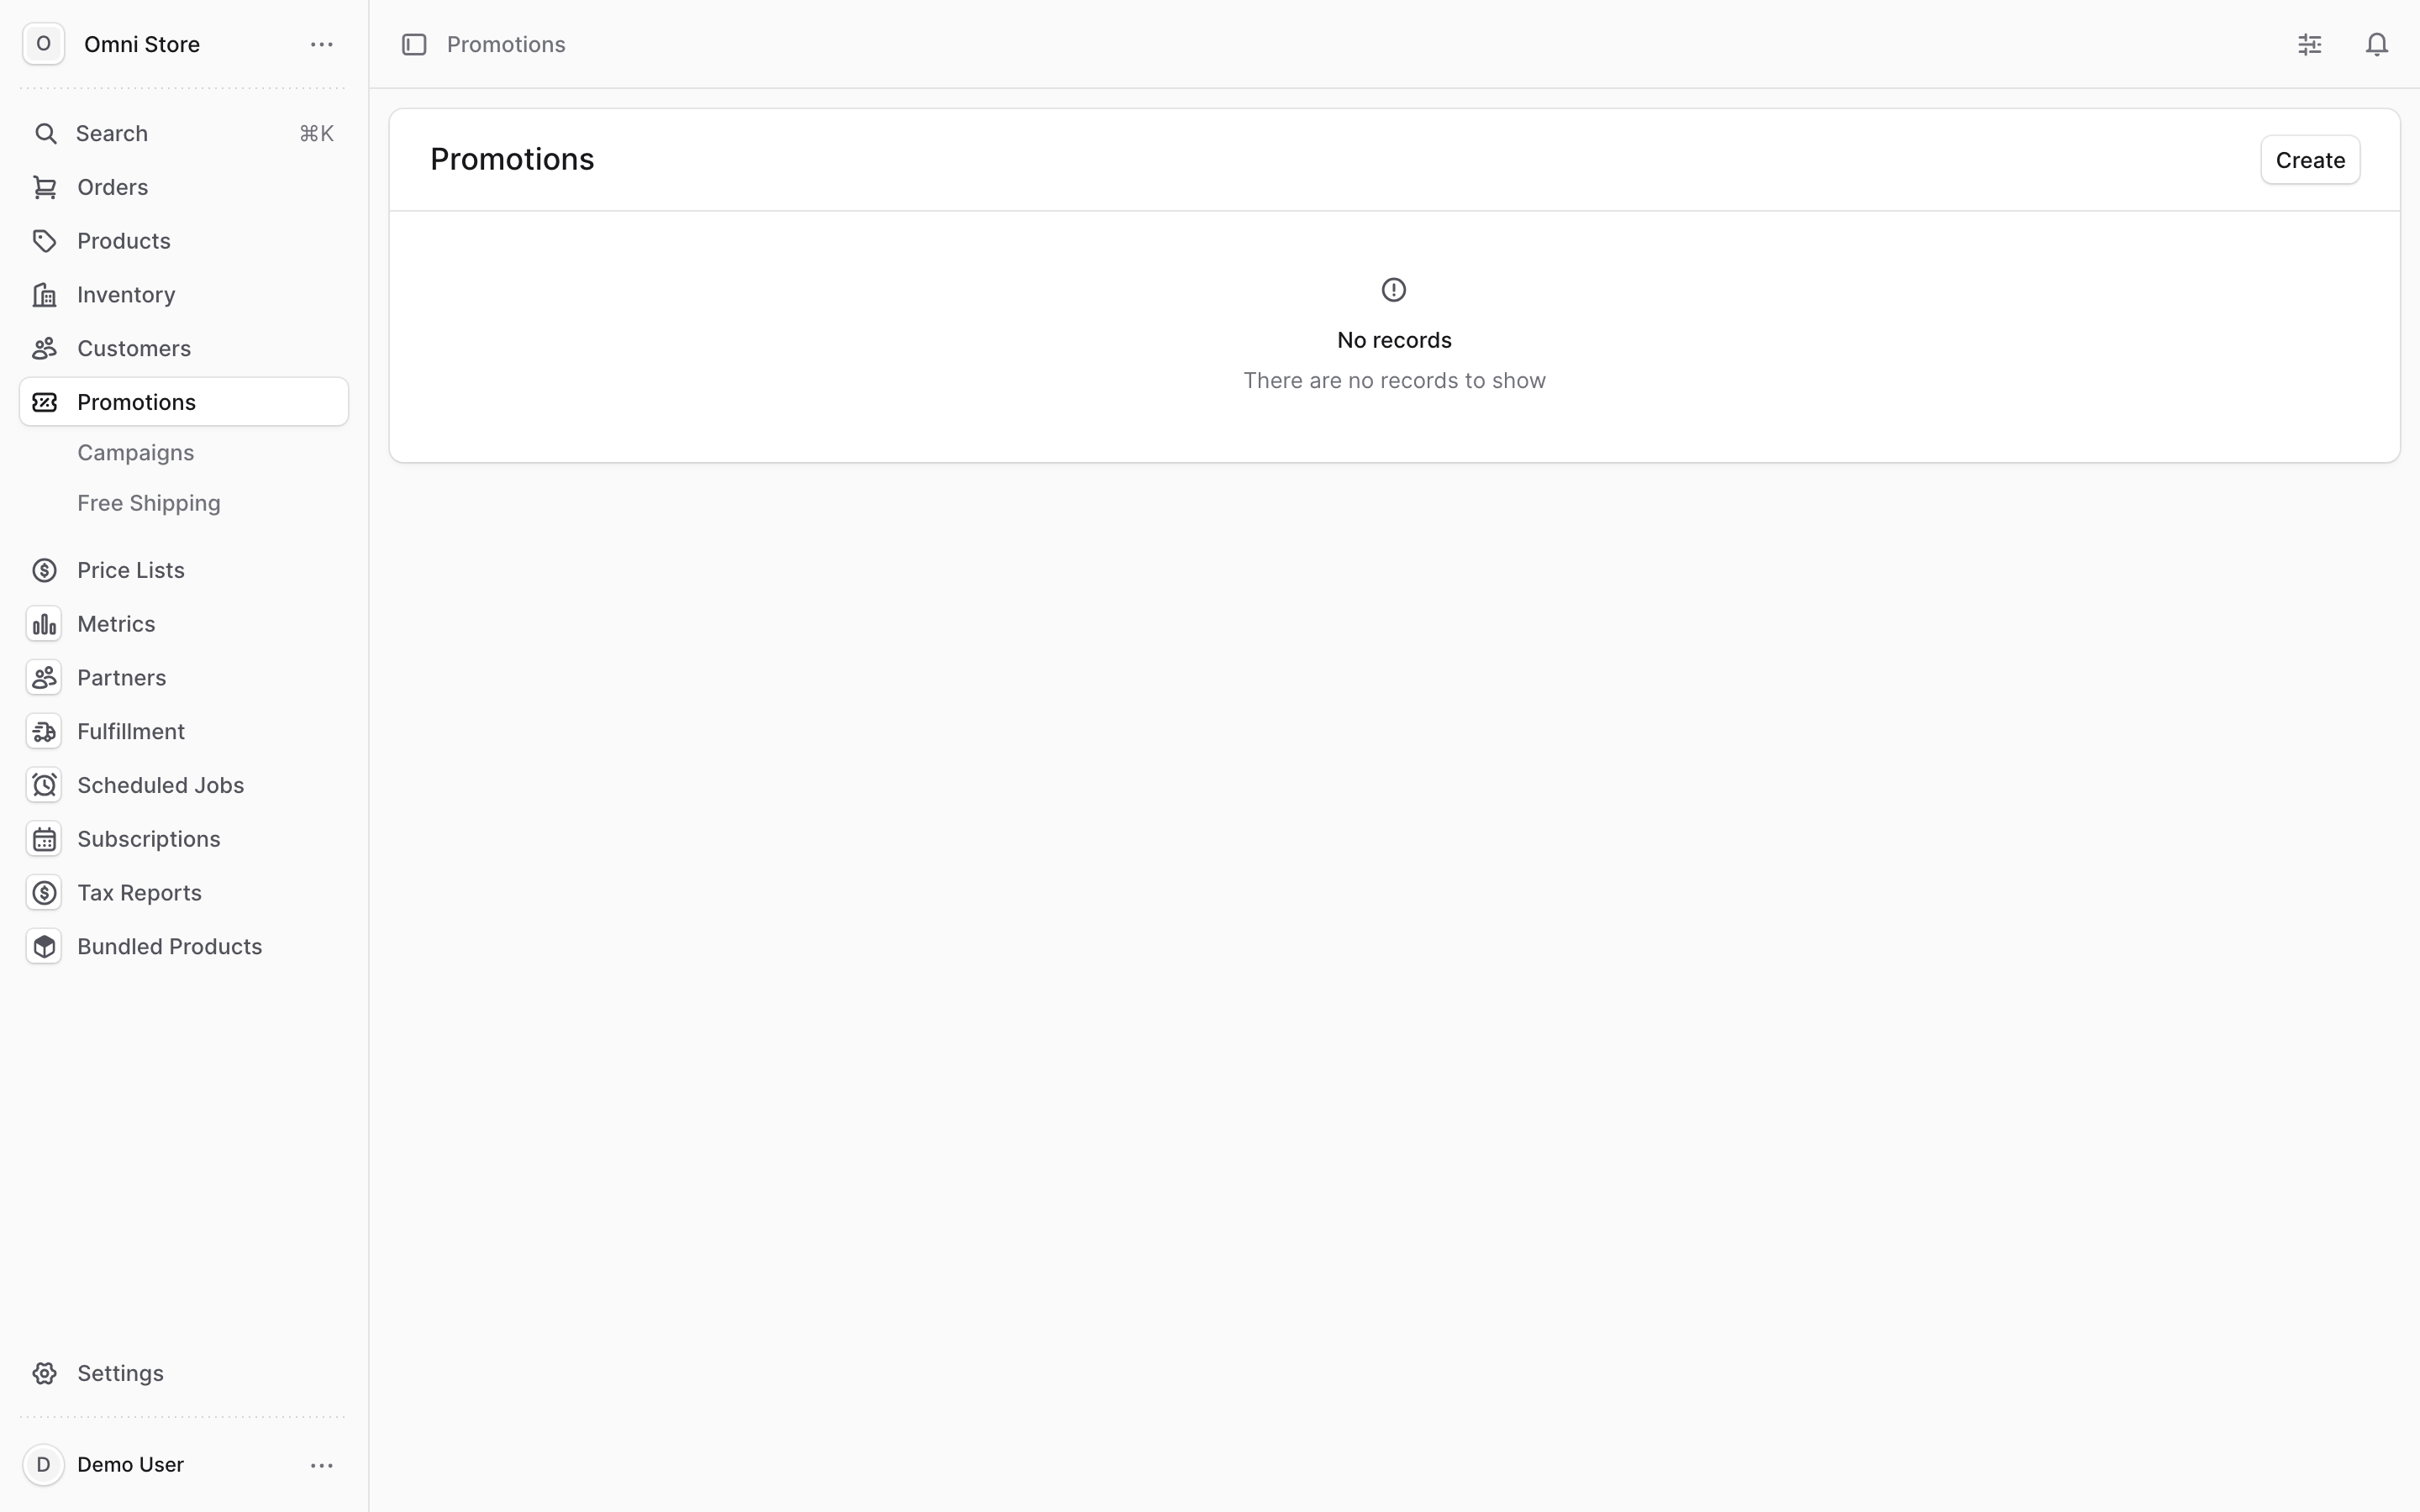
Log in to the admin dashboard. In the left navigation, click Promotions. You'll see a list of every promotion you've already created, with its code, method, and status.
To build a new one, click the Create button in the top corner. This opens a short, three-step form.
2. Step 1 — Choose the promotion type#
The first step asks what kind of discount you want. Pick one:
| Type | What it does |
|---|---|
| Amount off products | Takes a fixed dollar amount off specific items |
| Amount off order | Takes a fixed dollar amount off the whole order |
| Percentage off product | Takes a percentage off specific items |
| Percentage off order | Takes a percentage off the whole order |
| Buy X Get Y | Gives free or discounted items when the customer buys a qualifying quantity |
| Free Shipping | Waives the shipping charge |
Tip: "Amount off" is a fixed dollar figure (e.g.
10.00off). "Percentage off" is a share of the price (e.g.20% off). For a store-wide free-shipping threshold that isn't a code, see Free Shipping (coming soon) instead.
Once you've chosen, click Continue.
3. Step 2 — Decide how customers get the discount#
This is the heart of the form. The most important choice here is the method.
Discount code vs. automatic#
- Promotion code — the customer must type a code at checkout (for example
SUMMER20). Choose this when you want to hand the code out in an email, an ad, or to a specific group. Enter the code in the Code field. Keep it short and with no spaces, e.g.50OFF. - Automatic — the discount applies by itself to any cart that meets your conditions, with nothing for the customer to type. Choose this for a sitewide sale or a "spend $100, save $10" offer.
Status#
Set the Status for the new promotion:
- Draft — not available to customers yet. Use this while you finish setting it up.
- Active — live and usable right away.
The discount value#
Enter the value of the discount — a dollar amount for the "Amount off" types, or a number for the "Percentage off" types. Depending on the type you picked, you may also see:
- Allocation — whether the discount applies to Each qualifying item or Once across the order.
- Maximum Quantity — the most items the discount can touch.
- Usage Limit — the total number of times this promotion can ever be used, across all customers.
There's also a Does promotion include taxes toggle that controls whether the discount is figured before or after tax.
4. Step 2 (continued) — Set who and what it applies to#
Two condition sections let you narrow the promotion down. Both work the same way: click Add condition, pick an attribute, choose an operator (In or Not In), and select the values.
Who can use this code?#
This section limits who qualifies. Available attributes:
- Customer Group (for example, a VIP group)
- Region
- Country
- Sales Channel
- Currency Code
Leave it empty and anyone can use the promotion. Add a condition to restrict it — for example, attribute Customer Group, operator In, value VIP limits the offer to VIP customers.
What items will the promotion be applied to?#
This section limits what the discount applies to. Available attributes:
- Product
- Product Category
- Product Collection
- Product Type
- Product Tag
For example, attribute Product Category, operator In, value Boots applies the discount only to boots. To manage the products and categories you'll target here, see Products & Inventory.
Extra sections for special types#
- Buy X Get Y adds a What needs to be in the cart to unlock the promotion? section, where you set the qualifying products and the minimum quantity the customer must buy. The "What items will the promotion be applied to?" section then defines the free or discounted items.
- Free Shipping adds a What shipping methods will the promotion be applied to? section, using the Shipping Option Type attribute.
When the details are complete, click Next.
5. Step 3 — Attach it to a campaign (optional)#
The final step asks whether this promotion belongs to a campaign. Choose one:
- Without Campaign — a standalone promotion. Fine for most one-off offers.
- Existing Campaign — add it to a campaign you've already built; pick it from the list.
- New Campaign — create a campaign right here (see the campaign fields in the next section).
Click Save to finish. Your promotion now appears in the Promotions list with the status you chose.
6. Group promotions into a campaign with a budget#
A campaign groups promotions and can put a shared spending or usage cap across all of them — useful for a seasonal sale where you don't want to give away more than a set amount.
To build one, either choose New Campaign in Step 3 above, or go to Promotions → Campaigns and click Create. The form asks for:
| Field | What it's for |
|---|---|
| Name / Identifier | A label and a reference ID for the campaign (required) |
| Description | Optional notes |
| Start date | Promotions in the campaign only work after this date |
| End date | Promotions in the campaign expire after this date |
| Budget Type | Usage (how many times promotions can be used) or Spend (the total that can be discounted) |
| Limit | The budget threshold — a count for Usage, or a dollar amount for Spend |
For a Spend budget you also pick a currency. Spend budgets do not apply to Buy X Get Y or Free Shipping promotions. For a Usage budget you can optionally apply the limit globally, per customer, or per customer email.
Once a campaign exists, open it from the Campaigns list to add or remove promotions:
- Add — click Add in the Promotions section, check the promotions you want, then click Save. Only promotions not already in a campaign appear here.
- Remove — check a promotion and click Remove, then confirm.
Tip: A Spend budget of
500.00stops the campaign's discounts once the store has given away $500 total — a simple safety cap for a big sale.
Caution: A campaign's budget type, its currency (for Spend), and its per-customer setting cannot be changed after it's created. If you need a different budget type, you must expire or delete the campaign and build a new one. Set these carefully the first time.
7. Edit, enable, or disable a promotion#
Open any promotion from the Promotions list to reach its detail page. To change its settings, click the three-dot menu in a section's header and choose Edit.
Turn a promotion on or off#
In the Edit window, change the Status field:
- Active — live and usable by customers.
- Draft — hidden while you prepare it.
- Inactive — switched off. Use this to pause a promotion without deleting it.
This is how you enable or disable a promotion: flip the status to Active to turn it on, or Inactive to turn it off.
Caution: Setting a promotion to Active applies the discount on your live storefront immediately — customers can use it right away. Double-check the discount value and conditions before activating. To pause it, flip the status back to Inactive.
From the same Edit windows you can also update the method and code, the discount value, the allocation (for an order-level discount you may also see an Across option that spreads the amount over the cart), and the conditions in the "Who can use this code?" and "What items will the promotion be applied to?" sections — each has its own three-dot Edit menu.
Move it to a different campaign#
In the Campaign section, click Add to Campaign (or the three-dot Edit menu) and choose Existing Campaign, a different campaign, or Without Campaign to detach it.
Delete a promotion#
Caution: Deleting a promotion is permanent and cannot be undone. To confirm, the dashboard makes you type the promotion's code into the pop-up. If you only want to stop an offer temporarily, set its status to Inactive instead — that keeps the promotion so you can turn it back on later.
To delete, click the three-dot menu, choose Delete, and type the code to confirm. Deleting a campaign (three-dot menu → Delete) does not delete its promotions — they simply become standalone again.
Quick reference#
- Where it lives: Promotions in the left navigation; campaigns under Promotions → Campaigns.
- Create: Promotions → Create, then a three-step form: choose type, set details, attach a campaign.
- Code vs. automatic: Promotion code = customer types a code; Automatic = applies on its own to qualifying carts.
- Types: Amount off products/order, Percentage off product/order, Buy X Get Y, Free Shipping.
- Who qualifies: the Who can use this code? conditions (Customer Group, Region, Country, Sales Channel, Currency Code).
- What it applies to: the What items... conditions (Product, Category, Collection, Type, Tag).
- Amounts are decimals: enter
49.99for $49.99, never4999or cents. - Campaigns & budgets: group promotions and cap them with a Usage count or Spend amount; budget type and currency can't be changed later.
- Enable / disable: edit the promotion and set Status to Active, Draft, or Inactive; changes go live immediately.
- Delete: permanent — you must type the code to confirm; use Inactive to pause instead.
- For order and product details: see Order Processing and Products & Inventory.