Categories & Collections
For: merchandising staff organizing the catalog in the admin dashboard
What you'll learn: the difference between categories and collections, how to create each, how to nest categories into a hierarchy, how to add products to both, and how each one surfaces on the storefront.
This is a how-to guide for the dashboard, not the API. If you're building an automated integration or bulk-organizing your catalog instead, see the Products API reference or the Usage Guide.
Before you start#
You'll need an admin login and the Products section visible in the left navigation. Categories and collections both live under Products — if you don't see it, ask your administrator to grant product management access.
Throughout this guide, screenshots use a demo store — the names, products, and prices
shown are fake. Prices are shown as decimals (for example 49.99).
Categories vs. collections — which one do I use?#
Both group products together, but they serve different jobs. Use this table to decide.
| Categories | Collections | |
|---|---|---|
| Purpose | The permanent, hierarchical structure of your catalog | A curated, themed grouping (e.g. "Summer Sale", "New Arrivals") |
| Structure | Can be nested — parent and child categories | Flat — no nesting |
| A product can belong to | Many categories at once | A single collection |
| Best for | Browsing and navigation ("Apparel → Shirts") | Marketing and merchandising campaigns |
| Lifespan | Long-lived, rarely changes | Often temporary, changes with promotions |
A simple rule of thumb: categories answer "where does this product live in the catalog?" and collections answer "which promotion or theme is this product part of right now?"
Part 1 — Categories
1. Open the Categories page#
Log in to the admin dashboard and click Products in the left navigation, then open the Categories page.
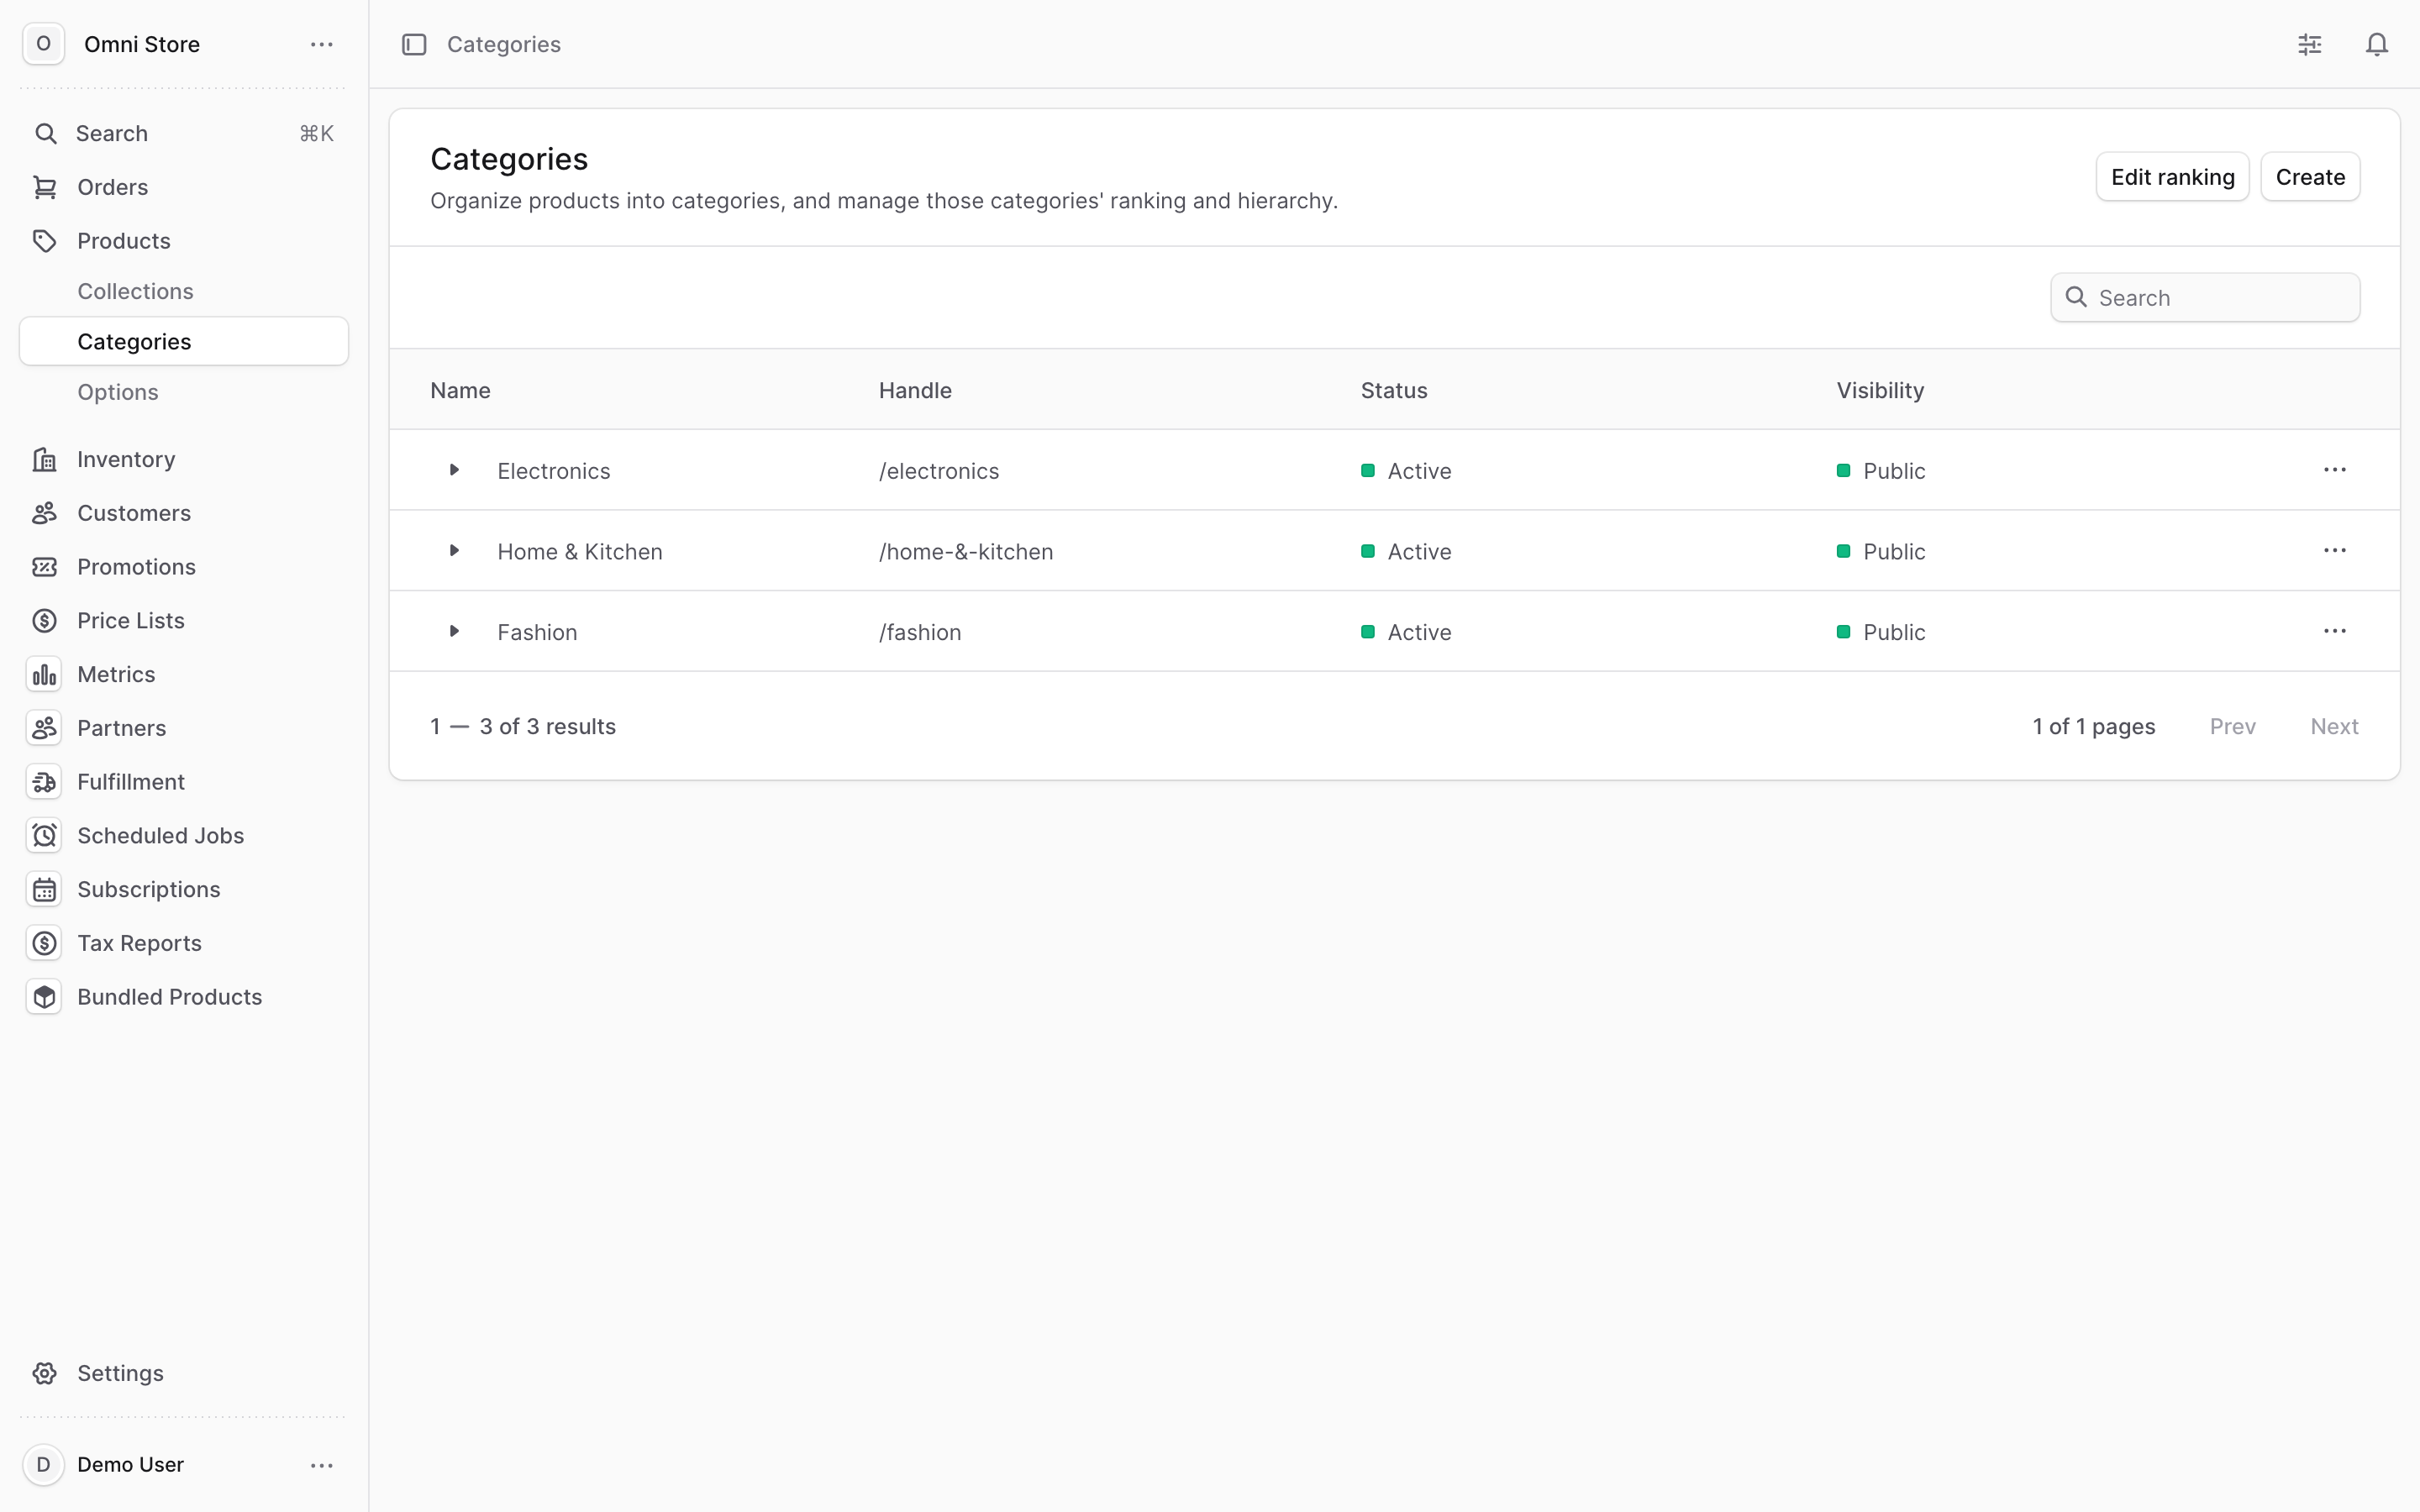
You'll see the list of existing categories. Selecting any category opens its details page.
2. Create a category#
Click the Create button. The form has two steps.
Step 1 — Details:
| Field | What to enter |
|---|---|
| Title (required) | The category name, e.g. "Shirts" |
| Handle | The URL slug. Leave blank to auto-generate from the title. Must be unique, lowercase, and use only numbers and hyphens |
| Description (optional) | A short description of the category |
| Status | Active to show on the storefront, Inactive to hide it |
| Visibility | Public for shoppers, Private for internal use only |
Click Continue to move on.
Step 2 — Ranking:
This step controls the order categories appear in and lets you nest them (see the next step). Use the drag icon to reorder, then click Save.
Tip: Set a category to Inactive or Private while you're still building it out, then switch it to Active and Public once it's ready for shoppers.
3. Nest categories into a hierarchy#
Categories can contain other categories — for example Apparel as a parent with Shirts and Pants nested underneath. This is what shoppers use to drill down while browsing. To nest categories, open the Categories page and click Edit ranking. Then:
- Drag a category up or down to change its order.
- Drag a category sideways, underneath another, to make it a child of that category.
Changes to ranking save automatically. You can also set the ordering during Step 2 of creating a category.
Tip: Keep your hierarchy shallow — two or three levels is usually enough. Deeply nested trees are harder for shoppers to navigate.
4. Add products to a category#
Open a category from the list, find the Products section on its details page, then:
- Click the three-dots icon in the Products section and choose Add.
- Check the products you want to include.
- Click Save.
A product can belong to several categories at once, so adding it here does not remove it from any other category. To remove products, check them in the Products section, then click Remove (bottom center) and confirm in the popup.
Caution: Removing a product from a category takes it out of that part of the storefront navigation. The product itself is not deleted, but shoppers browsing that category will no longer find it there. Double-check before removing.
5. Edit or delete a category#
To edit, open the category, click the three-dots icon in the first section, choose Edit, adjust the title, handle, description, status, or visibility, and click Save.
To delete, go to the Categories page, click the three-dots icon in the category's row, and choose Delete.
Caution: Deleting a category cannot be undone. It removes the category from your storefront navigation and unlinks every product from it (the products themselves are not deleted). If you only want to hide a category temporarily, set it to Inactive instead of deleting it.
Part 2 — Collections
6. Open the Collections page#
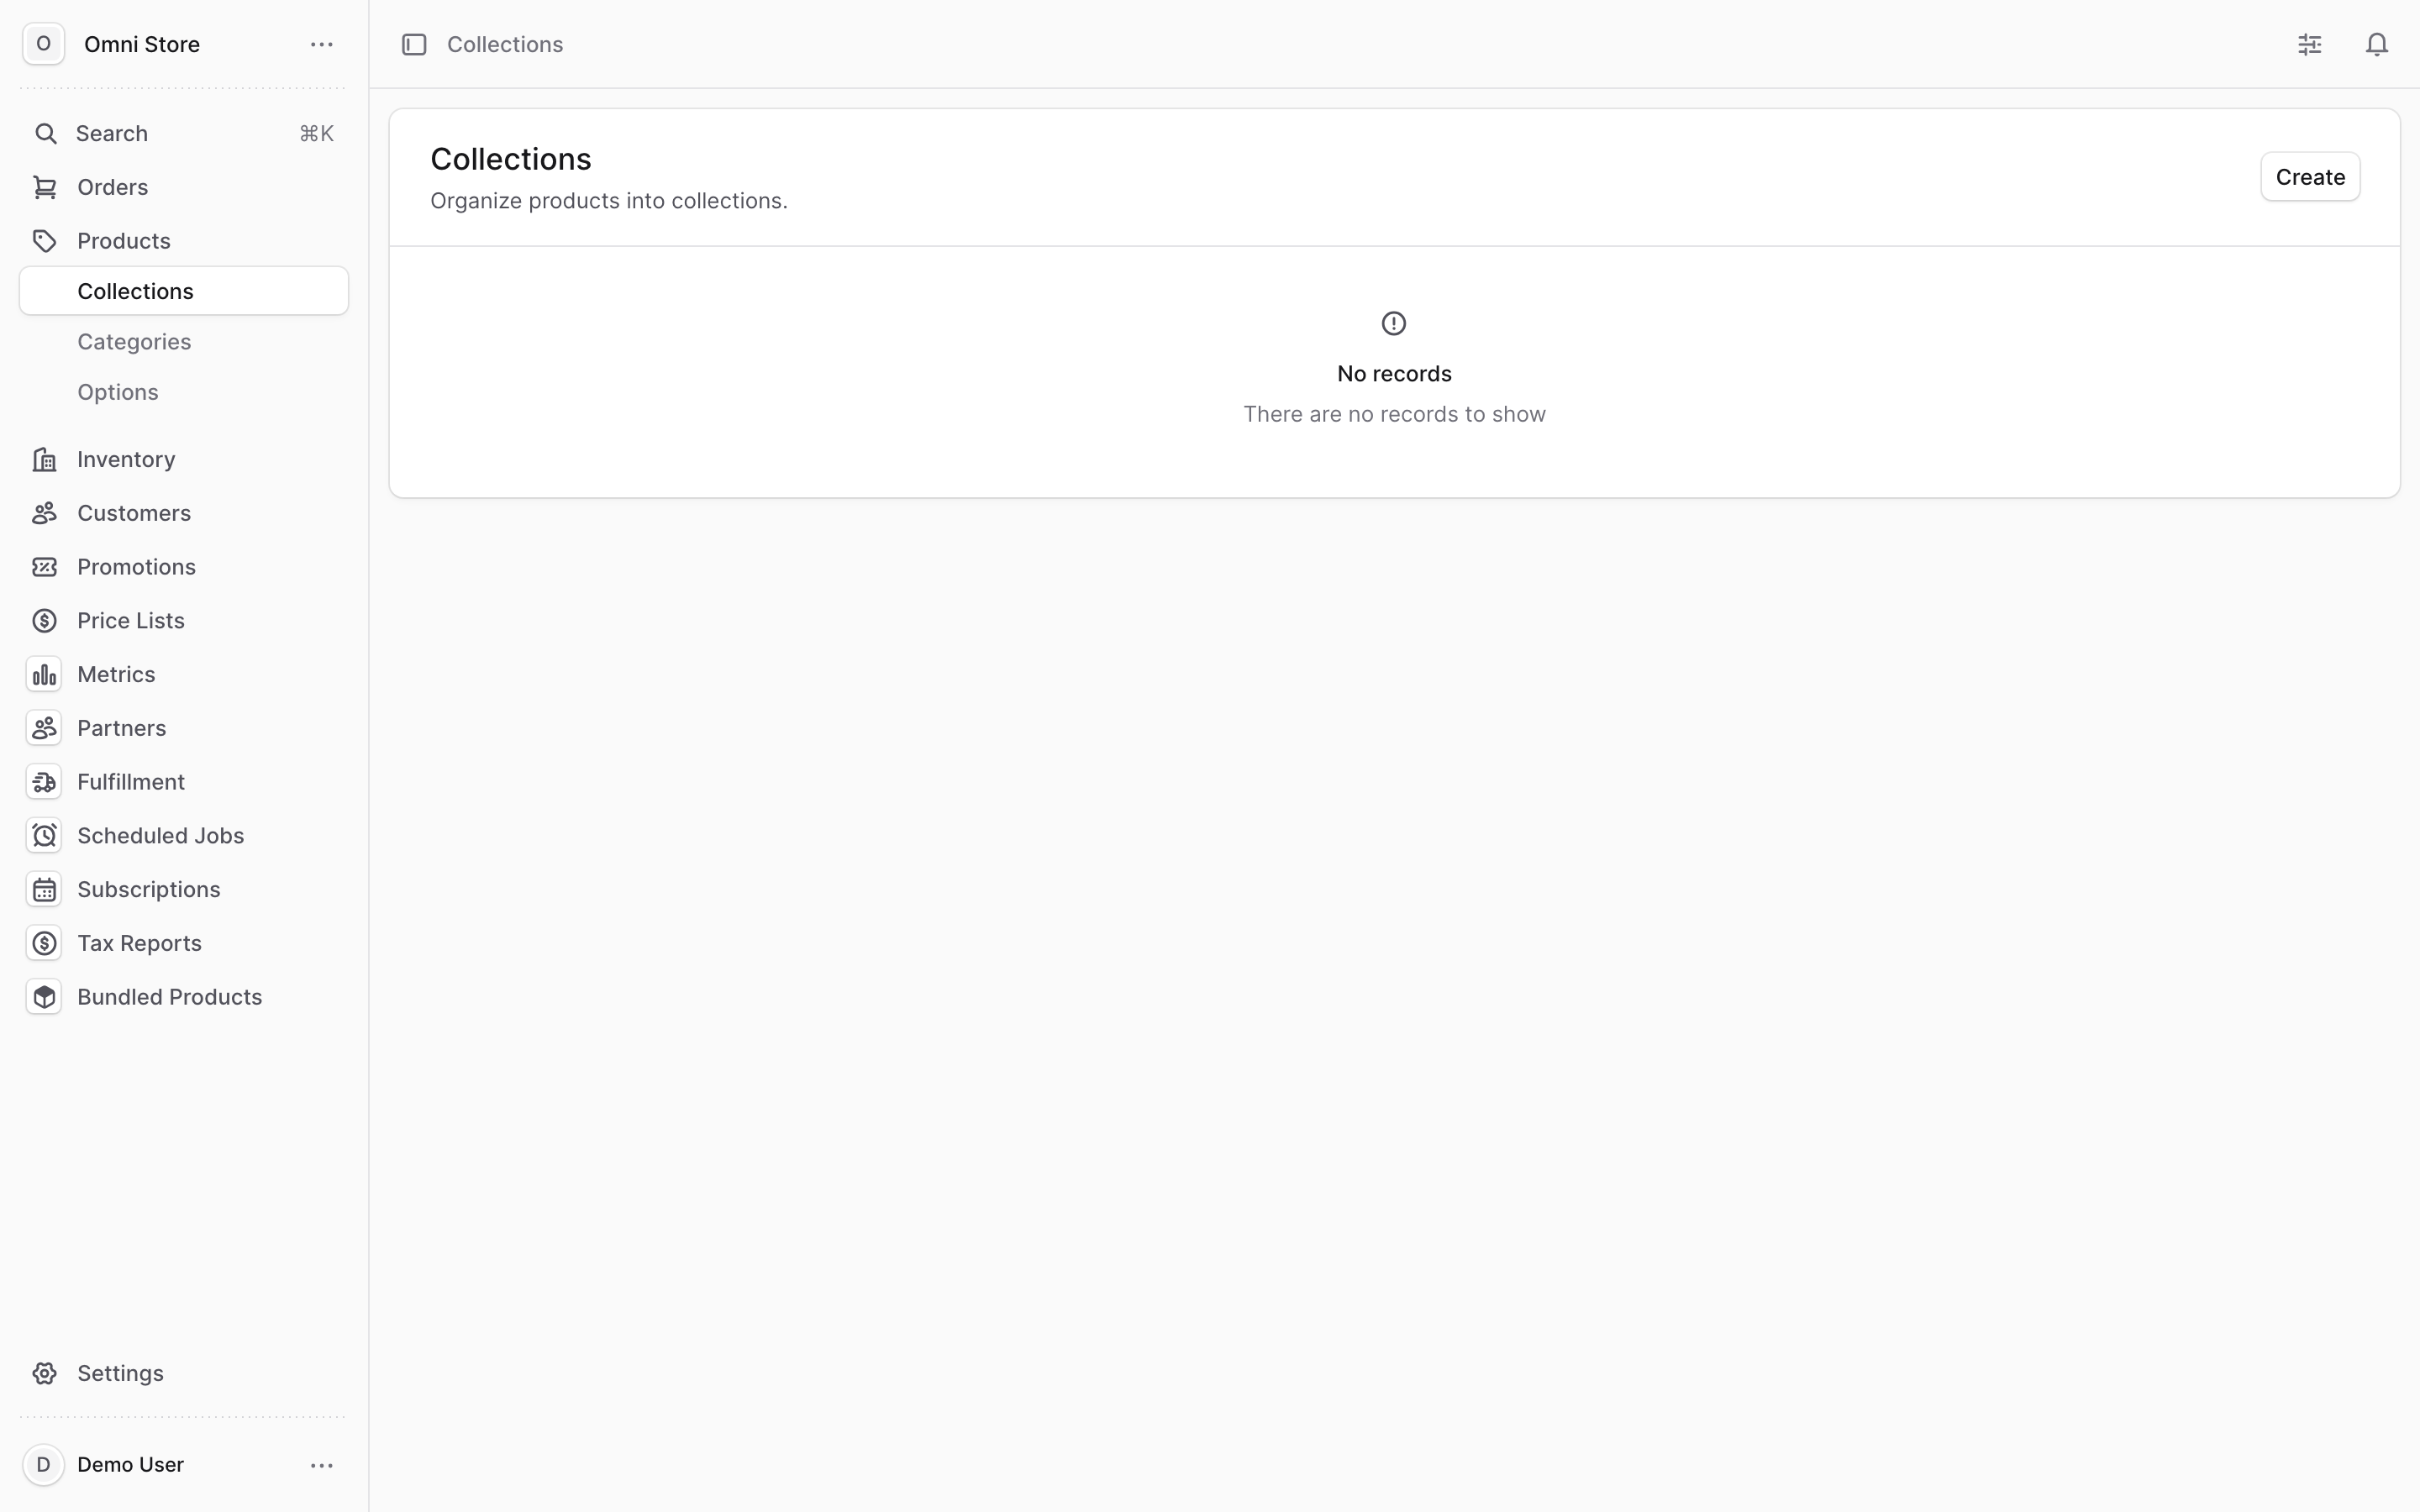
Under Products in the left navigation, open the Collections page. Select any collection in the list to open its details page.
7. Create a collection#
Click the Create button and fill in the form:
| Field | What to enter |
|---|---|
| Title | The collection name, e.g. "Summer Sale" |
| Handle | The URL slug. Leave blank to auto-generate from the title. Must be unique, lowercase, and use only numbers and hyphens |
Click Create to save.
Tip: Name collections around the theme shoppers will recognize — "New Arrivals", "Holiday Gifts", "Clearance" — since the name often appears on the storefront.
8. Add and remove products in a collection#
Open a collection, find the Products section, then:
- Click the three-dots icon and choose Add.
- Check the products you want in the collection.
- Click Save.
Remember: a product can only be in one collection at a time. Adding a product to a new collection moves it out of any collection it was in before. To remove a product, find it in the Products section, click its three-dots icon, choose Remove, and confirm in the popup.
Caution: Removing a product from a collection takes it out of that promotion or themed grouping on the storefront. The product is not deleted — it just no longer appears as part of that collection.
9. Edit or delete a collection#
To edit, open the collection, click the three-dots icon in the header, choose Edit, change the title and/or handle in the side panel, and click Save.
To delete, open the collection, click the three-dots icon, choose Delete, and confirm.
Caution: Deleting a collection cannot be undone. It removes the themed grouping from your storefront and unlinks its products (the products themselves are kept). Make sure any active promotion tied to the collection is finished first.
How they surface on the storefront#
- Only categories set to Active and Public appear in storefront navigation. Inactive or Private categories are hidden from shoppers.
- The handle you set becomes part of the web address for that category or collection, so keep it clean and stable — changing a handle later changes the link.
- Categories drive browsing and navigation (the menus shoppers click through), while collections power themed and promotional pages (a "Summer Sale" page, for example).
- A product only shows on the storefront if the product itself is active and assigned to the storefront's sales channel — putting it in a category or collection does not override that. If a product is missing from the storefront, check its status first. See Products & Inventory for troubleshooting visibility.
Quick reference#
| Task | Where to find it |
|---|---|
| View all categories | Products → Categories |
| Create a category | Categories → Create → Details → Continue → Ranking → Save |
| Nest / reorder categories | Categories → Edit ranking → drag (sideways to nest) |
| Add products to a category | Category → Products section → three-dots → Add → Save |
| Edit a category | Category → three-dots → Edit → Save |
| Delete a category | Categories → row three-dots → Delete → confirm |
| View all collections | Products → Collections |
| Create a collection | Collections → Create → fill Title/Handle → Create |
| Add products to a collection | Collection → Products section → three-dots → Add → Save |
| Edit a collection | Collection → three-dots → Edit → Save |
| Delete a collection | Collection → three-dots → Delete → confirm |
| Category status | Active/Public shows on storefront; Inactive/Private hides it |
Need to work with the products themselves? See Products & Inventory.