Bundled Products
For: merchandising and operations staff building and managing product bundles
What you'll learn: how to create a bundle, add component SKUs, and understand how bundles ship and sync.
This is a how-to guide for the dashboard, not the API. If you're building an automated integration or bulk-managing bundles instead, see the Usage Guide.
Before you start#
You'll need an admin login for your store and the Bundled Products section visible in the left navigation. If you don't see it, ask your administrator to grant bundled products management access.
Throughout this guide, screenshots use a demo store — the names, products, and prices shown are fake.
1. Open the Bundled Products page#
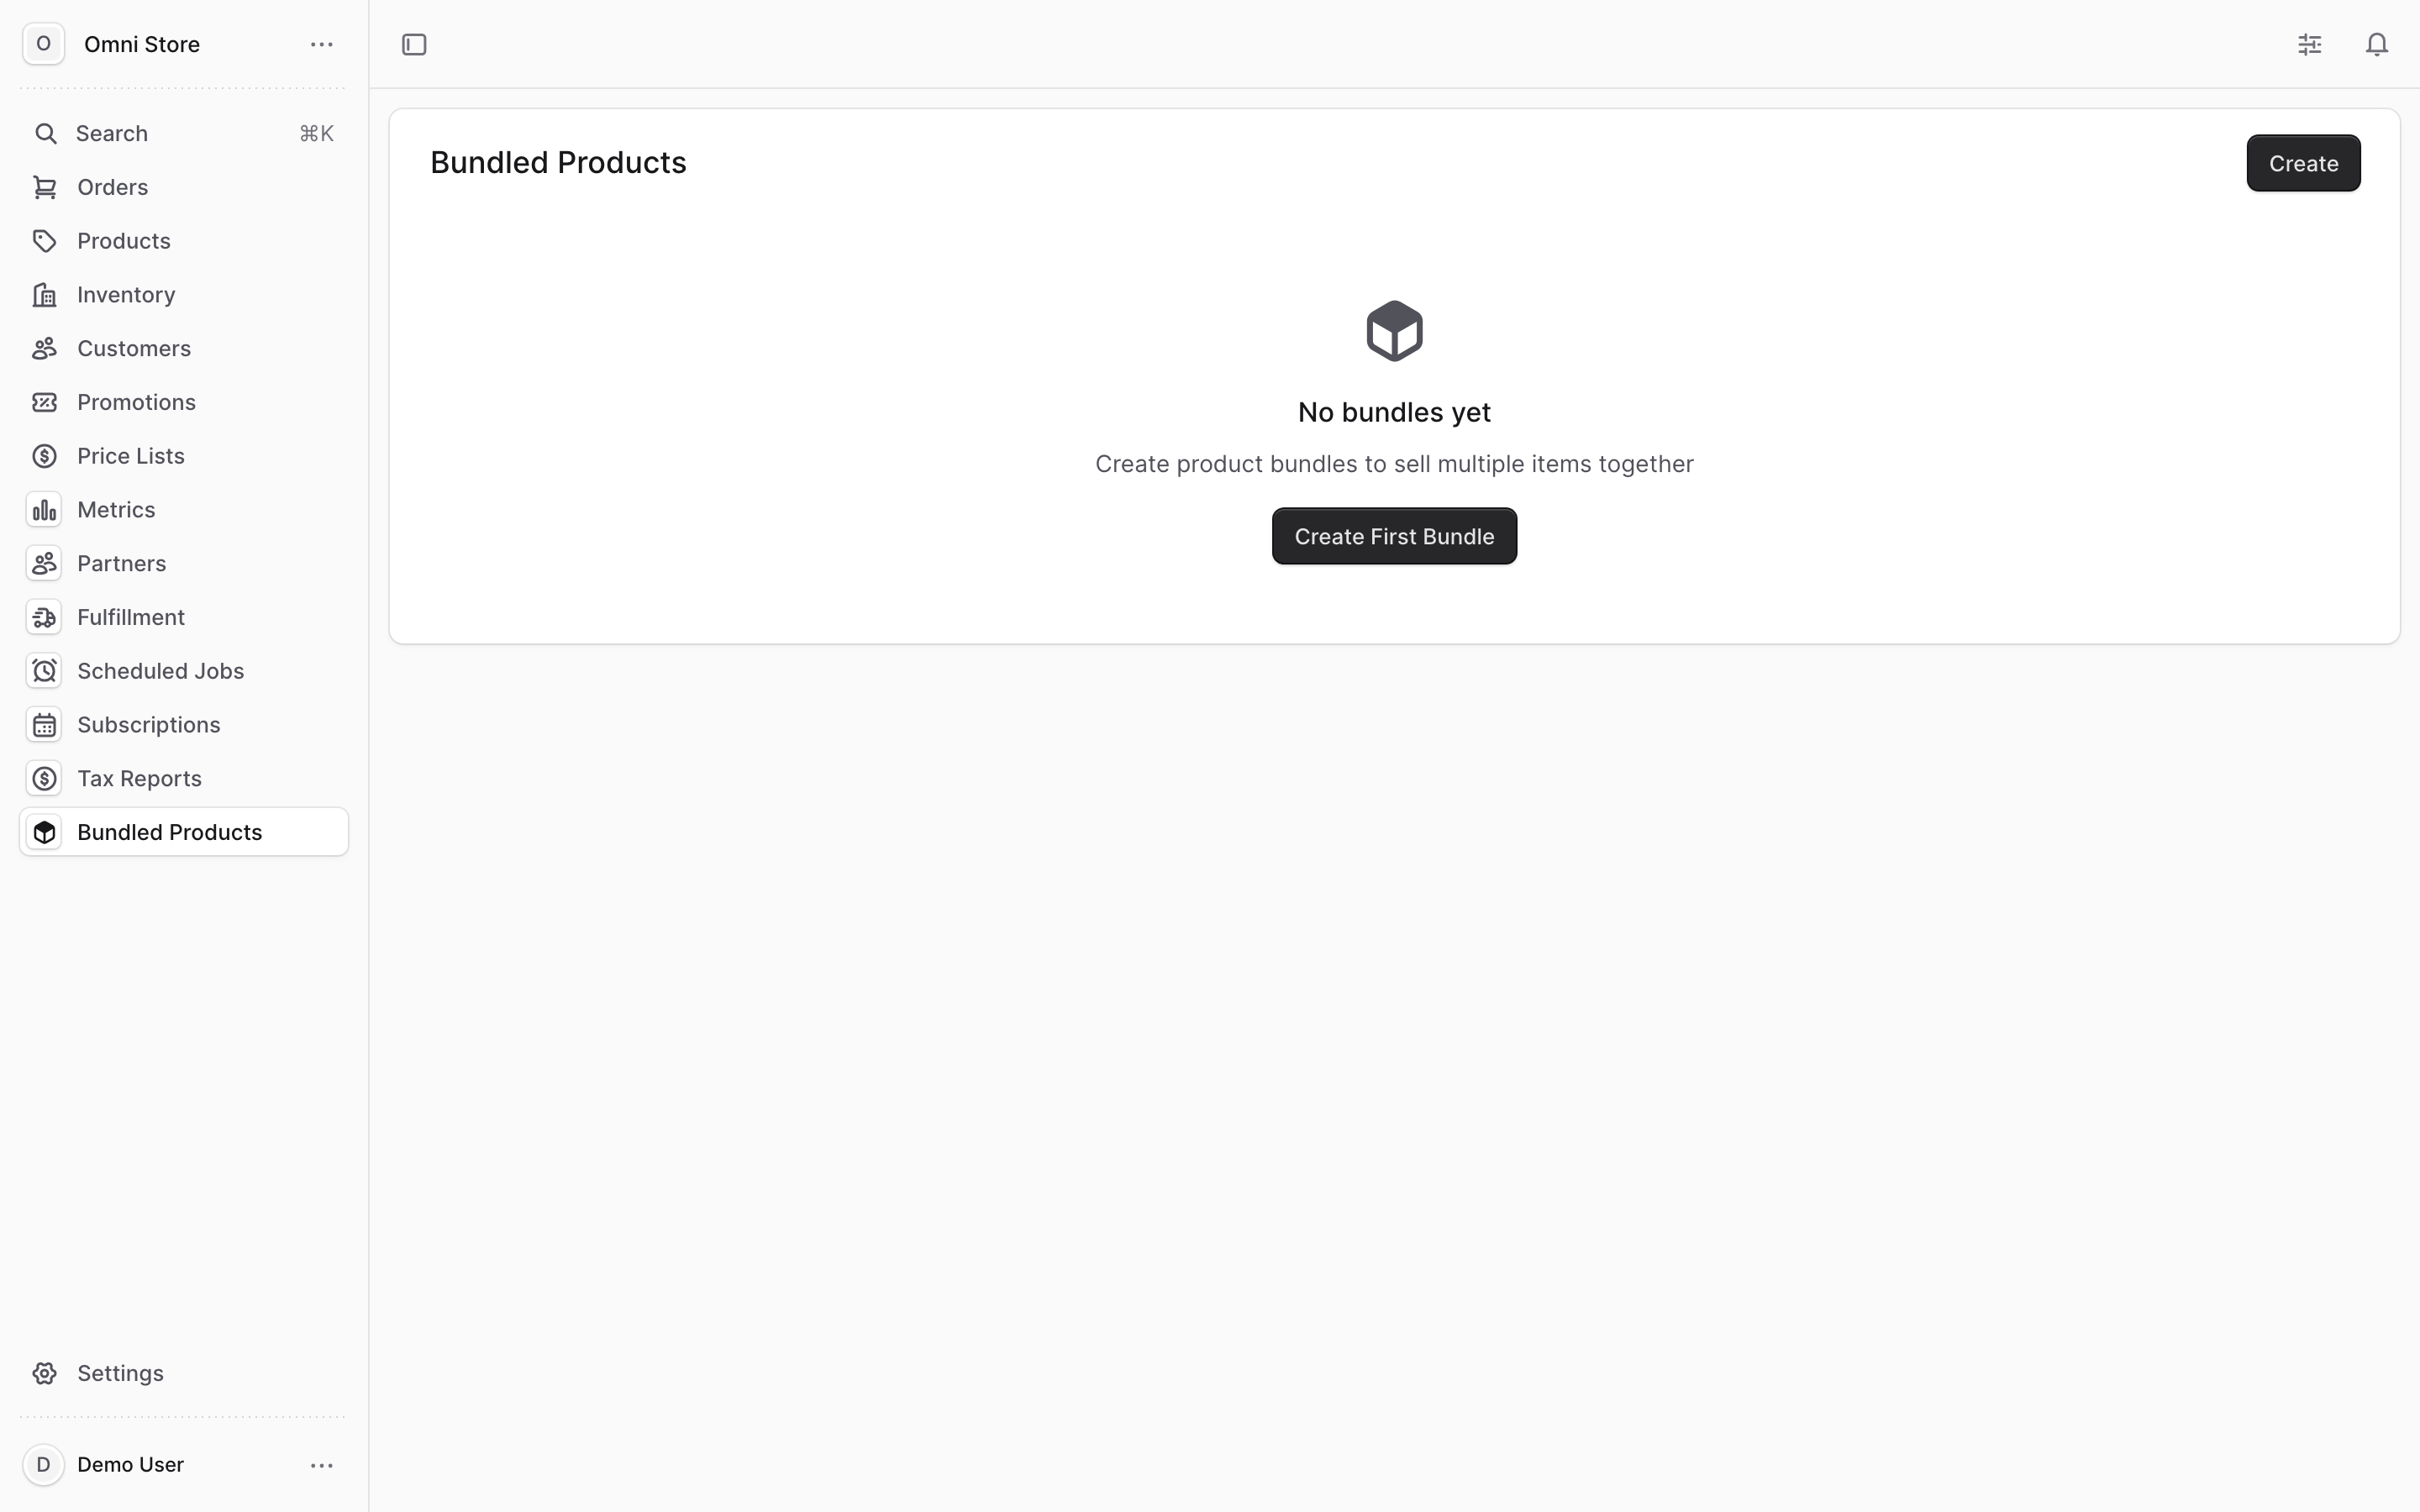
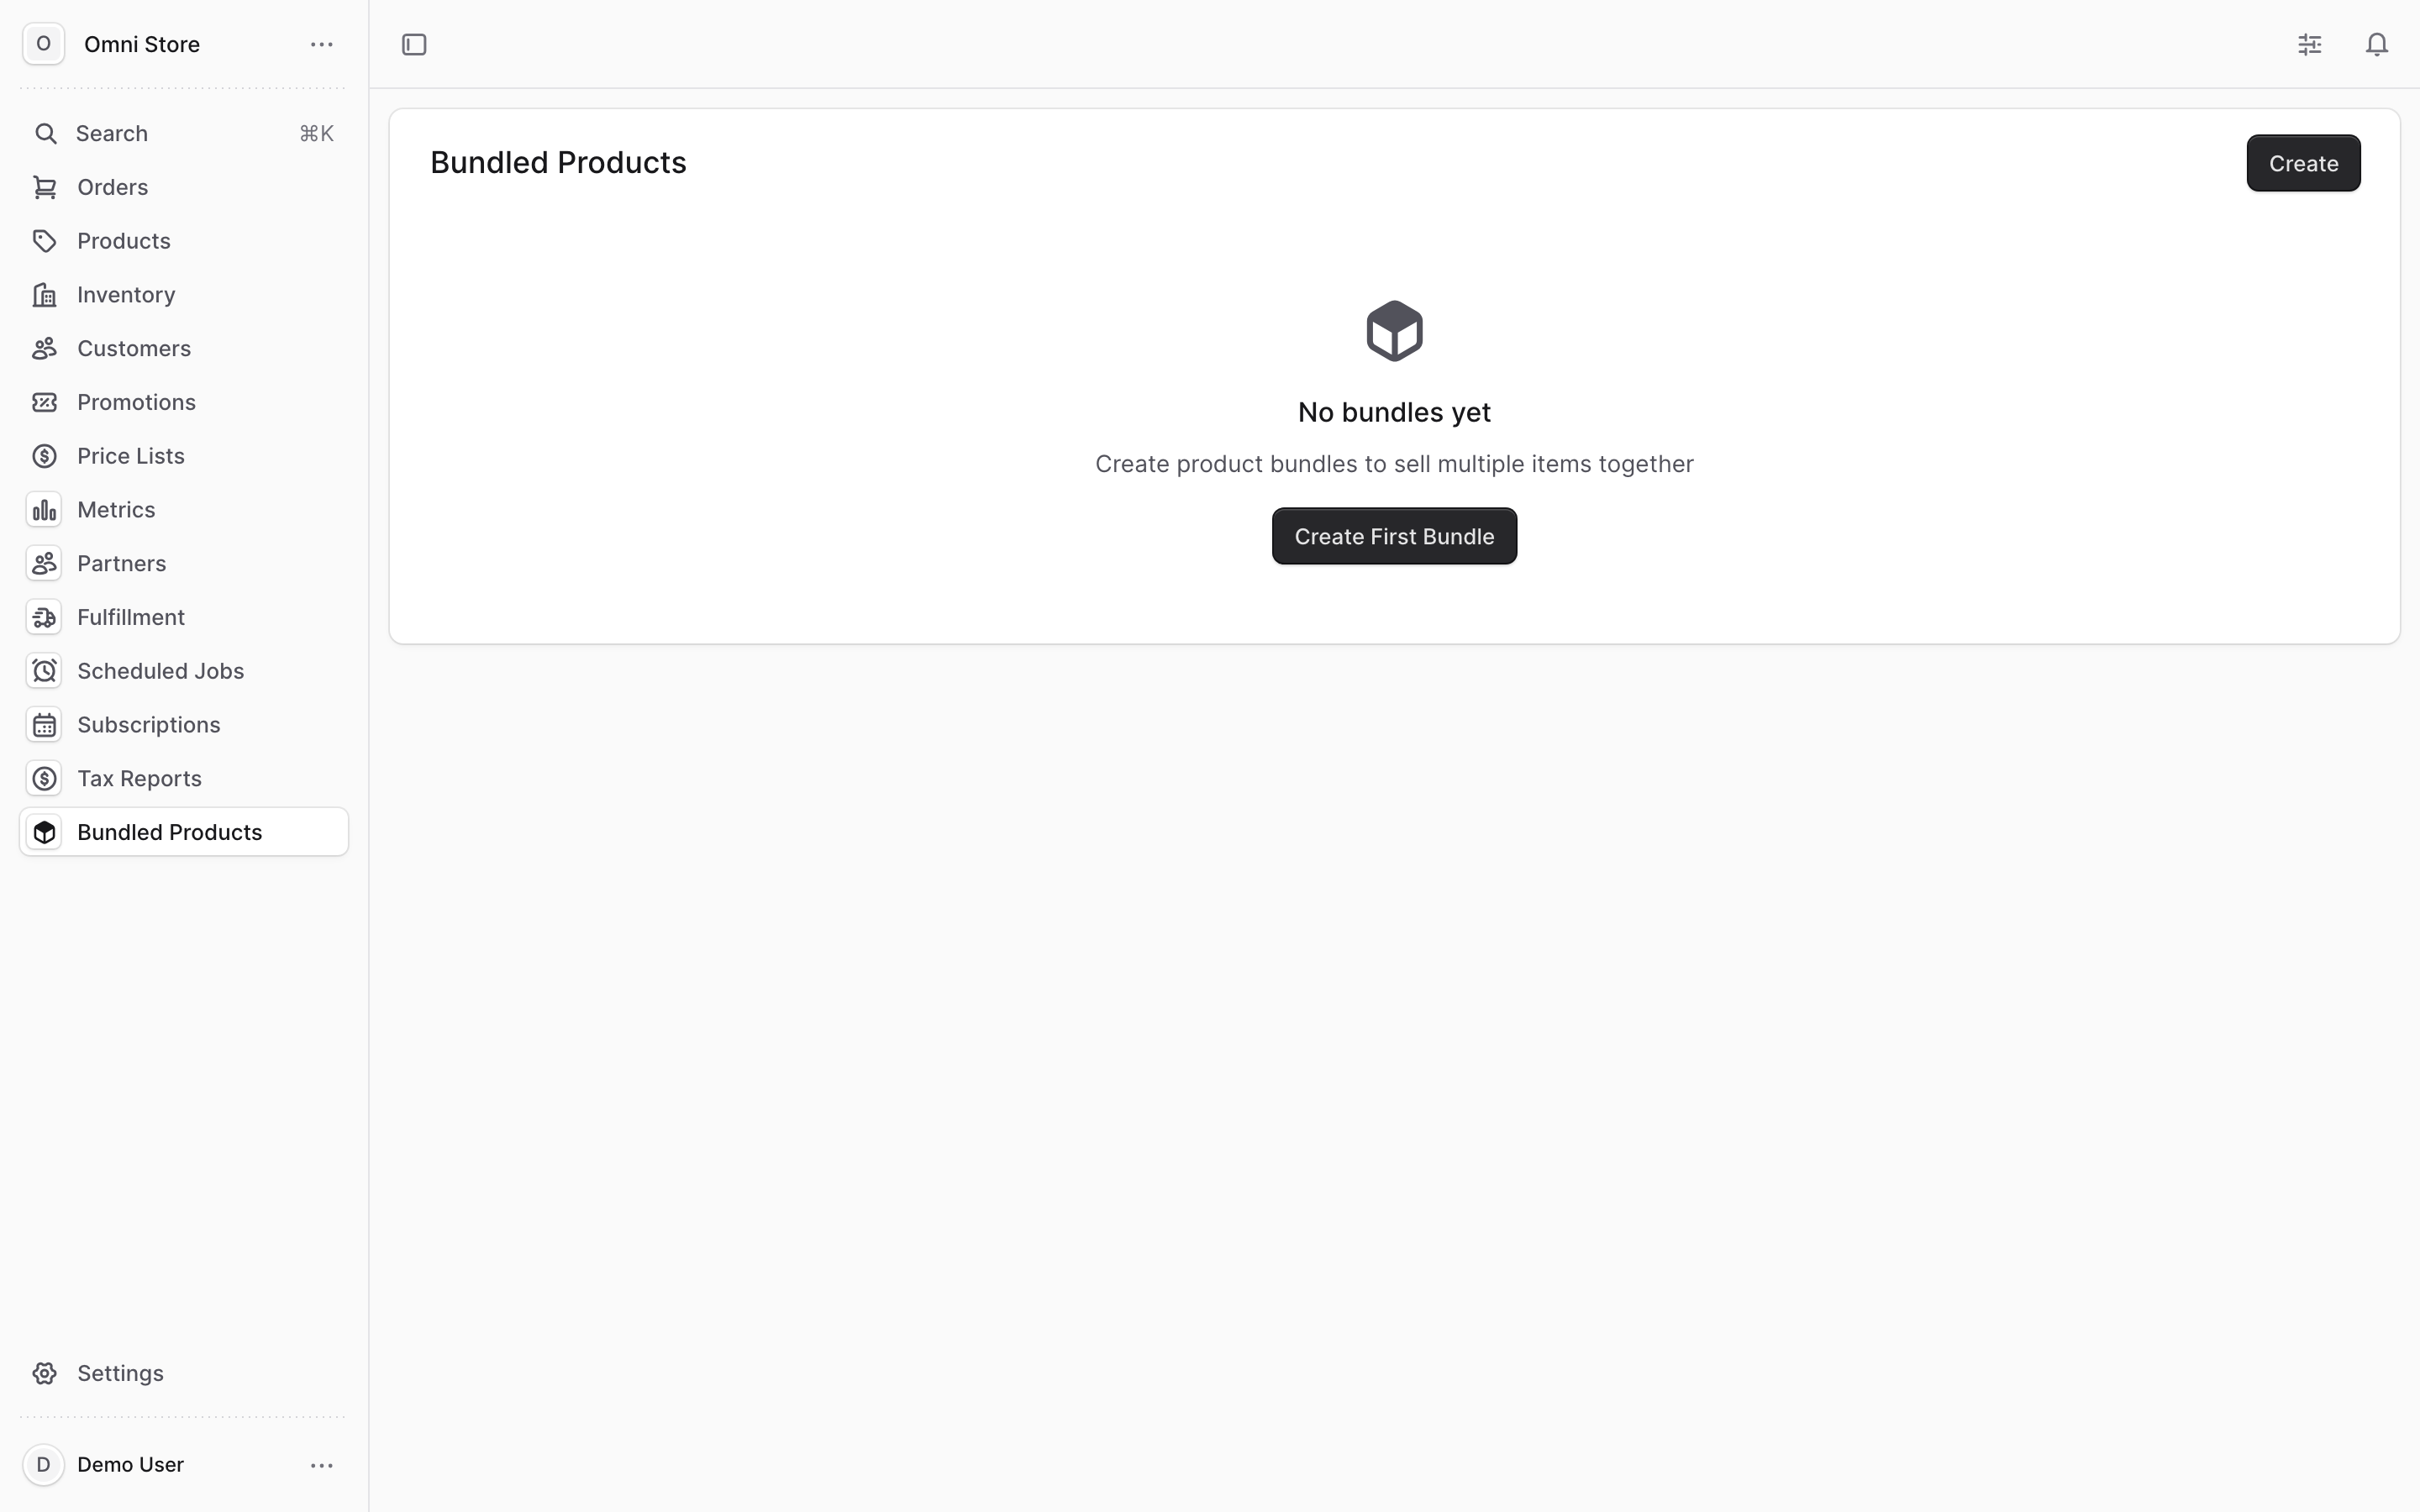
Log in to the admin dashboard and click Bundled Products in the left navigation.
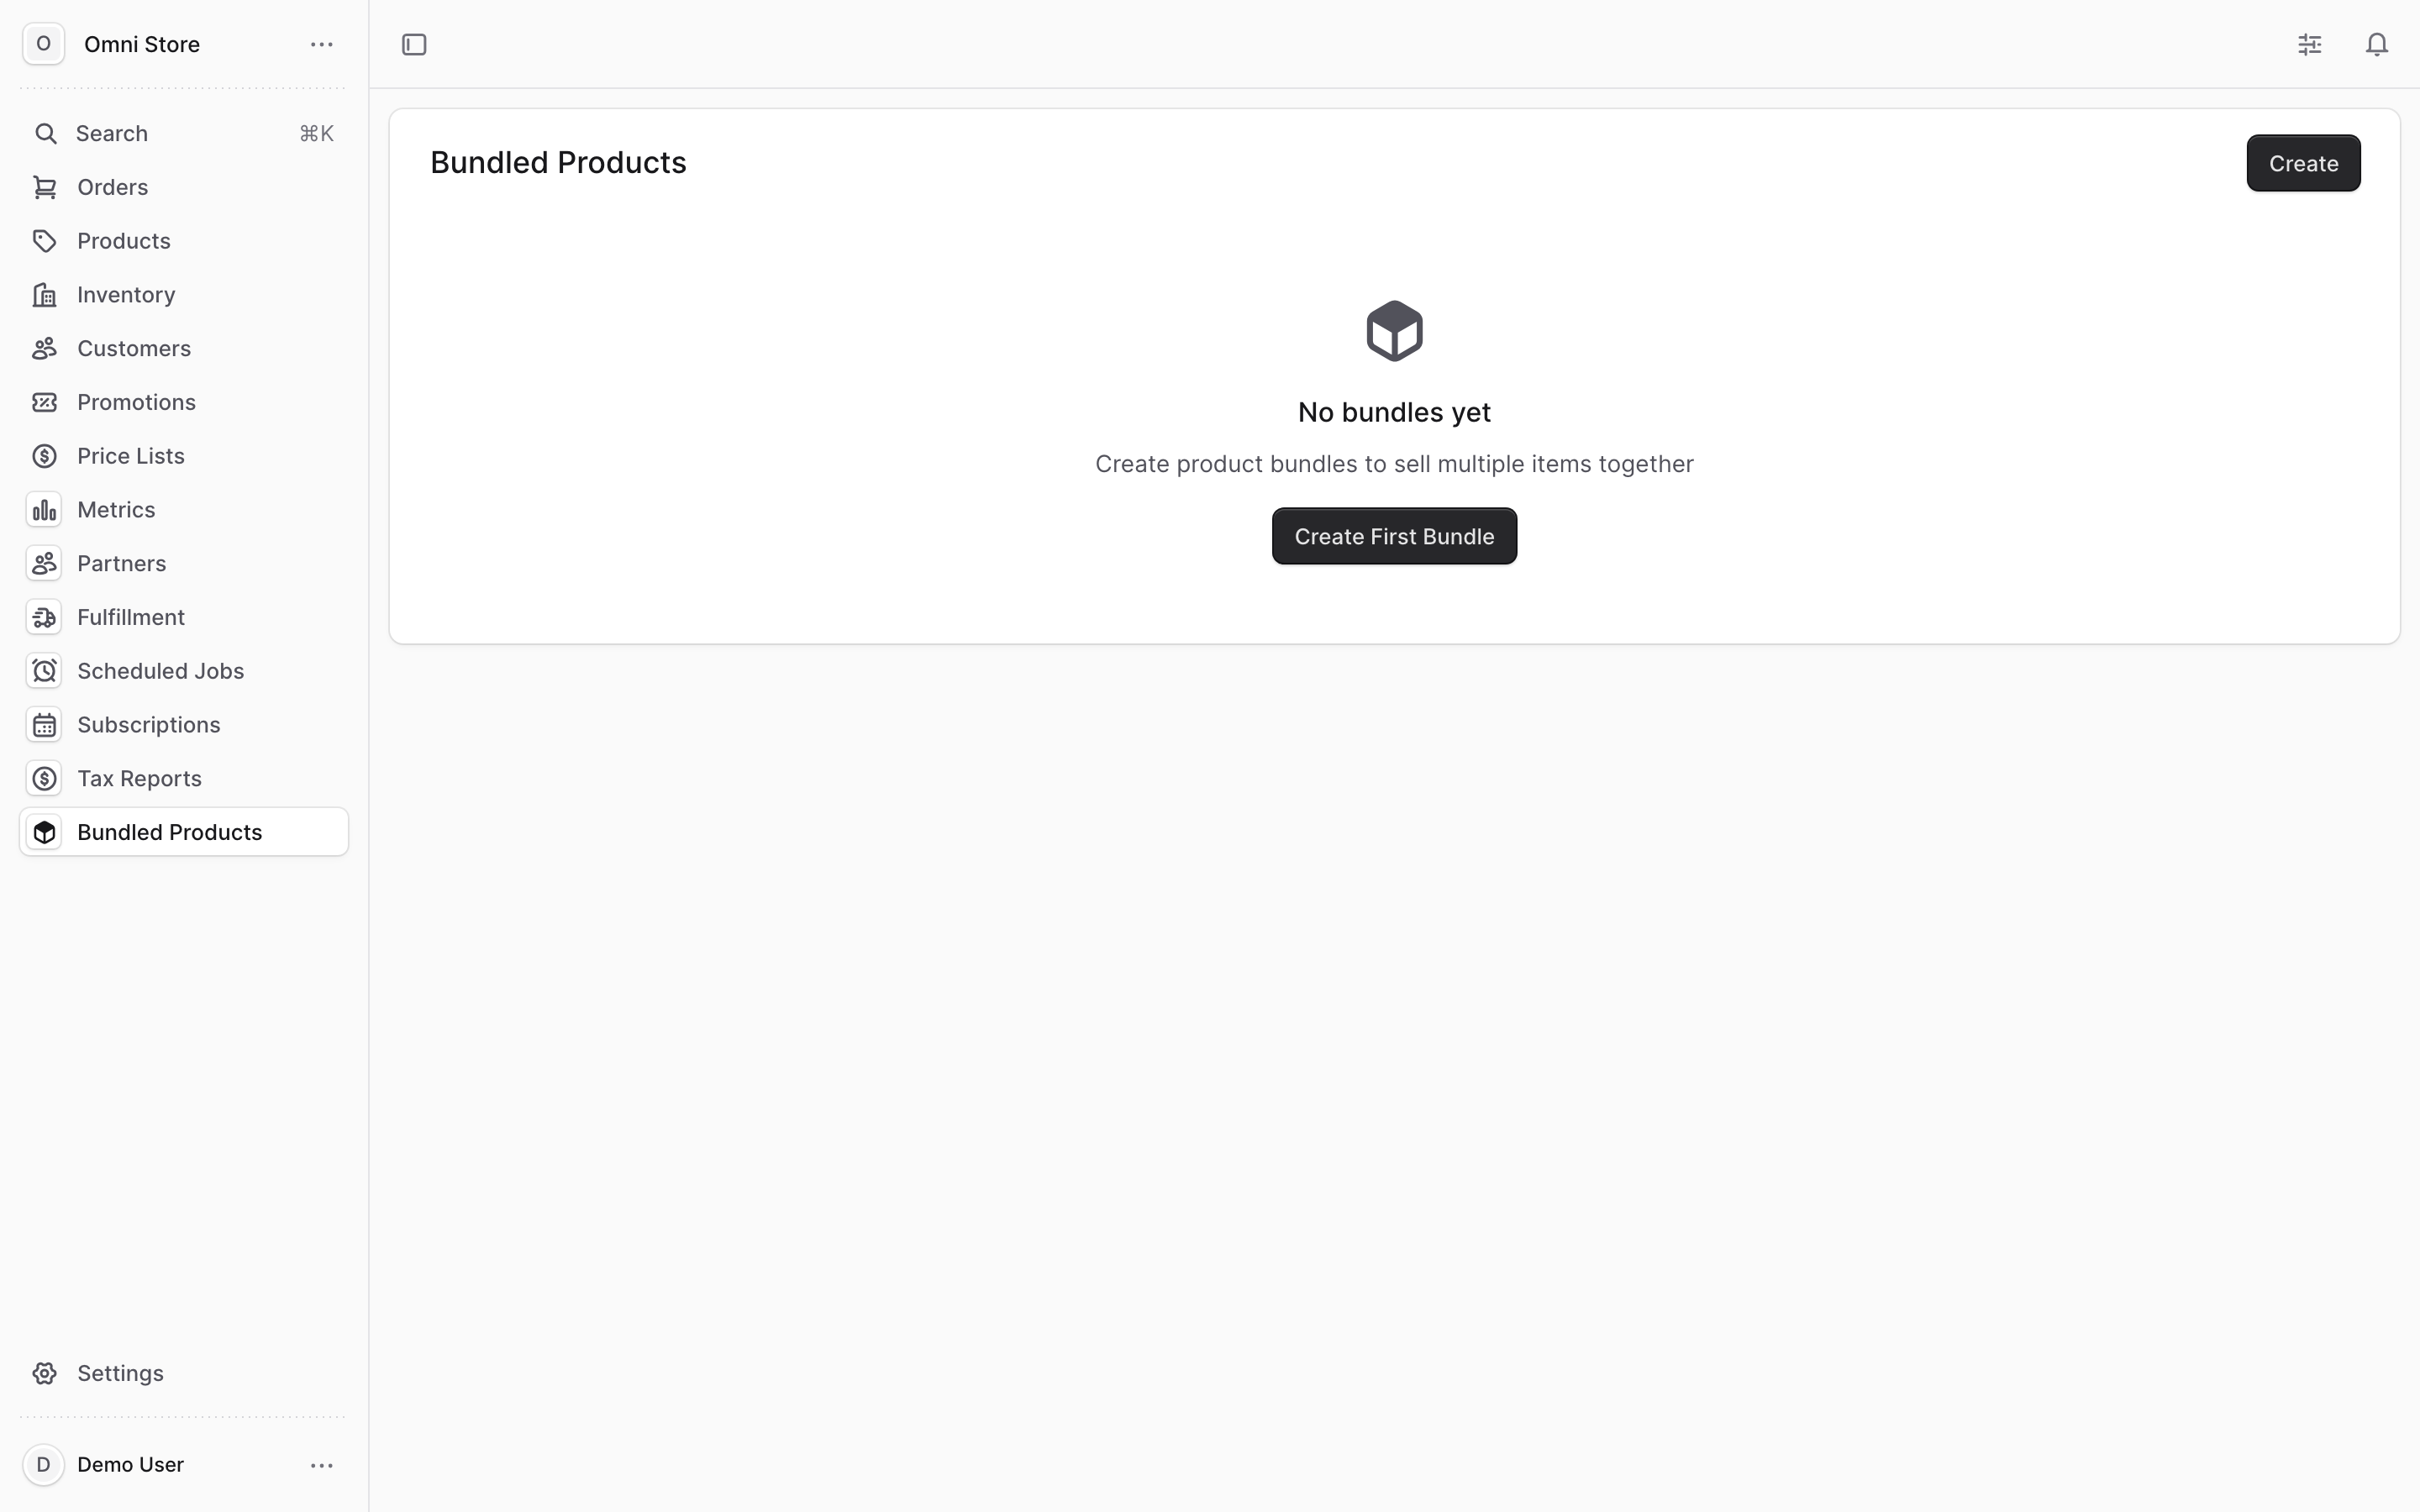
You'll see a list of all existing bundles. Use the search box to find a bundle by name. You can also add a new bundle from here.
2. Create a new bundle#
Click the Create Bundle button to start building a bundle.
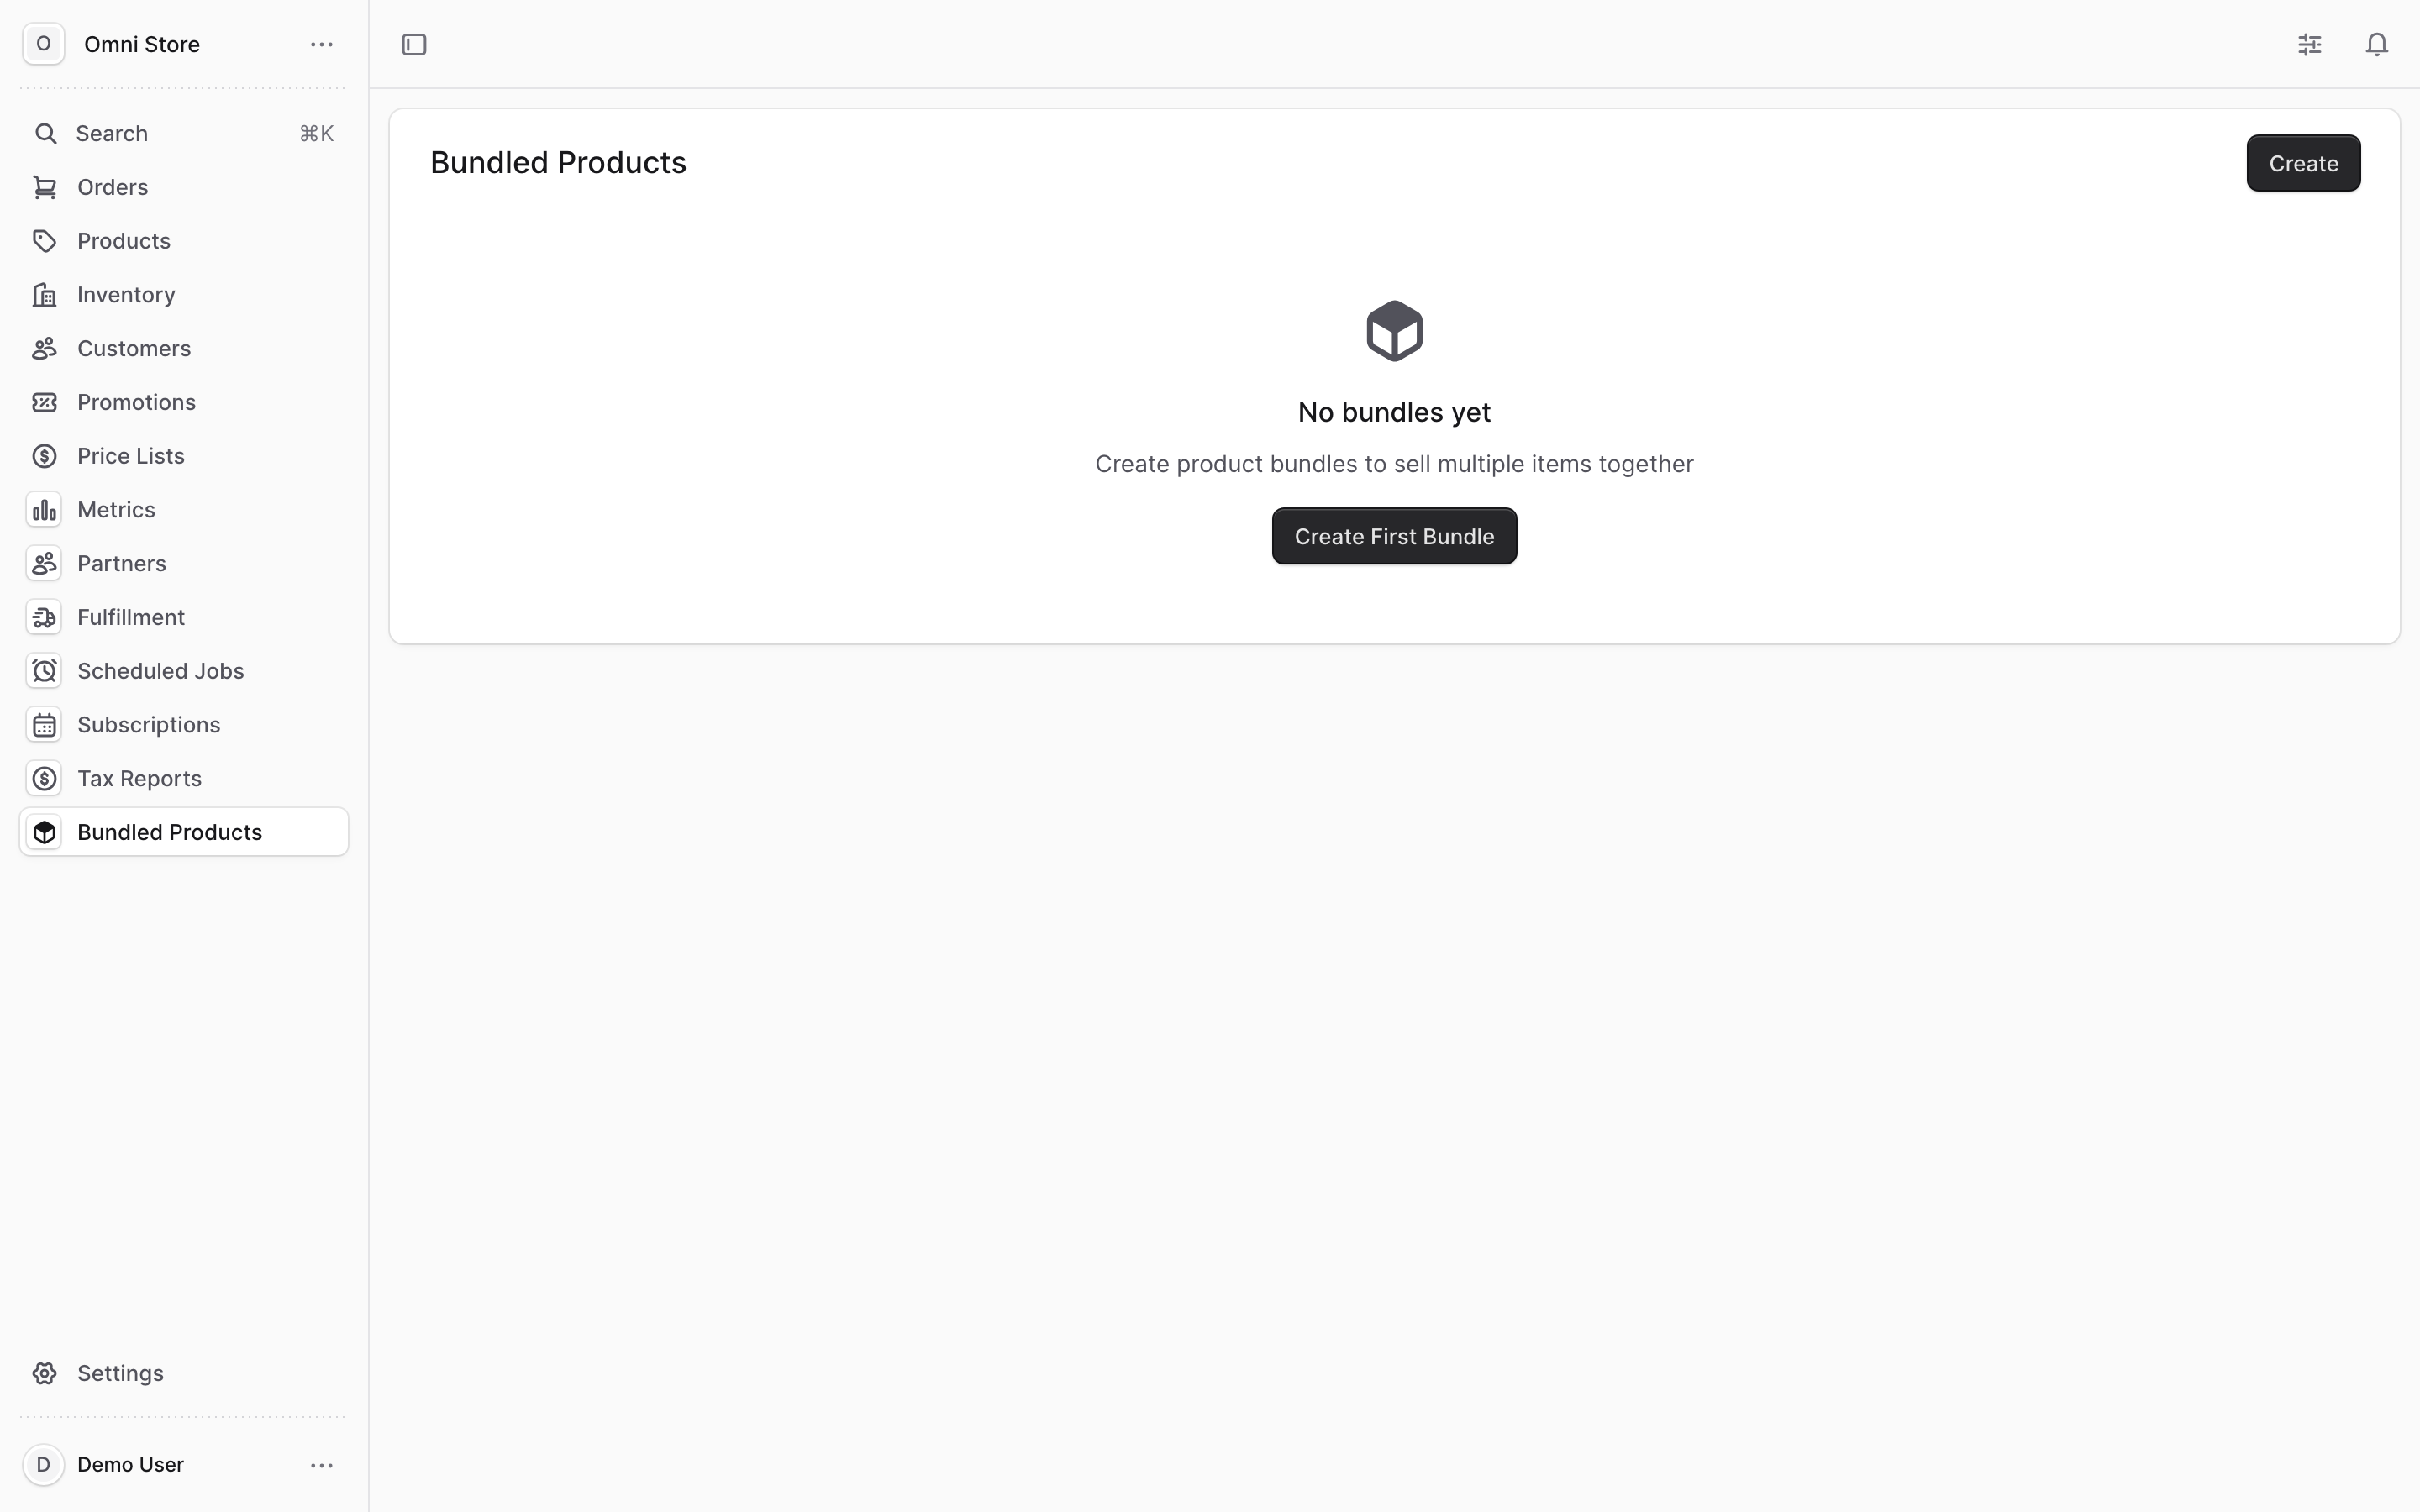
You'll see a form with fields for:
- Bundle Name — what customers see on the storefront (e.g., "Starter Pack", "Fall Bundle")
- Bundle SKU — the unique identifier for this bundle (used in orders and fulfillment)
- Bundle Price — the total price customers pay (entered as a decimal: 99.99, not 9999 cents)
- Bundle Description — marketing copy or notes about what's included
3. Add component SKUs to the bundle#
A bundle contains one or more product variants (SKUs). Each SKU appears as a line item when the bundle ships.
Click Add Component to add a SKU to the bundle.
A dialog will open. Search for or select the product variant you want to include. You'll see:
- Product Name — the product this variant belongs to
- Variant — the size, color, or option (e.g., "Red / Large")
- SKU — the unique identifier for that variant
- Quantity — how many units of this SKU go into one bundle (usually 1, but can be more)
Enter the quantity and click Add. Repeat for each SKU you want in the bundle.
4. Review and save the bundle#
Once you've added all component SKUs, review the bundle details:
- Bundle name, SKU, and price are correct
- All component SKUs are listed with the right quantities
- The bundle description is complete
Click Save Bundle to create it. The bundle is now live and can be ordered on the storefront.
5. Edit an existing bundle#
To edit a bundle, click its name in the list. You can change:
- Bundle name, SKU, price, and description
- Add, remove, or update component SKUs
Click Save after making changes. Existing orders are not affected — only new orders use the updated bundle.
Caution: Changing a bundle's SKU or removing component SKUs can affect fulfillment tracking and reporting. Only edit bundles that haven't shipped yet, or contact your warehouse before making changes.
6. Understand how bundles ship and sync#
When a customer orders a bundle, the order contains the bundle SKU and all its component SKUs.
During fulfillment:
- The warehouse receives the order with the bundle and its components listed separately
- Warehouse staff pick and pack all component SKUs as a single unit
- When the bundle ships, all components ship together with one tracking number
- The order's fulfillment record shows each component SKU fulfilled
A bundle always fulfills as all its components together — there's no partial fulfillment of bundles. Either all components ship (fulfilled), or none do (awaiting).
Tip: If a bundle contains an out-of-stock component, the entire bundle shows as out of stock on the storefront, even if other components are available.
7. Use bundles with integrations#
If your warehouse or fulfillment partner uses a system like QuickBox or Konnektive, bundles sync as orders with their component SKUs. The external system receives:
- The bundle SKU (for reporting and tracking)
- Every component SKU with its quantity
The sync is automatic — you don't need to do anything special after creating a bundle.
Quick reference#
| Task | Where to find it |
|---|---|
| Create a new bundle | Bundled Products → Create Bundle → fill form → add components → Save |
| Find an existing bundle | Bundled Products → search by name |
| Edit a bundle | Open bundle from list → update details → Save |
| Add a SKU to a bundle | Open bundle → Add Component → search and select variant → set quantity → Add |
| Remove a SKU from a bundle | Open bundle → click the X next to the component → Save |
| Check what a bundle contains | Open bundle from list → see all component SKUs and quantities |
| Archive or delete a bundle | Open bundle → Archive (or delete if never ordered) → confirm |
Common issues#
| Problem | Why it happens | How to fix it |
|---|---|---|
| Bundle shows as out of stock even though components are in stock | One component SKU has zero inventory | Check inventory for all component SKUs; restock the missing one or remove it from the bundle |
| Bundle price doesn't match what I entered | Price was entered in the wrong format (e.g., 9999 instead of 99.99) | Open the bundle → re-enter price as a decimal → Save |
| Component SKU won't add to the bundle | The SKU doesn't exist or is archived | Search for active variants only; if the one you need is archived, unarchive it first |
| Bundle shipped but fulfillment only shows some components | Partial fulfillment of a bundle shouldn't happen — if you see this, contact support | Bundles always ship as a unit; this may indicate a data sync error |