Purchase Orders
For: inventory and purchasing staff recording supplier orders and tracking product cost history
What you'll learn: how to record a purchase order, manage your supplier list, review recorded orders, and see how purchase orders feed cost data on inventory items and products.
This is a how-to guide for the dashboard, not the API. If you're building an automated integration or recording purchase orders programmatically, see the Usage Guide.
Before you start#
Purchase orders live under Settings, not the main left navigation. You'll need an admin login for your store and access to the Settings area. If you don't see Purchase Orders in the settings menu, ask your administrator to grant access.
A purchase order is a record of what you bought from a supplier — the items, quantities, and unit costs. Recording purchase orders builds up the cost history that appears on your inventory items and products.
Throughout this guide, screenshots use a demo store — the names, products, and prices shown are fake.
1. Open Purchase Orders in Settings#
Log in to the admin dashboard, open Settings, and click Purchase Orders in the settings menu.
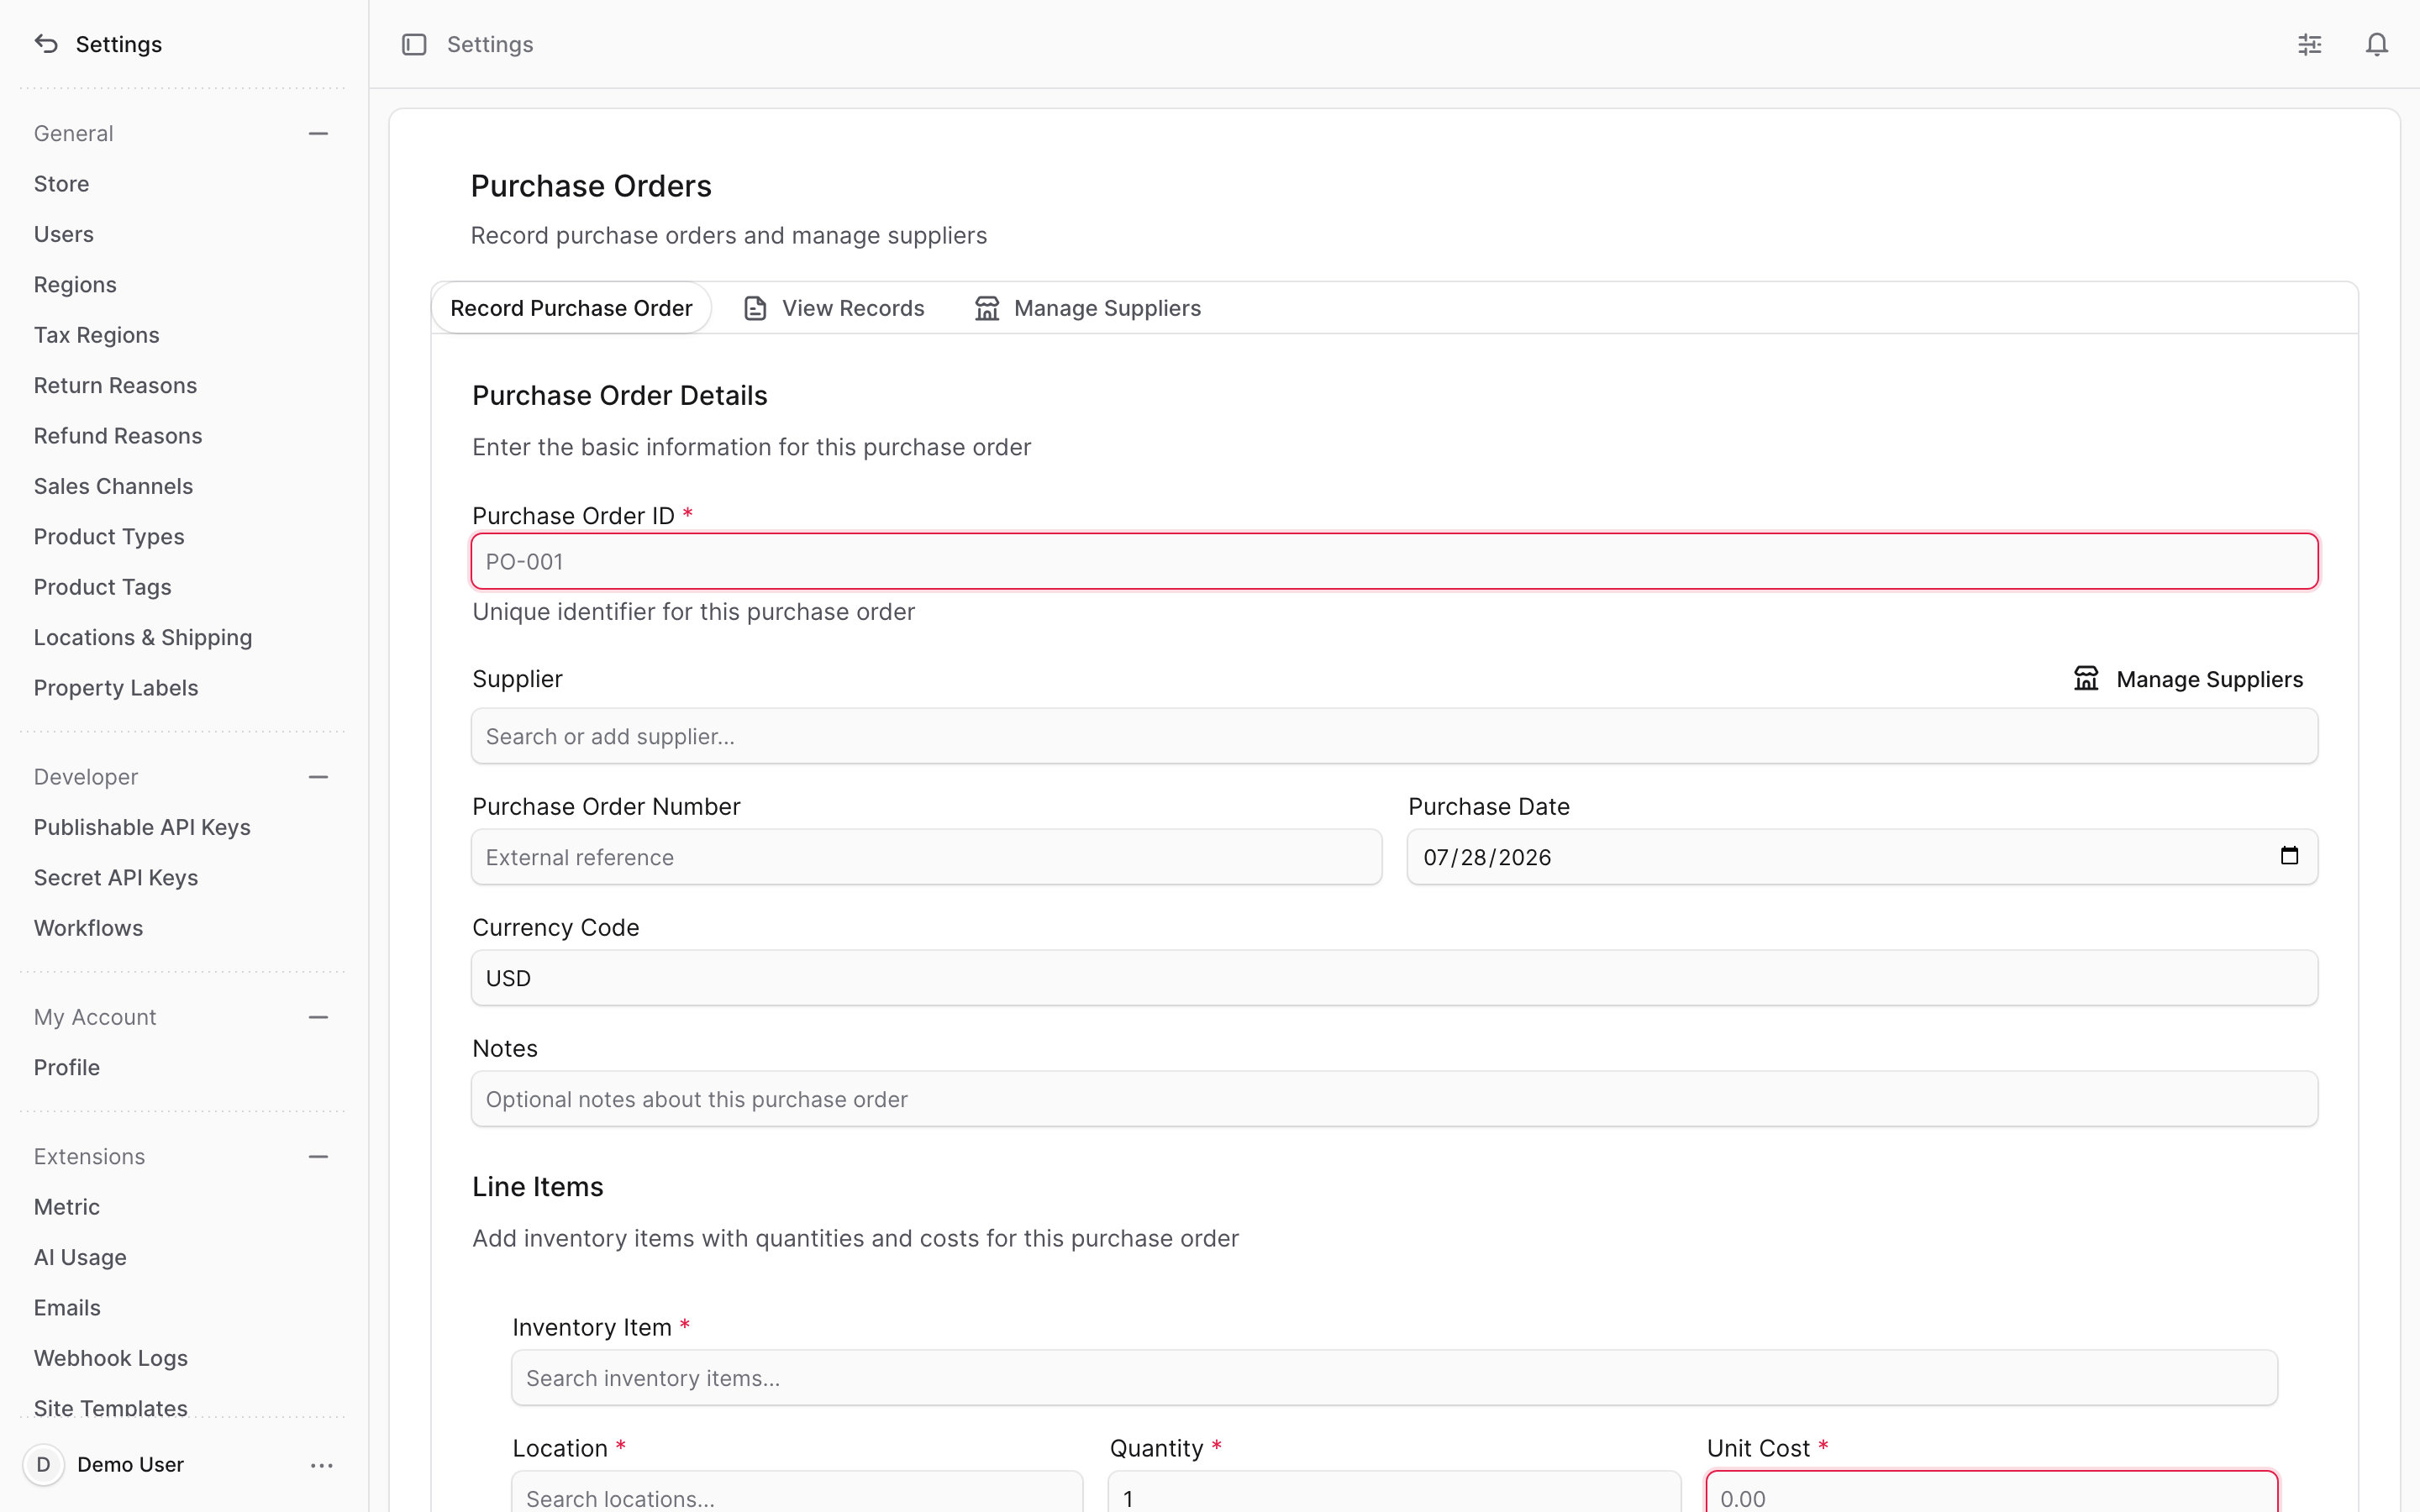
The page opens with three tabs across the top:
- Record Purchase Order — the form for entering a new purchase order
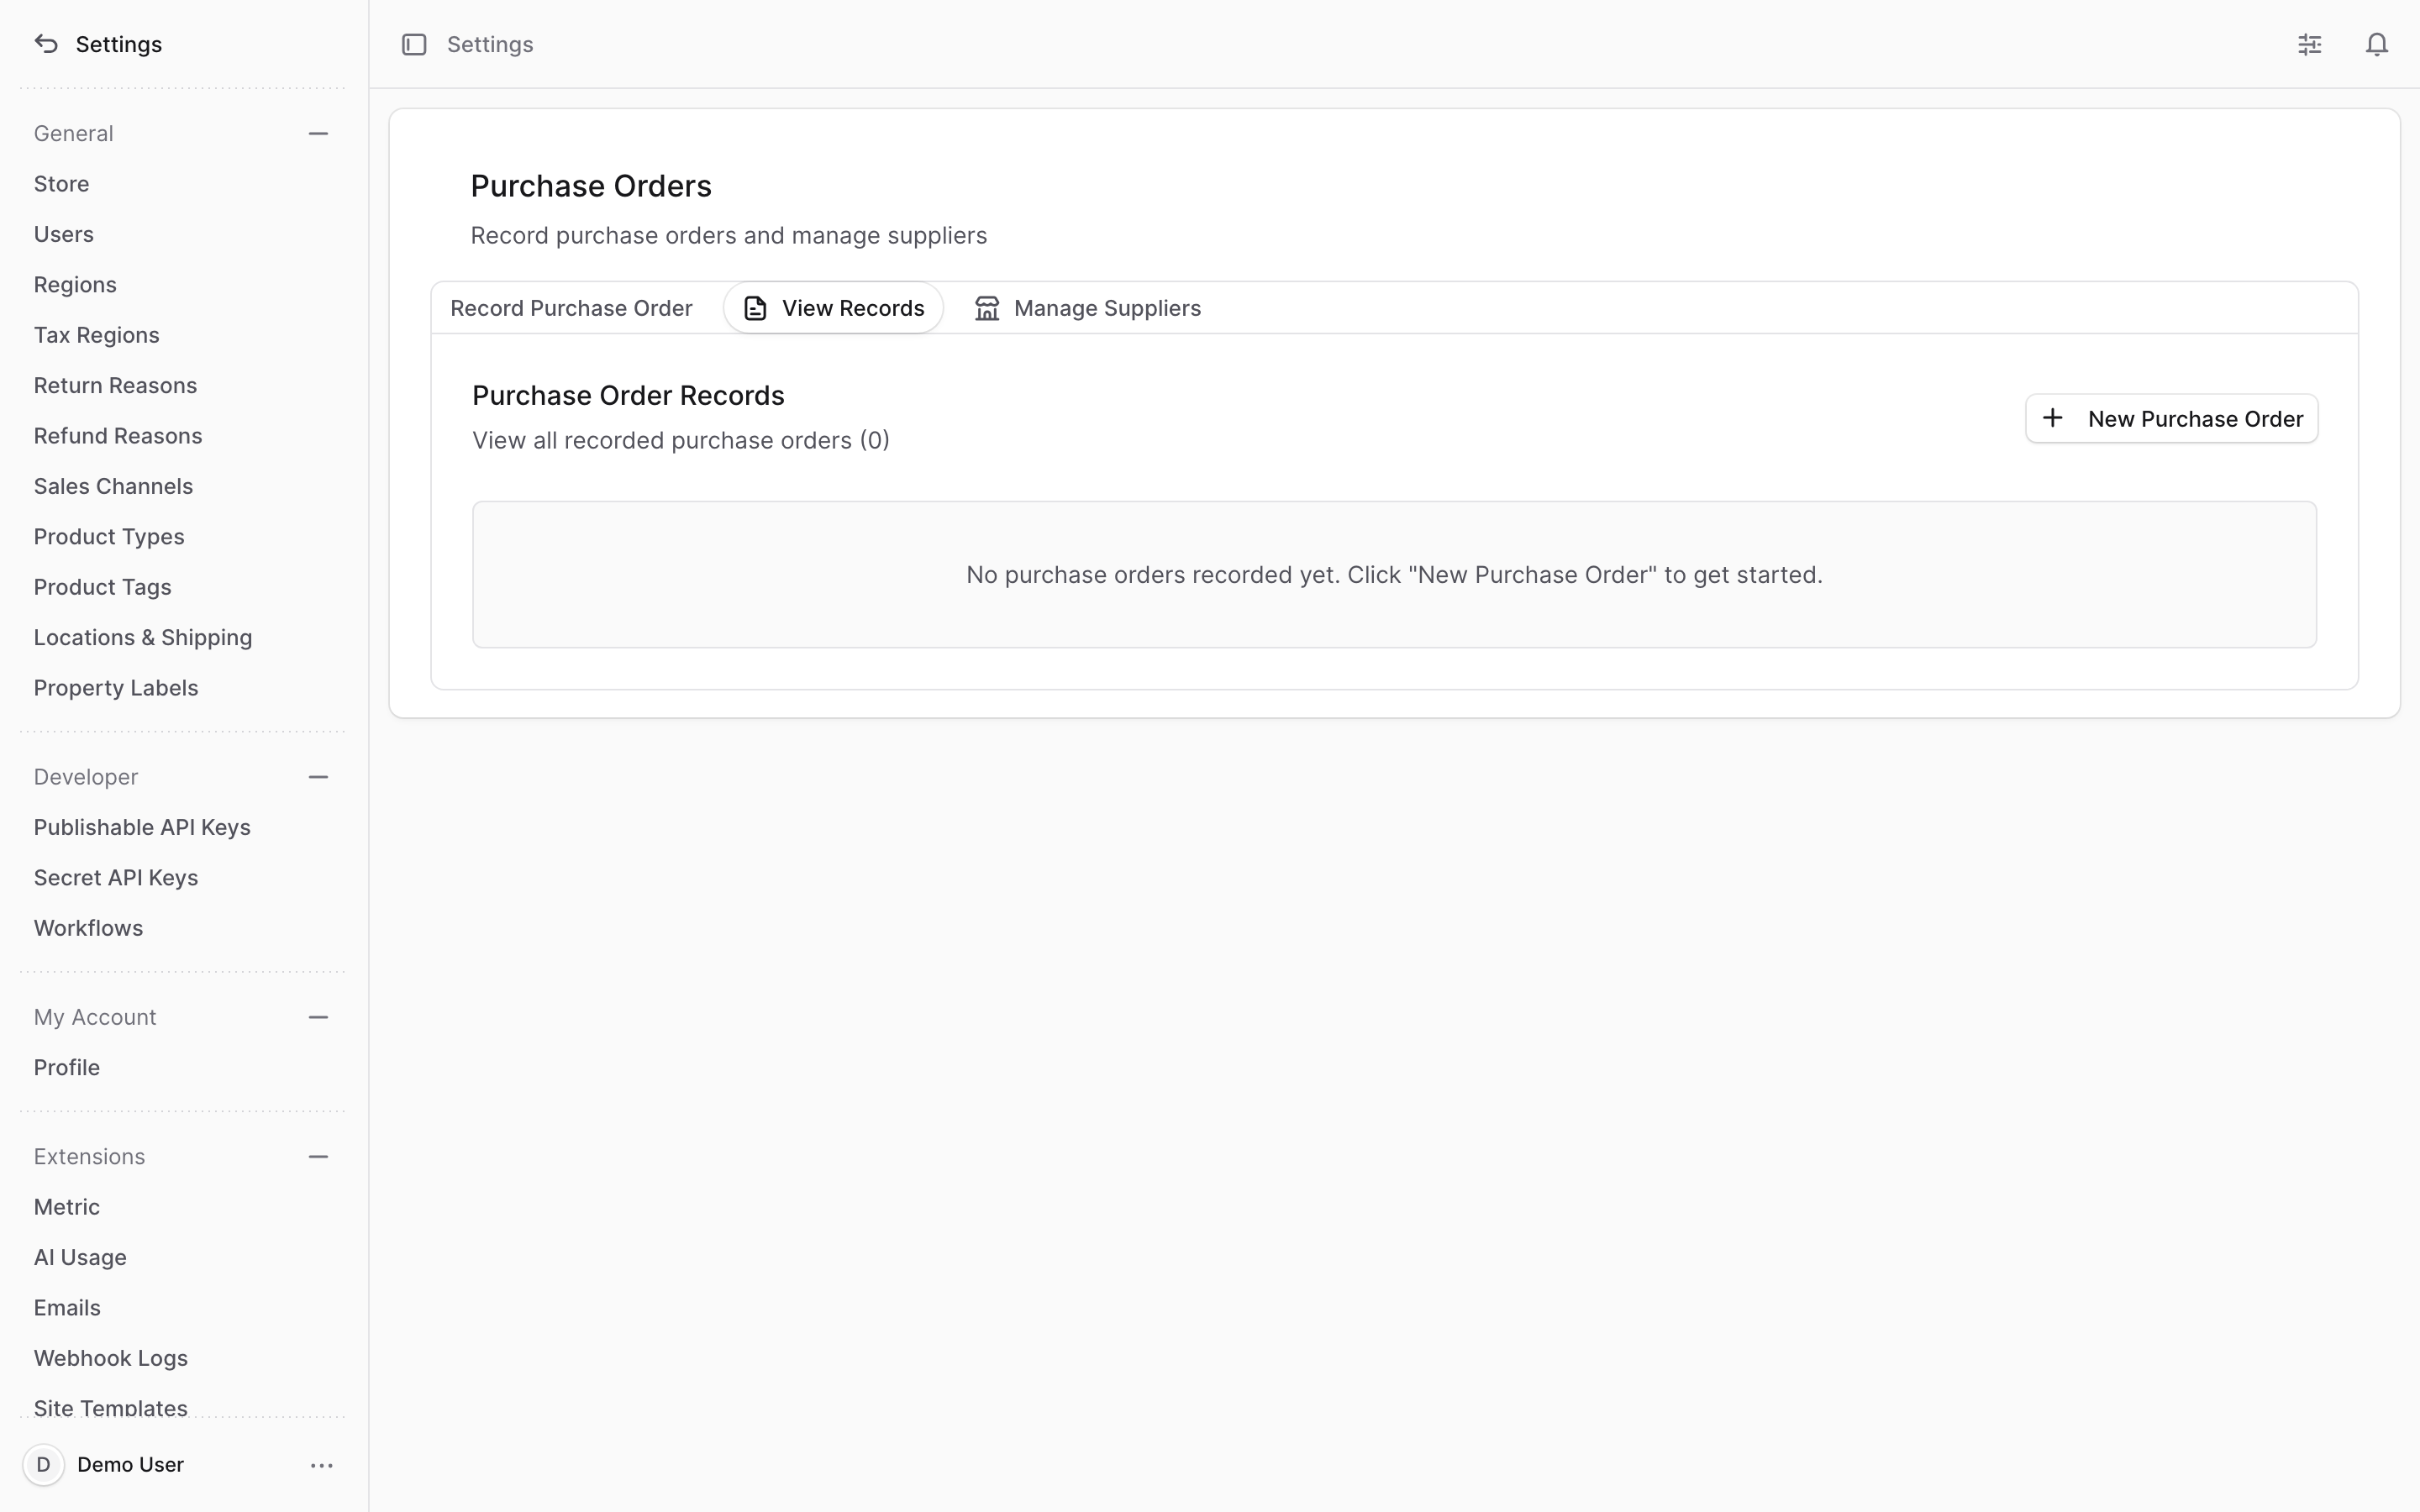
- View Records — the list of purchase orders you've already recorded
- Manage Suppliers — your list of suppliers
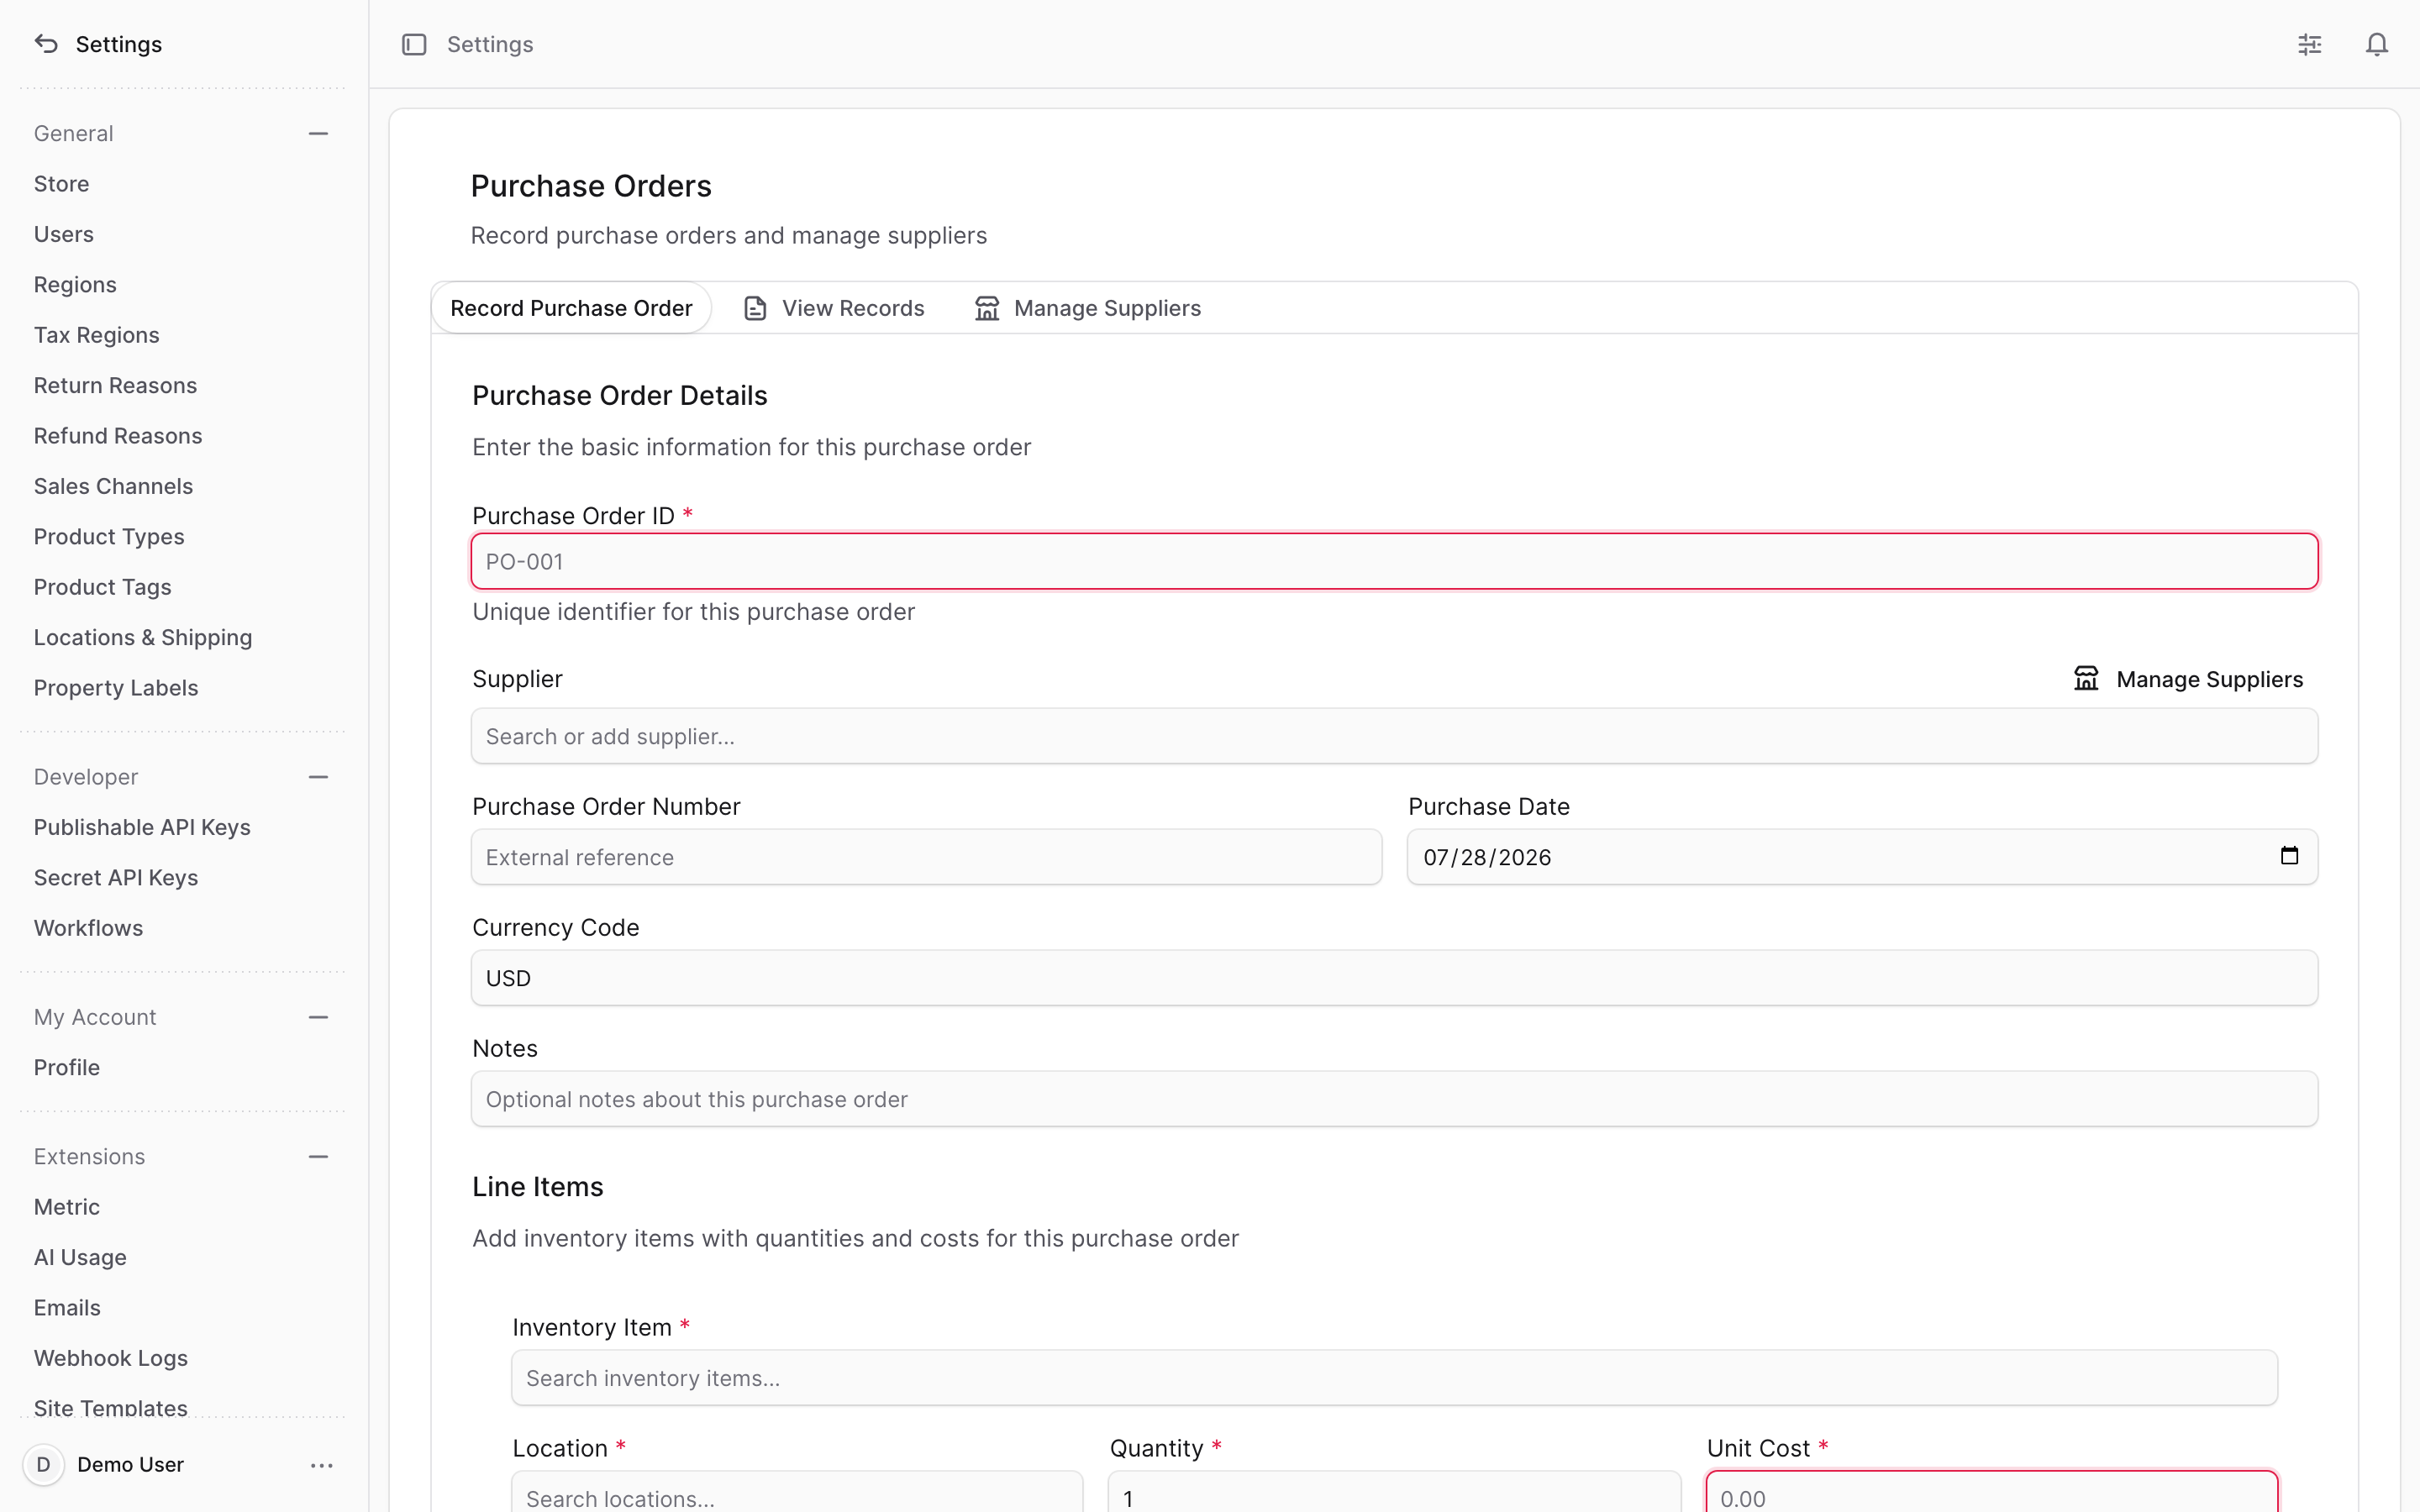
2. Add your suppliers first#
Before recording orders, it helps to add the suppliers you buy from so you can pick them from a list instead of retyping names.
Open the Manage Suppliers tab and click Add Supplier.
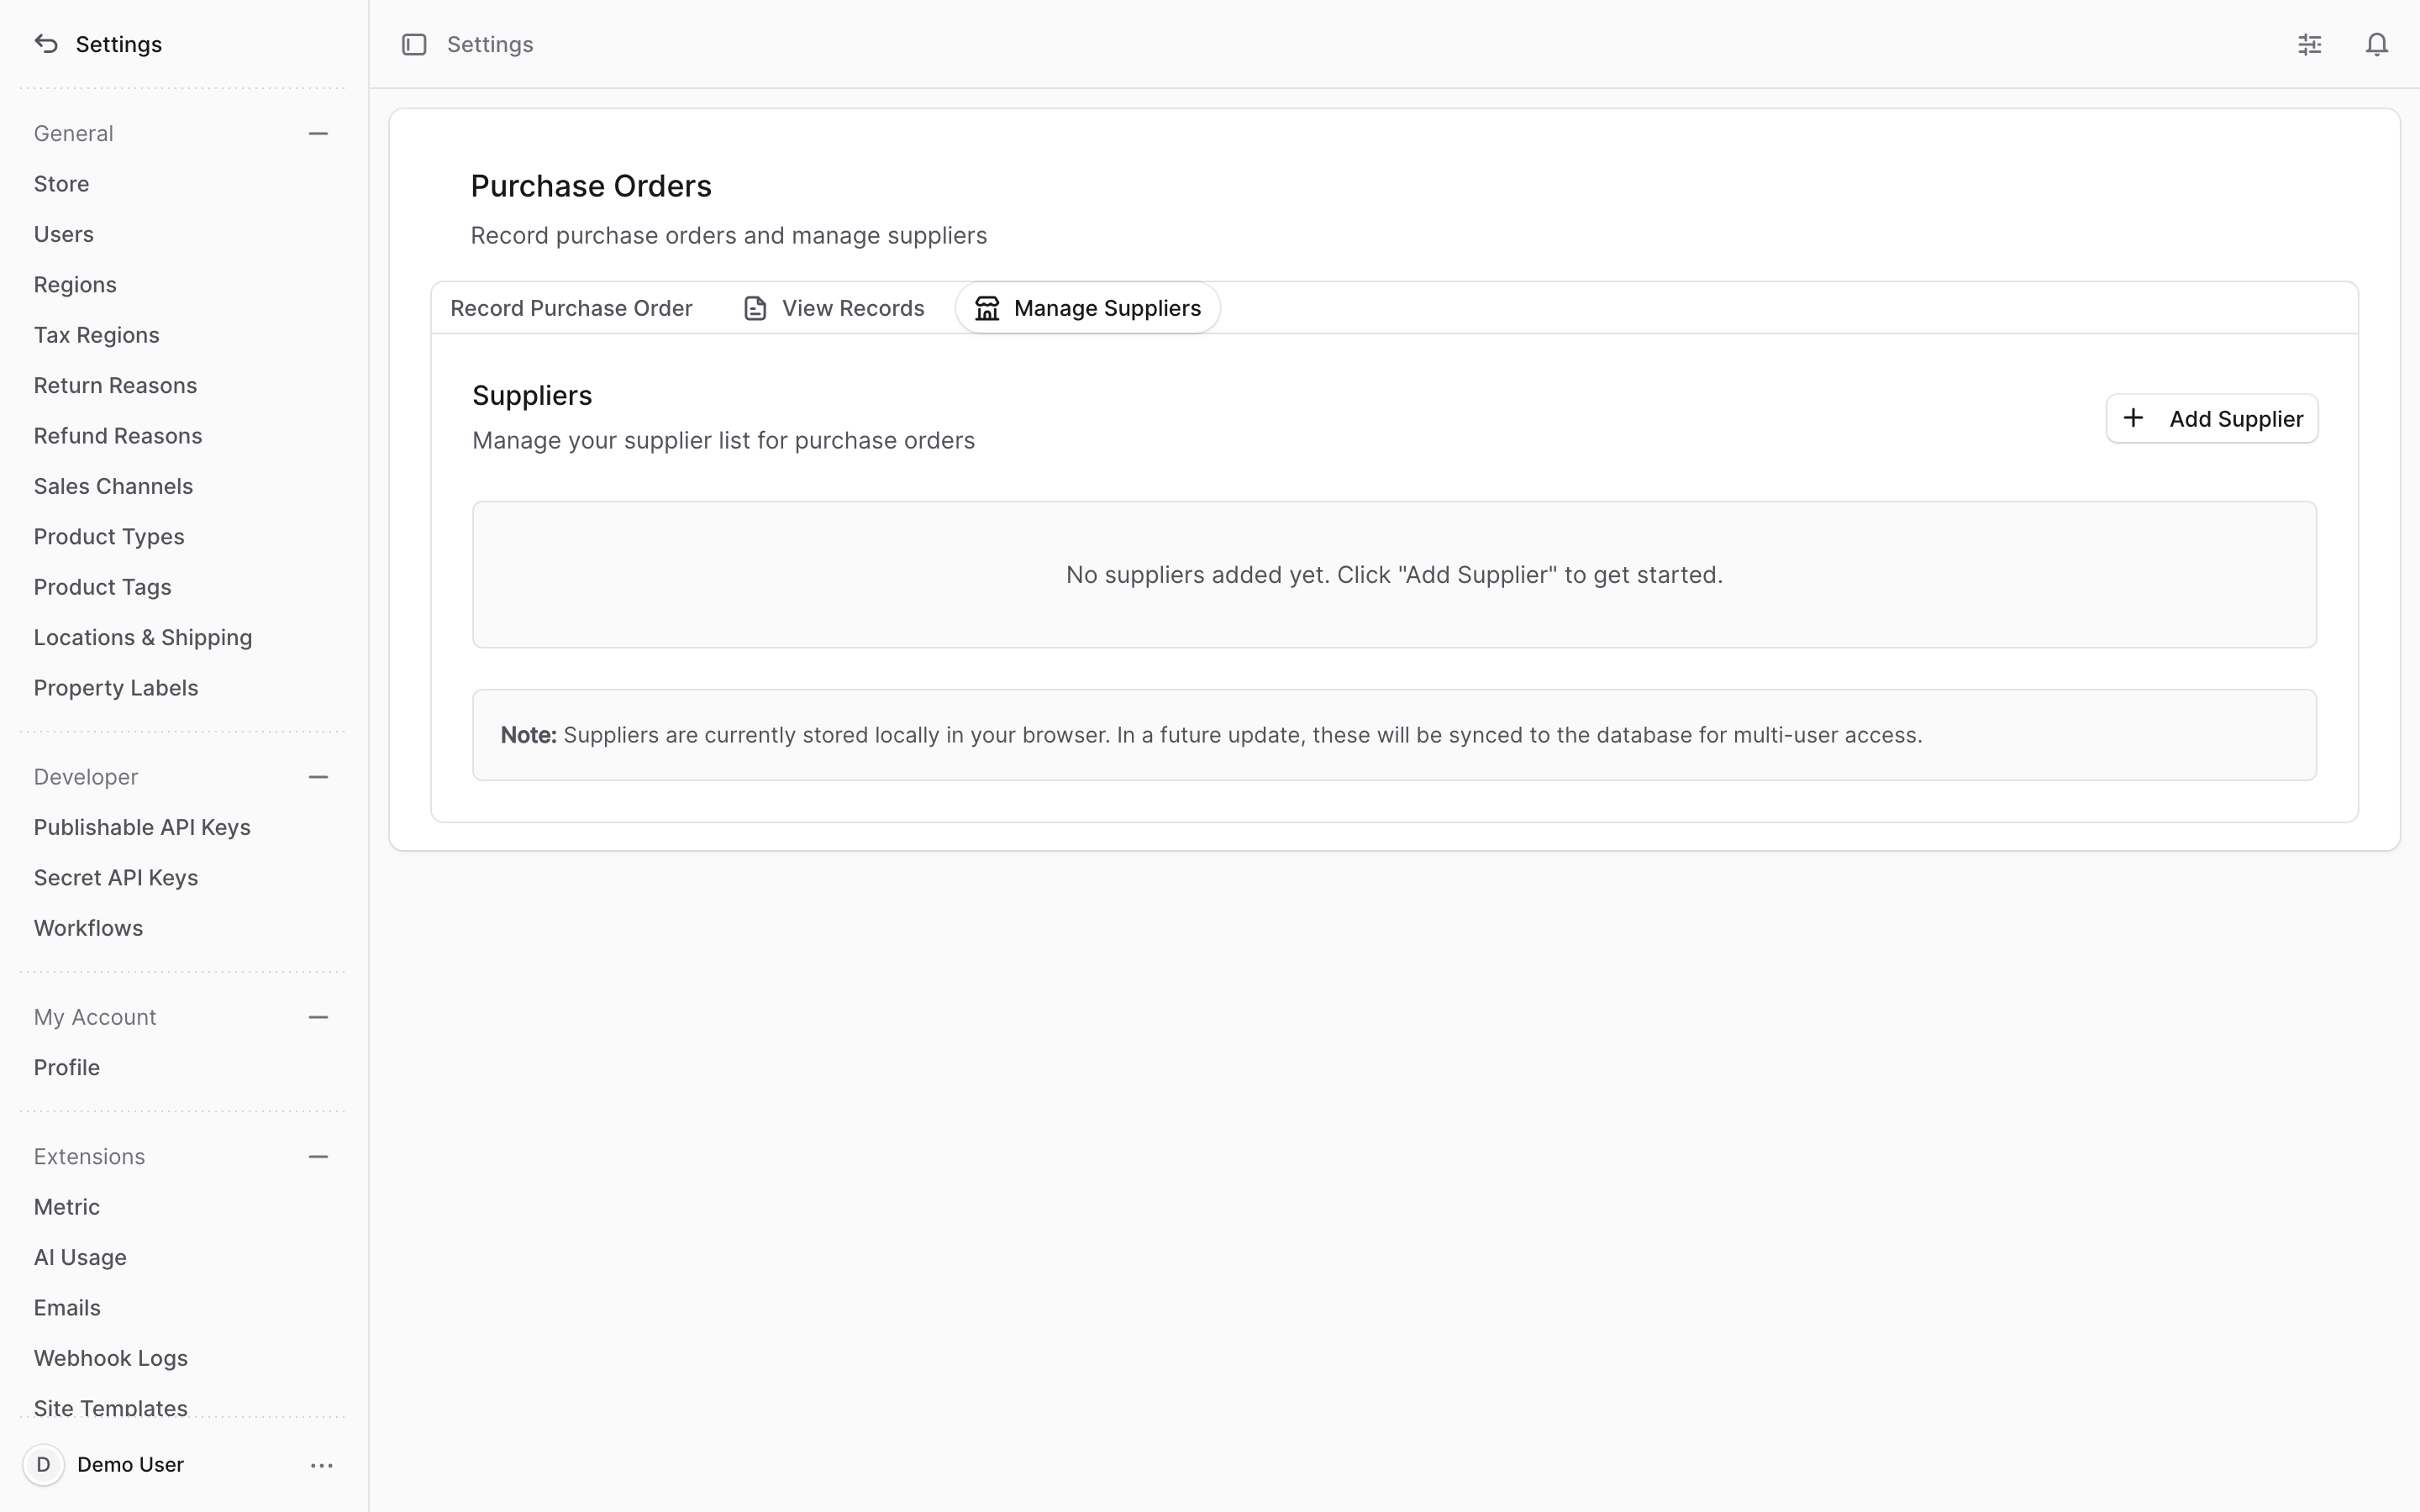
Fill in the supplier form:
- Supplier Name — required (for example, "Acme Corporation")
- Contact Email — optional
- Contact Phone — optional
Click Add Supplier to save, or Cancel to discard. Your suppliers appear in a table showing their name, contact email, contact phone, and the date each was added.
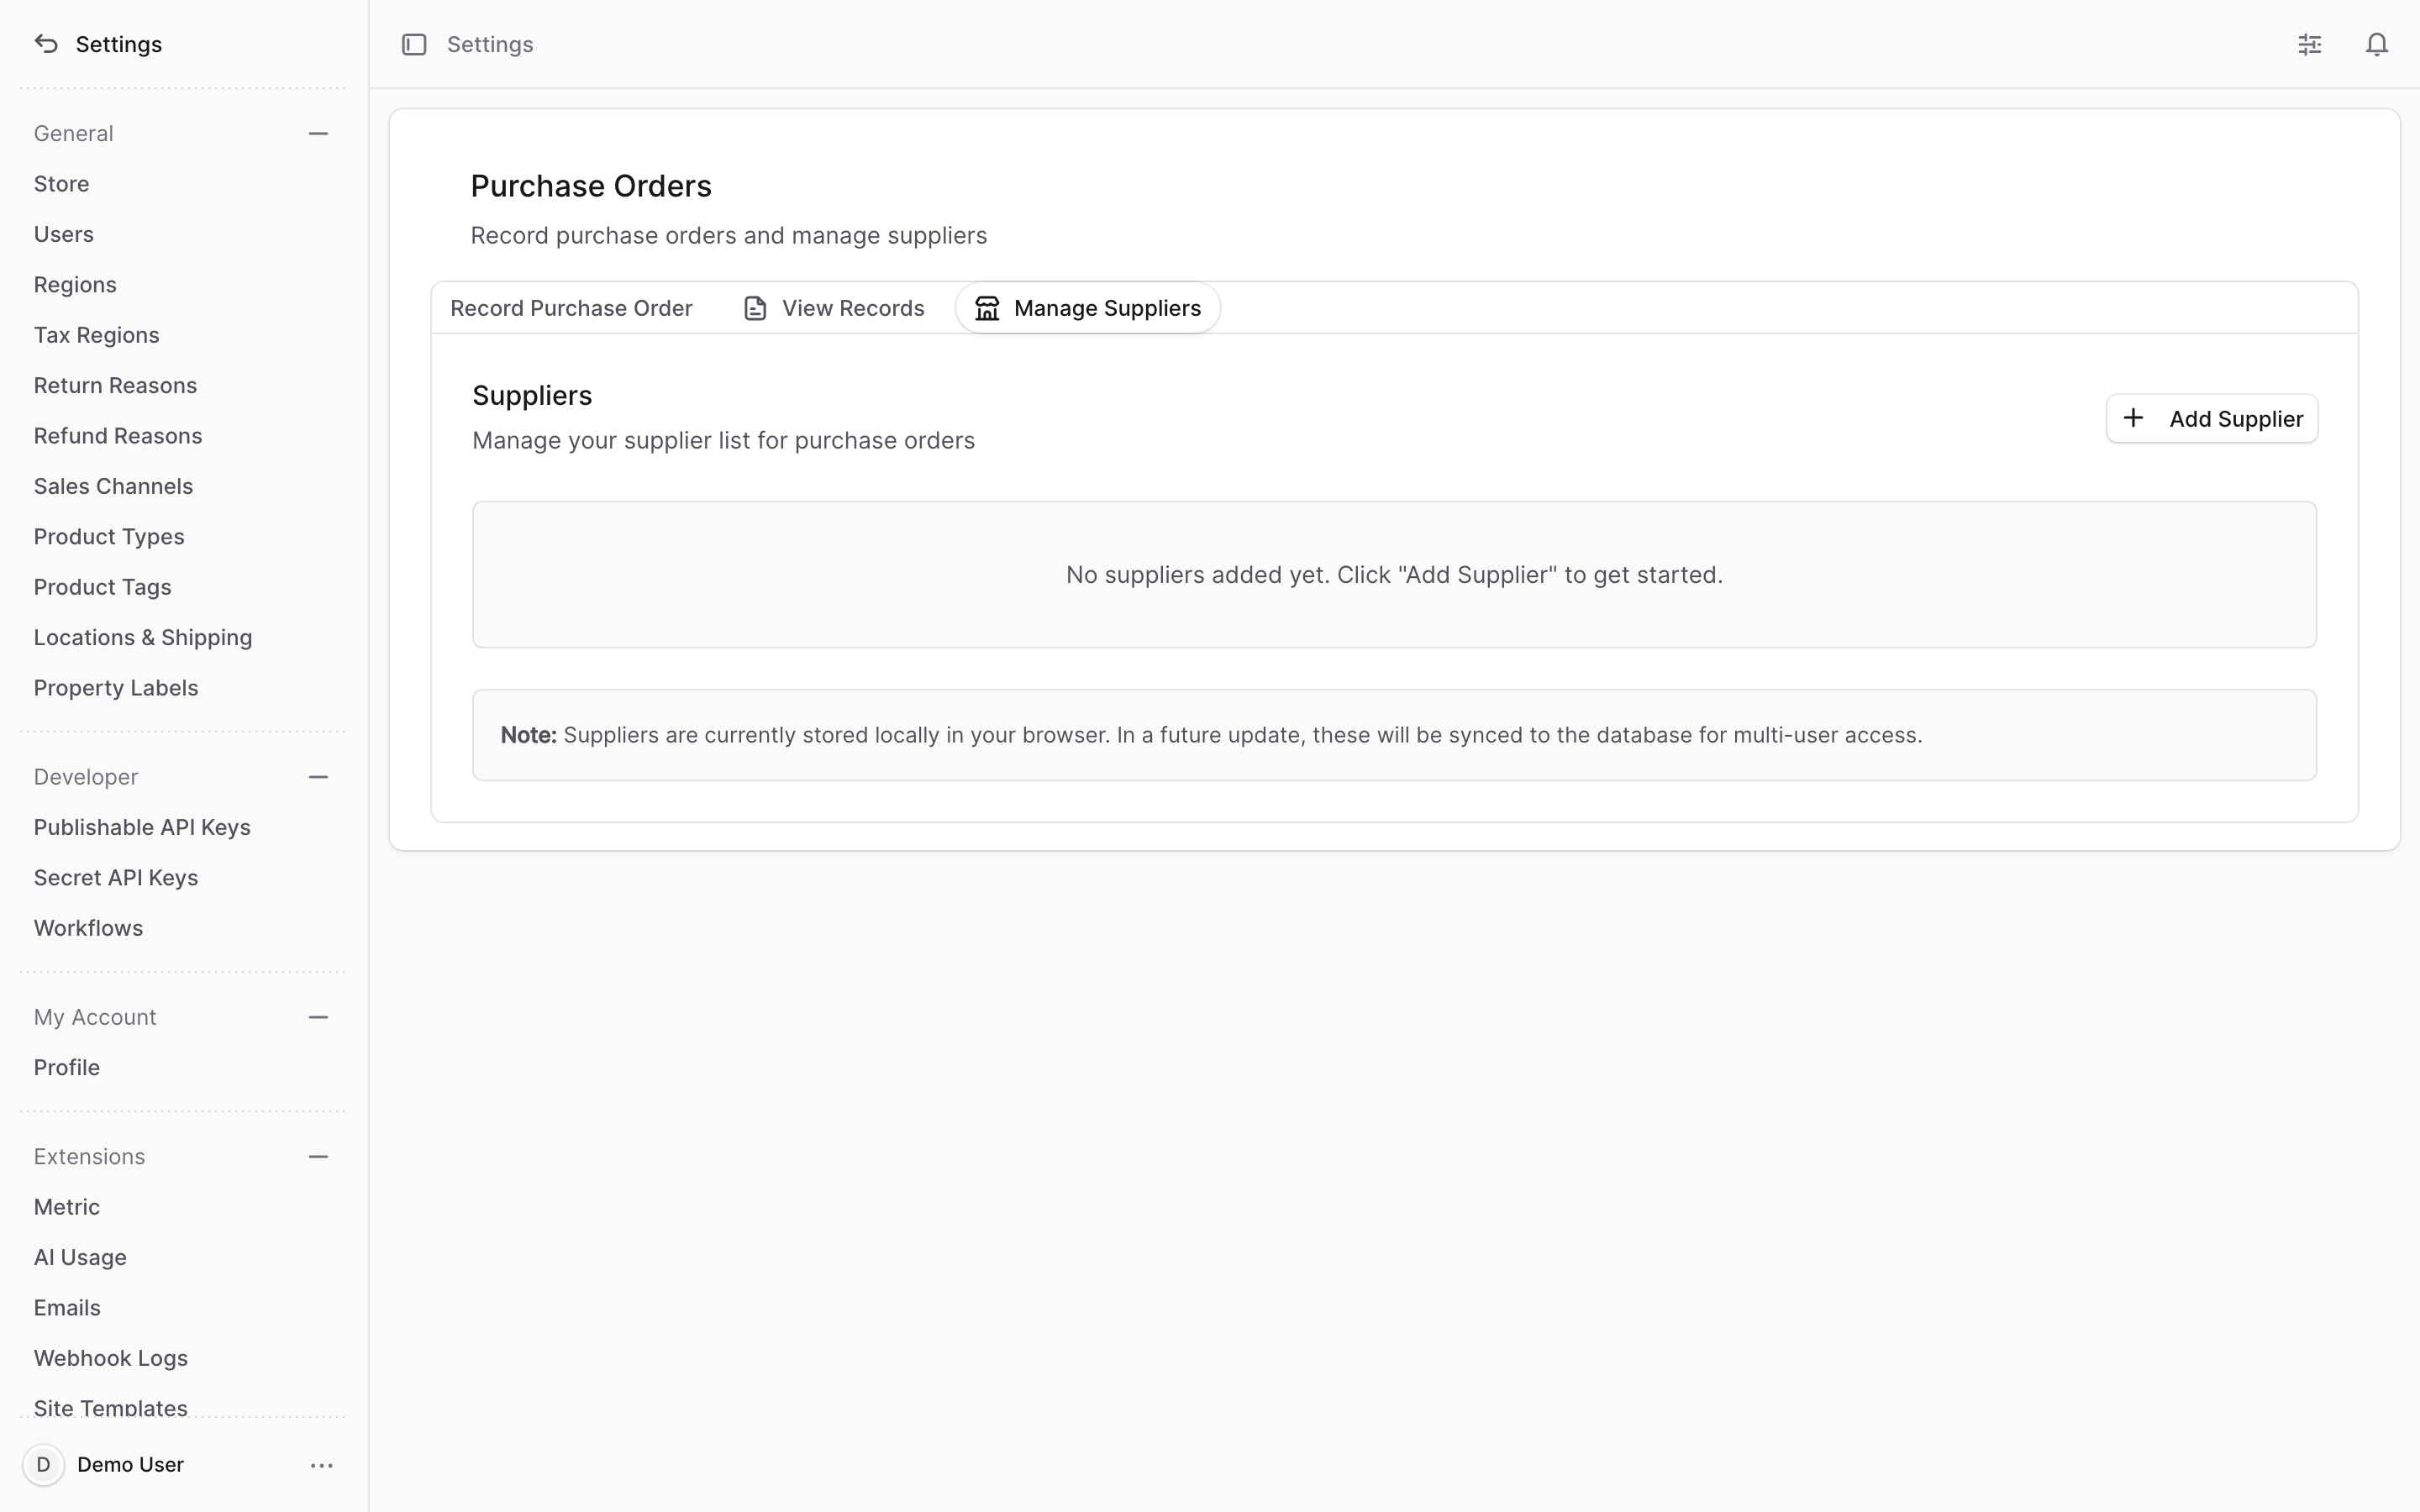
Tip: Suppliers are currently stored in your own browser, not on the server. That means a supplier you add on one computer or browser won't appear on another. Re-add suppliers if you switch machines.
To remove a supplier, click the trash icon in its row.
Caution: Deleting a supplier removes it from your saved list and cannot be undone. Purchase orders you already recorded keep the supplier name that was stored on them.
3. Record a purchase order#
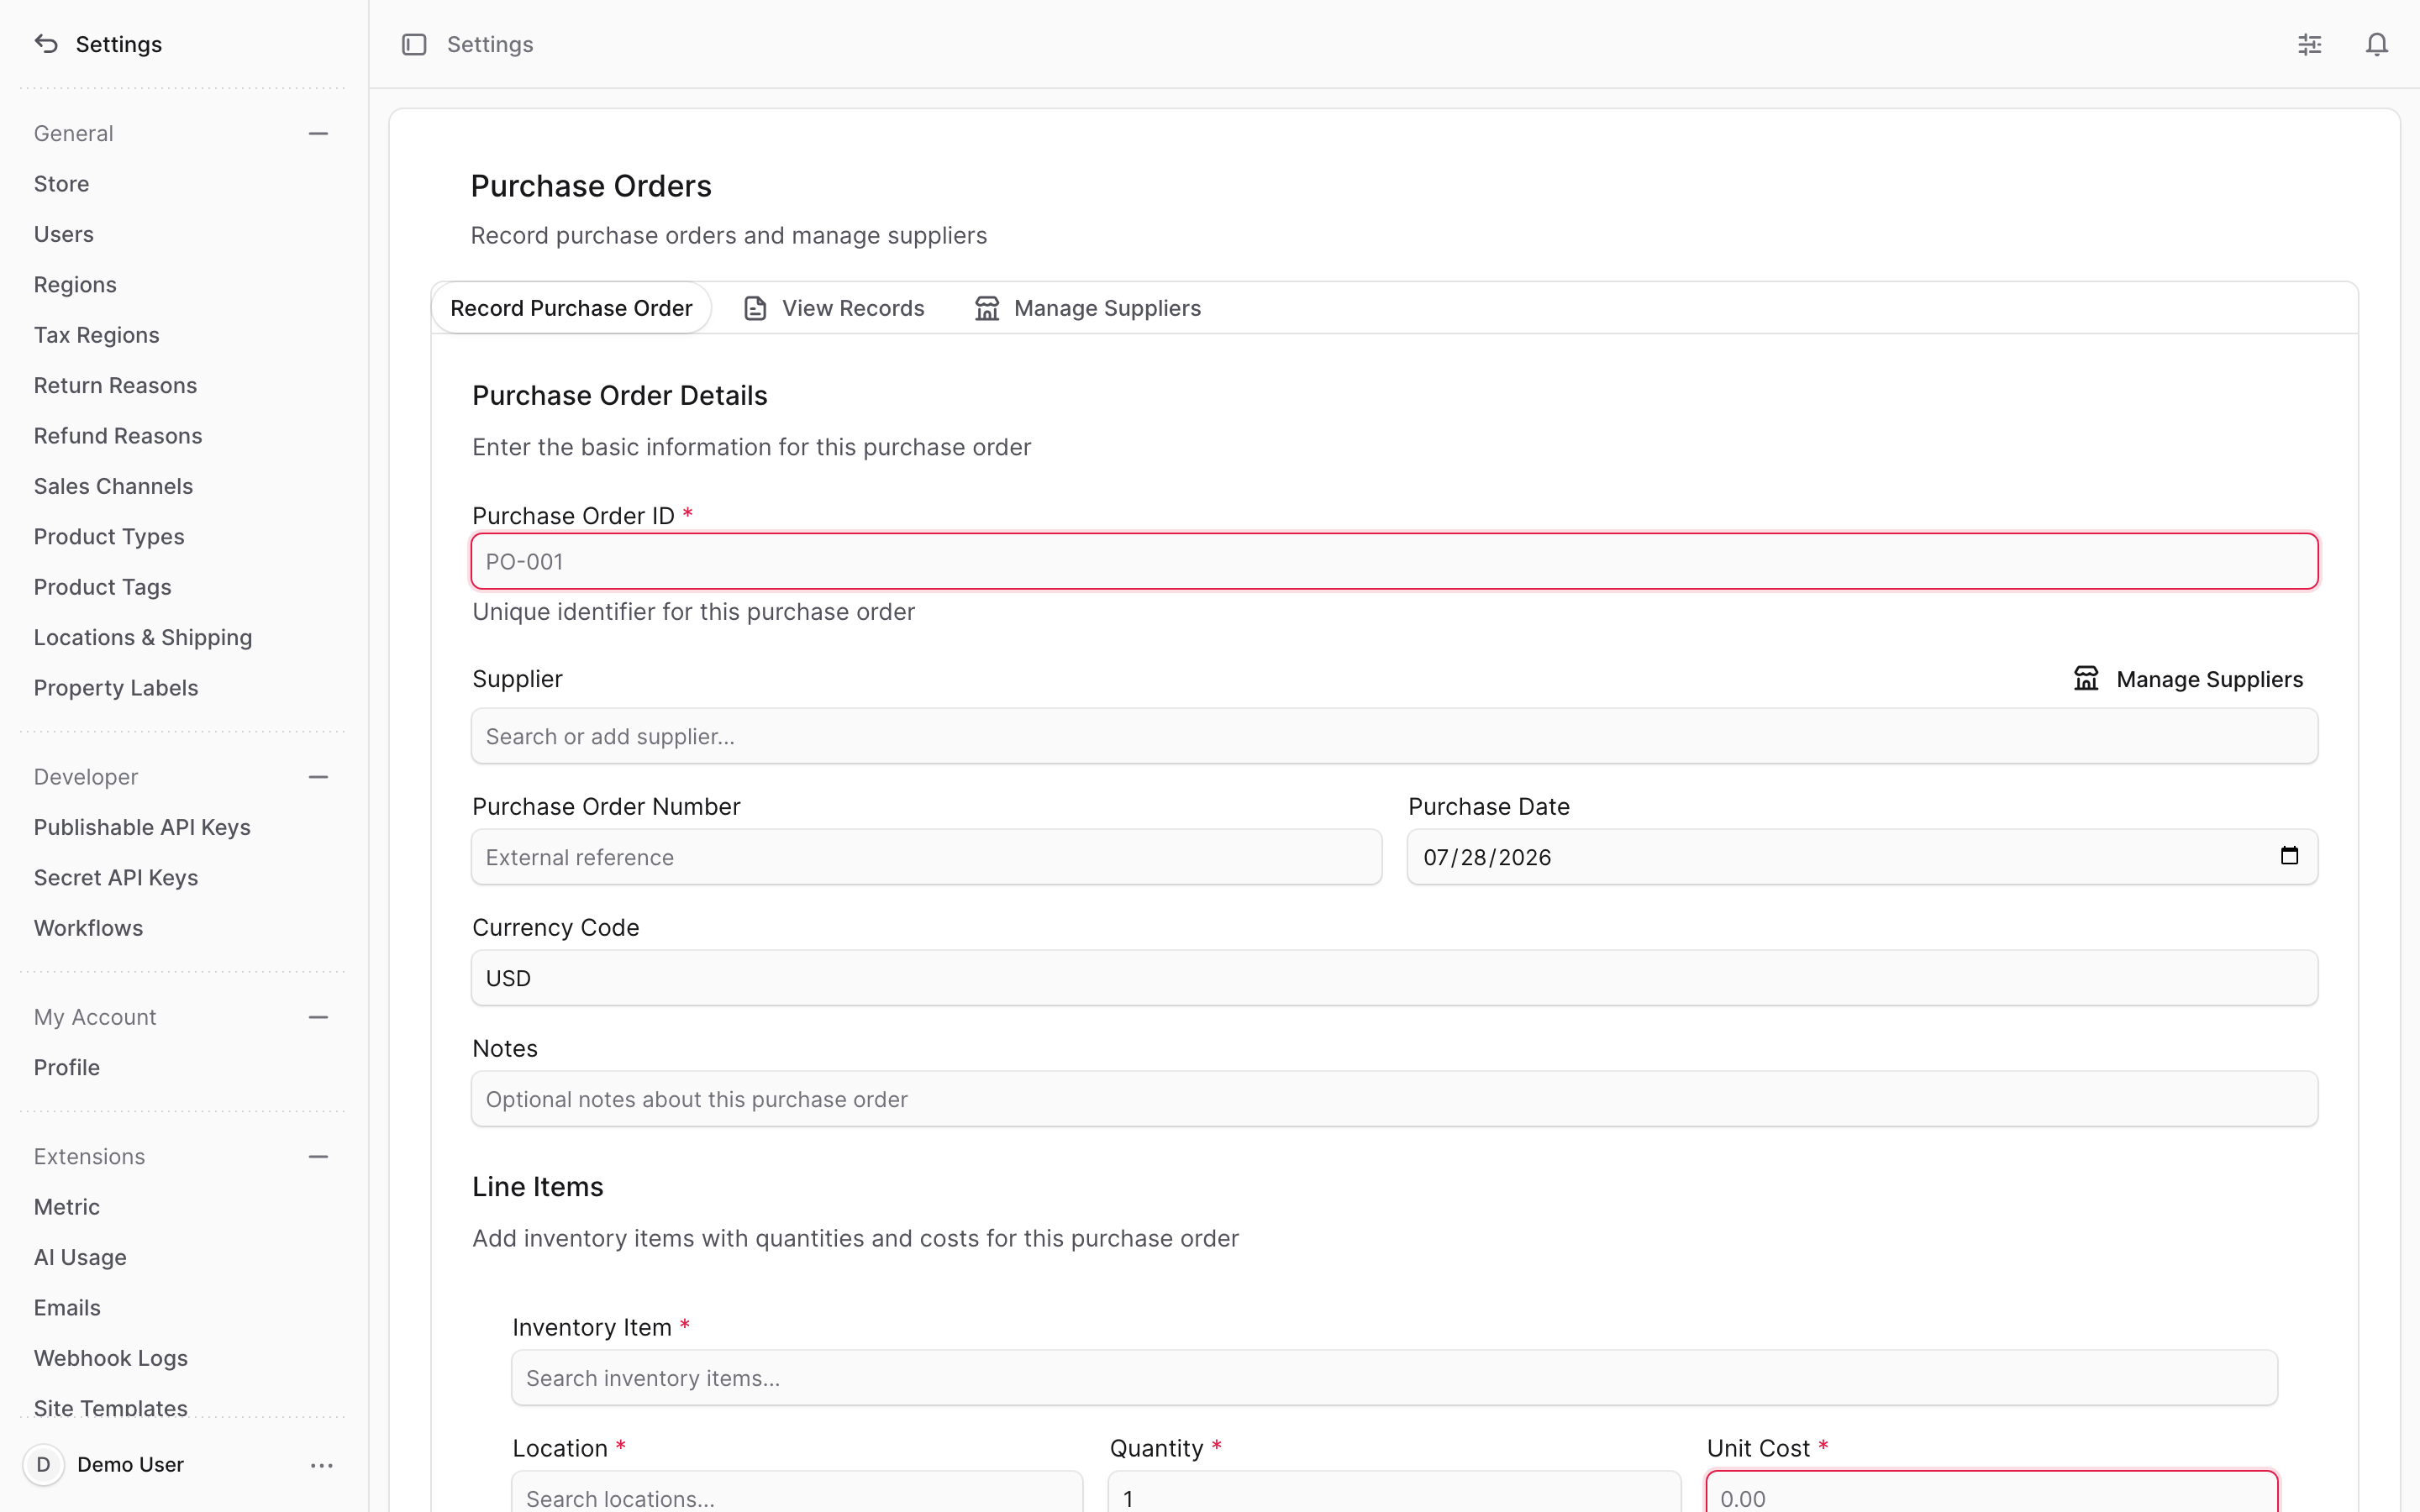
Open the Record Purchase Order tab. Fill in the order details at the top:
- Purchase Order ID — required. Your own unique reference for this order (for example, "PO-001").
- Supplier — start typing to search your saved suppliers, or choose + Add New Supplier to add one on the spot.
- Purchase Order Number — optional. An external reference, such as the number on the supplier's own paperwork.
- Purchase Date — defaults to today; change it if the order was placed earlier.
- Currency Code — defaults to USD. Change it if you paid in another currency.
- Notes — optional free text about this order.
4. Add line items#
Each purchase order needs at least one line item. In the Line Items section, fill in each line:
- Inventory Item — required. Search by SKU or name and pick the item you bought.
- Location — required. The stock location this quantity was received into.
- Quantity — required. How many units you bought.
- Unit Cost — required. The cost per unit, entered as a decimal (for example,
12.50, not1250). - Valuation Method — how this cost is counted. Choose FIFO, LIFO, or Weighted Avg (defaults to FIFO).
- Notes — optional notes for this line.
- Purchase Date — optional date for this specific line.
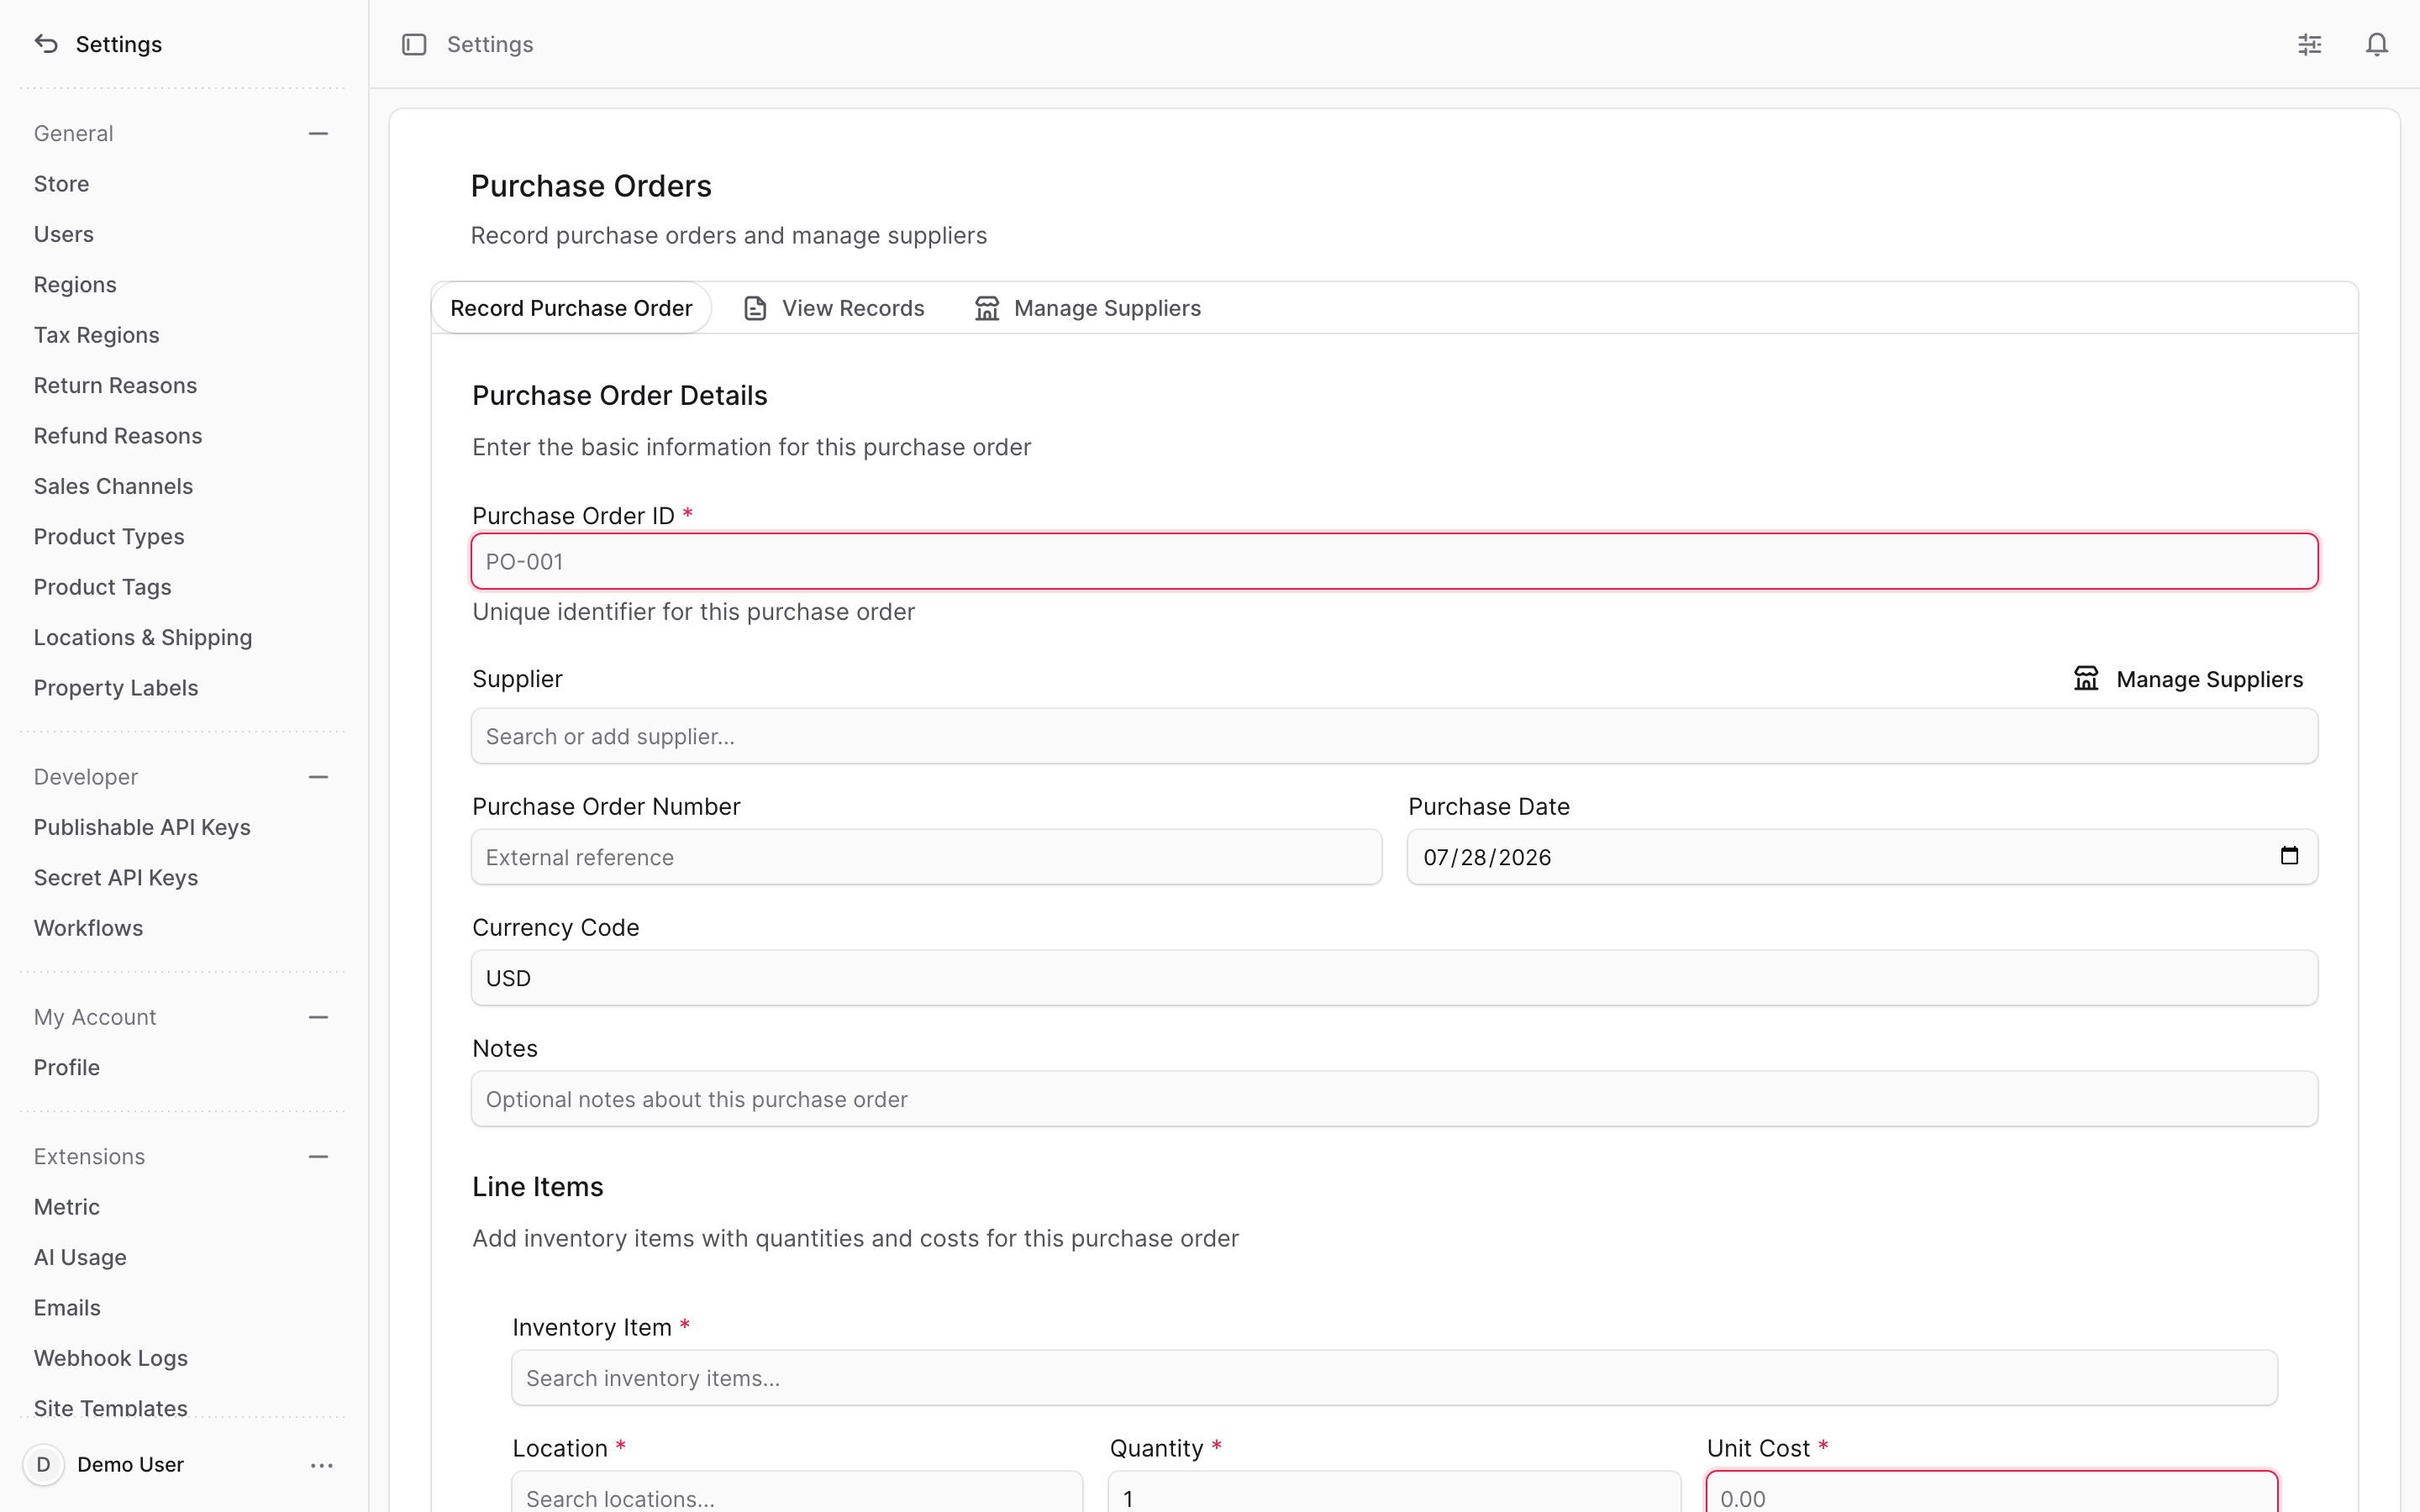
To add more items, click + Add Another Line Item. To remove a line, click Remove Line (available once you have more than one line).
Tip: Every line must have an inventory item selected before the order will save. If a line is missing one, the form highlights it and shows an error when you try to record the order.
5. Save the purchase order#
When the details and line items are filled in, click Record Purchase Order at the bottom of the form. Click Cancel to discard your entries instead.
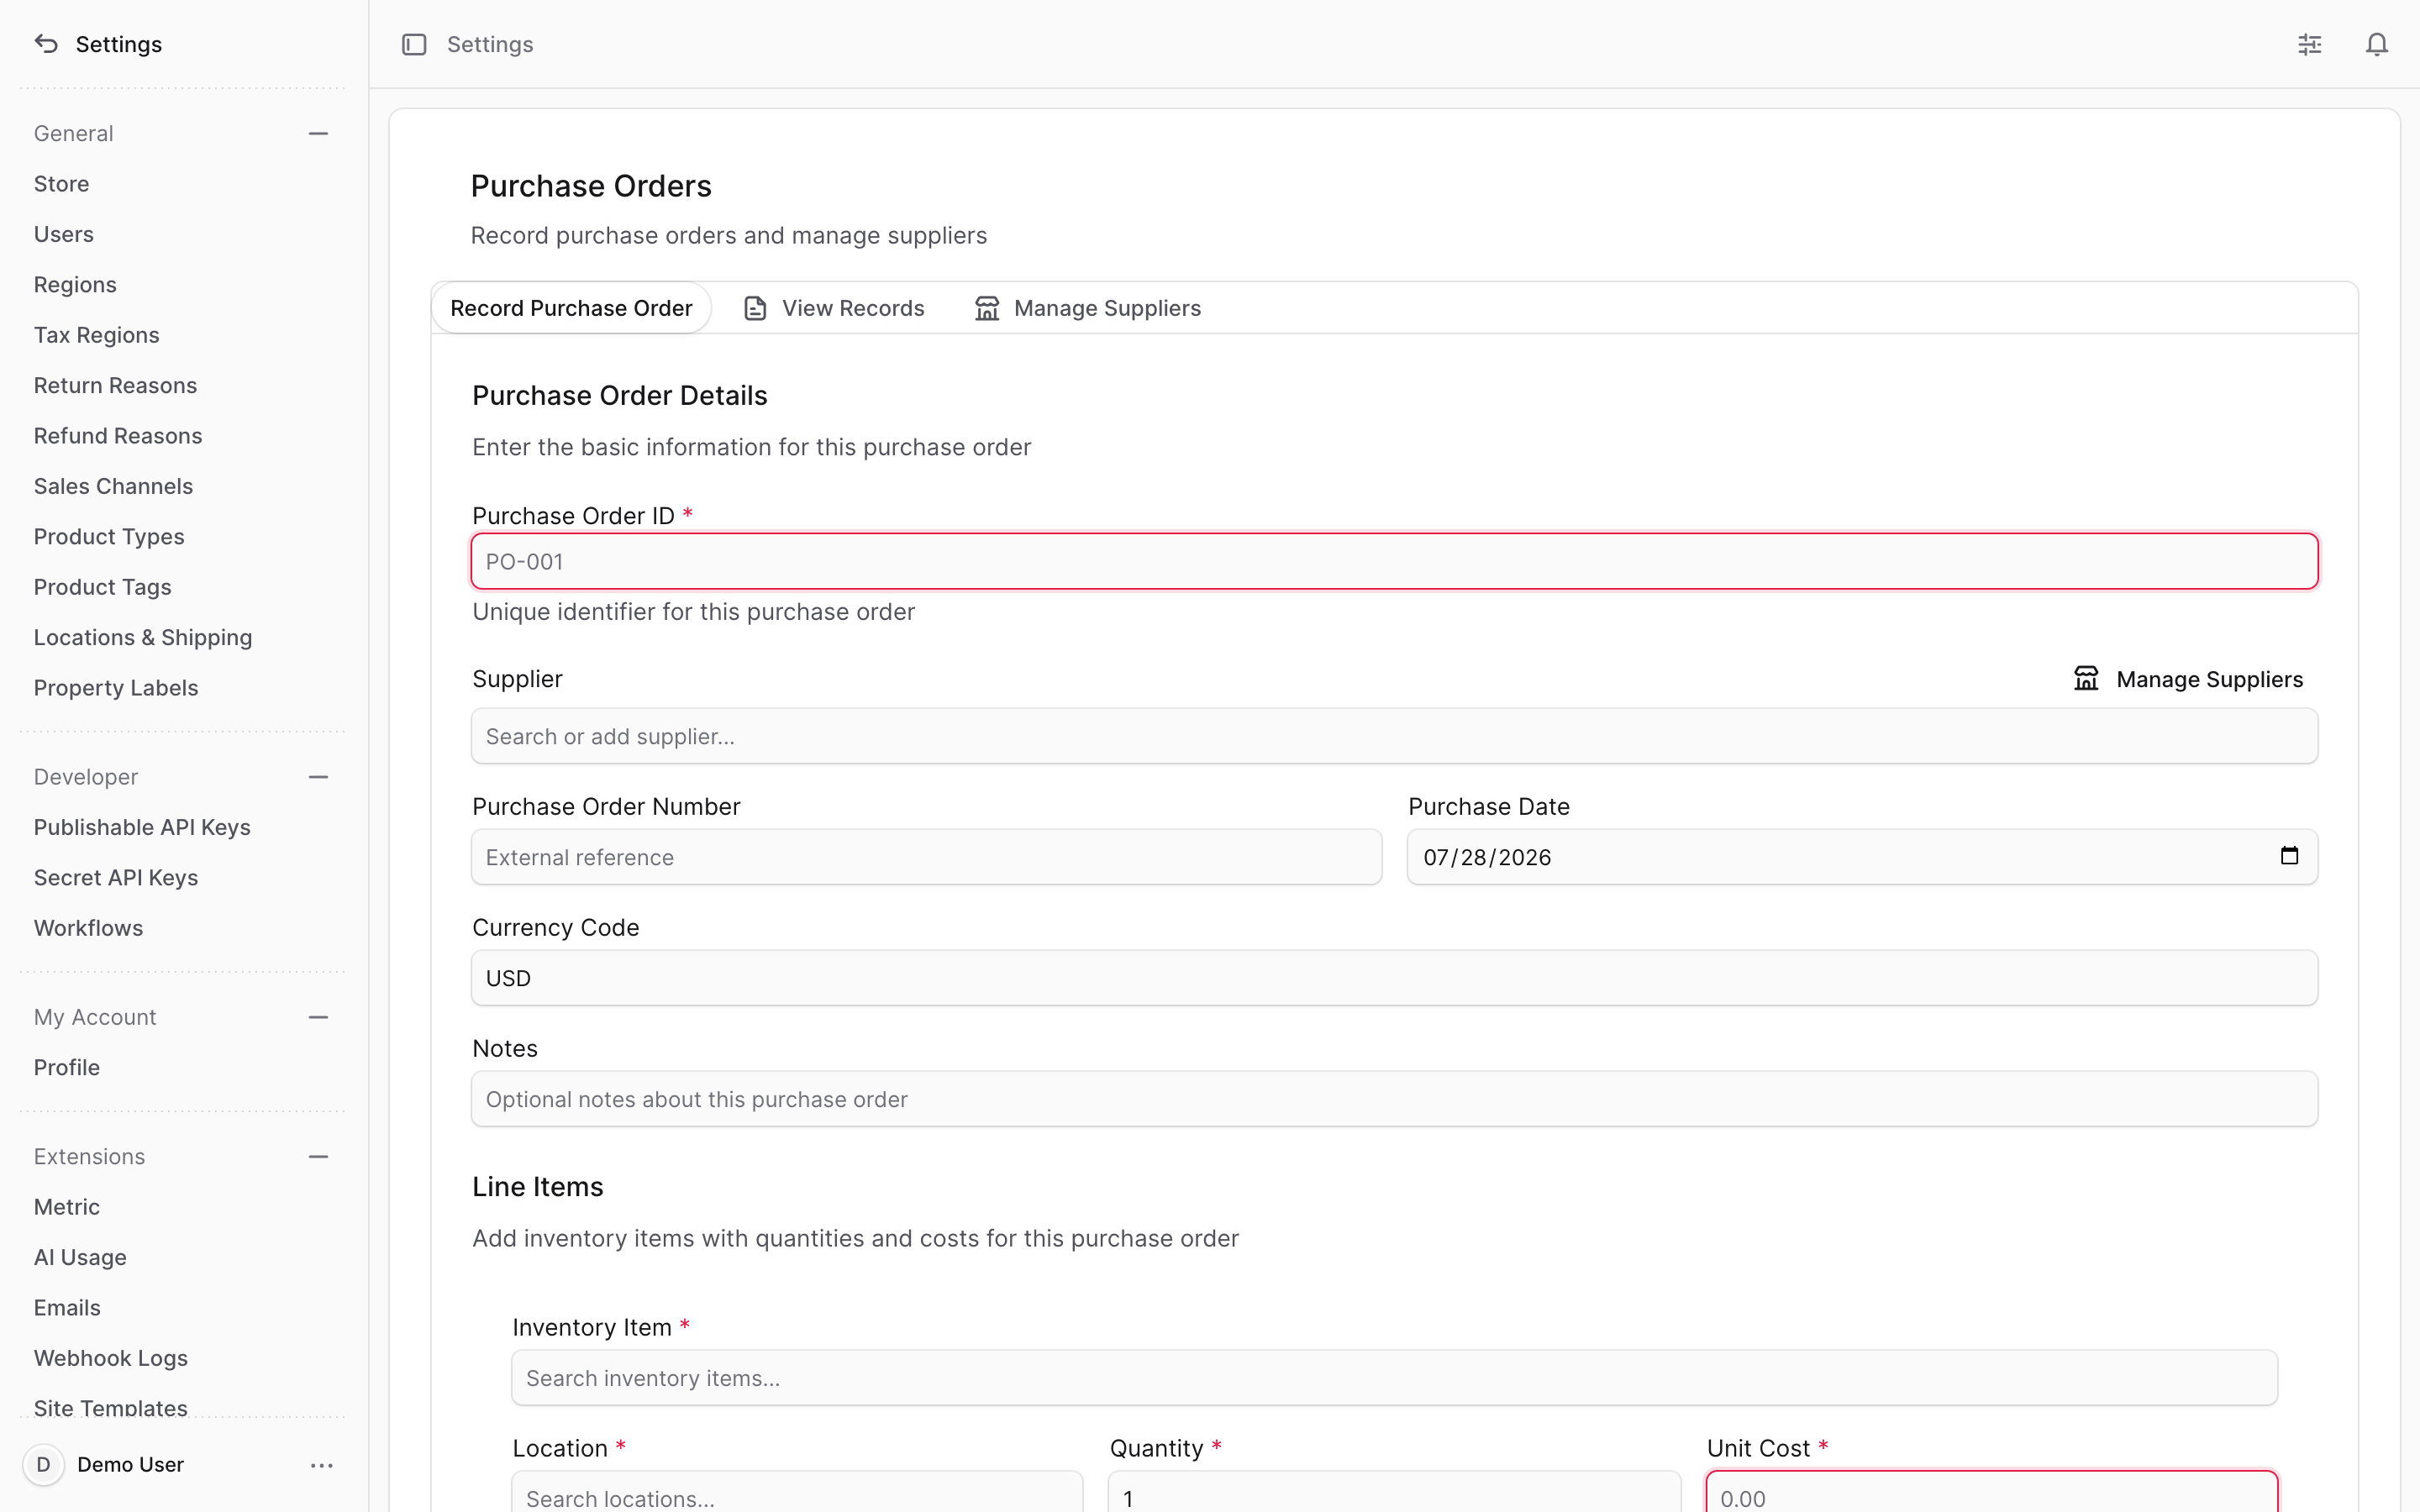
After a successful save you'll see a confirmation, and the page switches to the View Records tab so you can see the order you just entered.
6. Review recorded purchase orders#
Open the View Records tab to see every purchase order you've recorded. The count of orders appears at the top, and a New Purchase Order button here takes you back to the recording form.
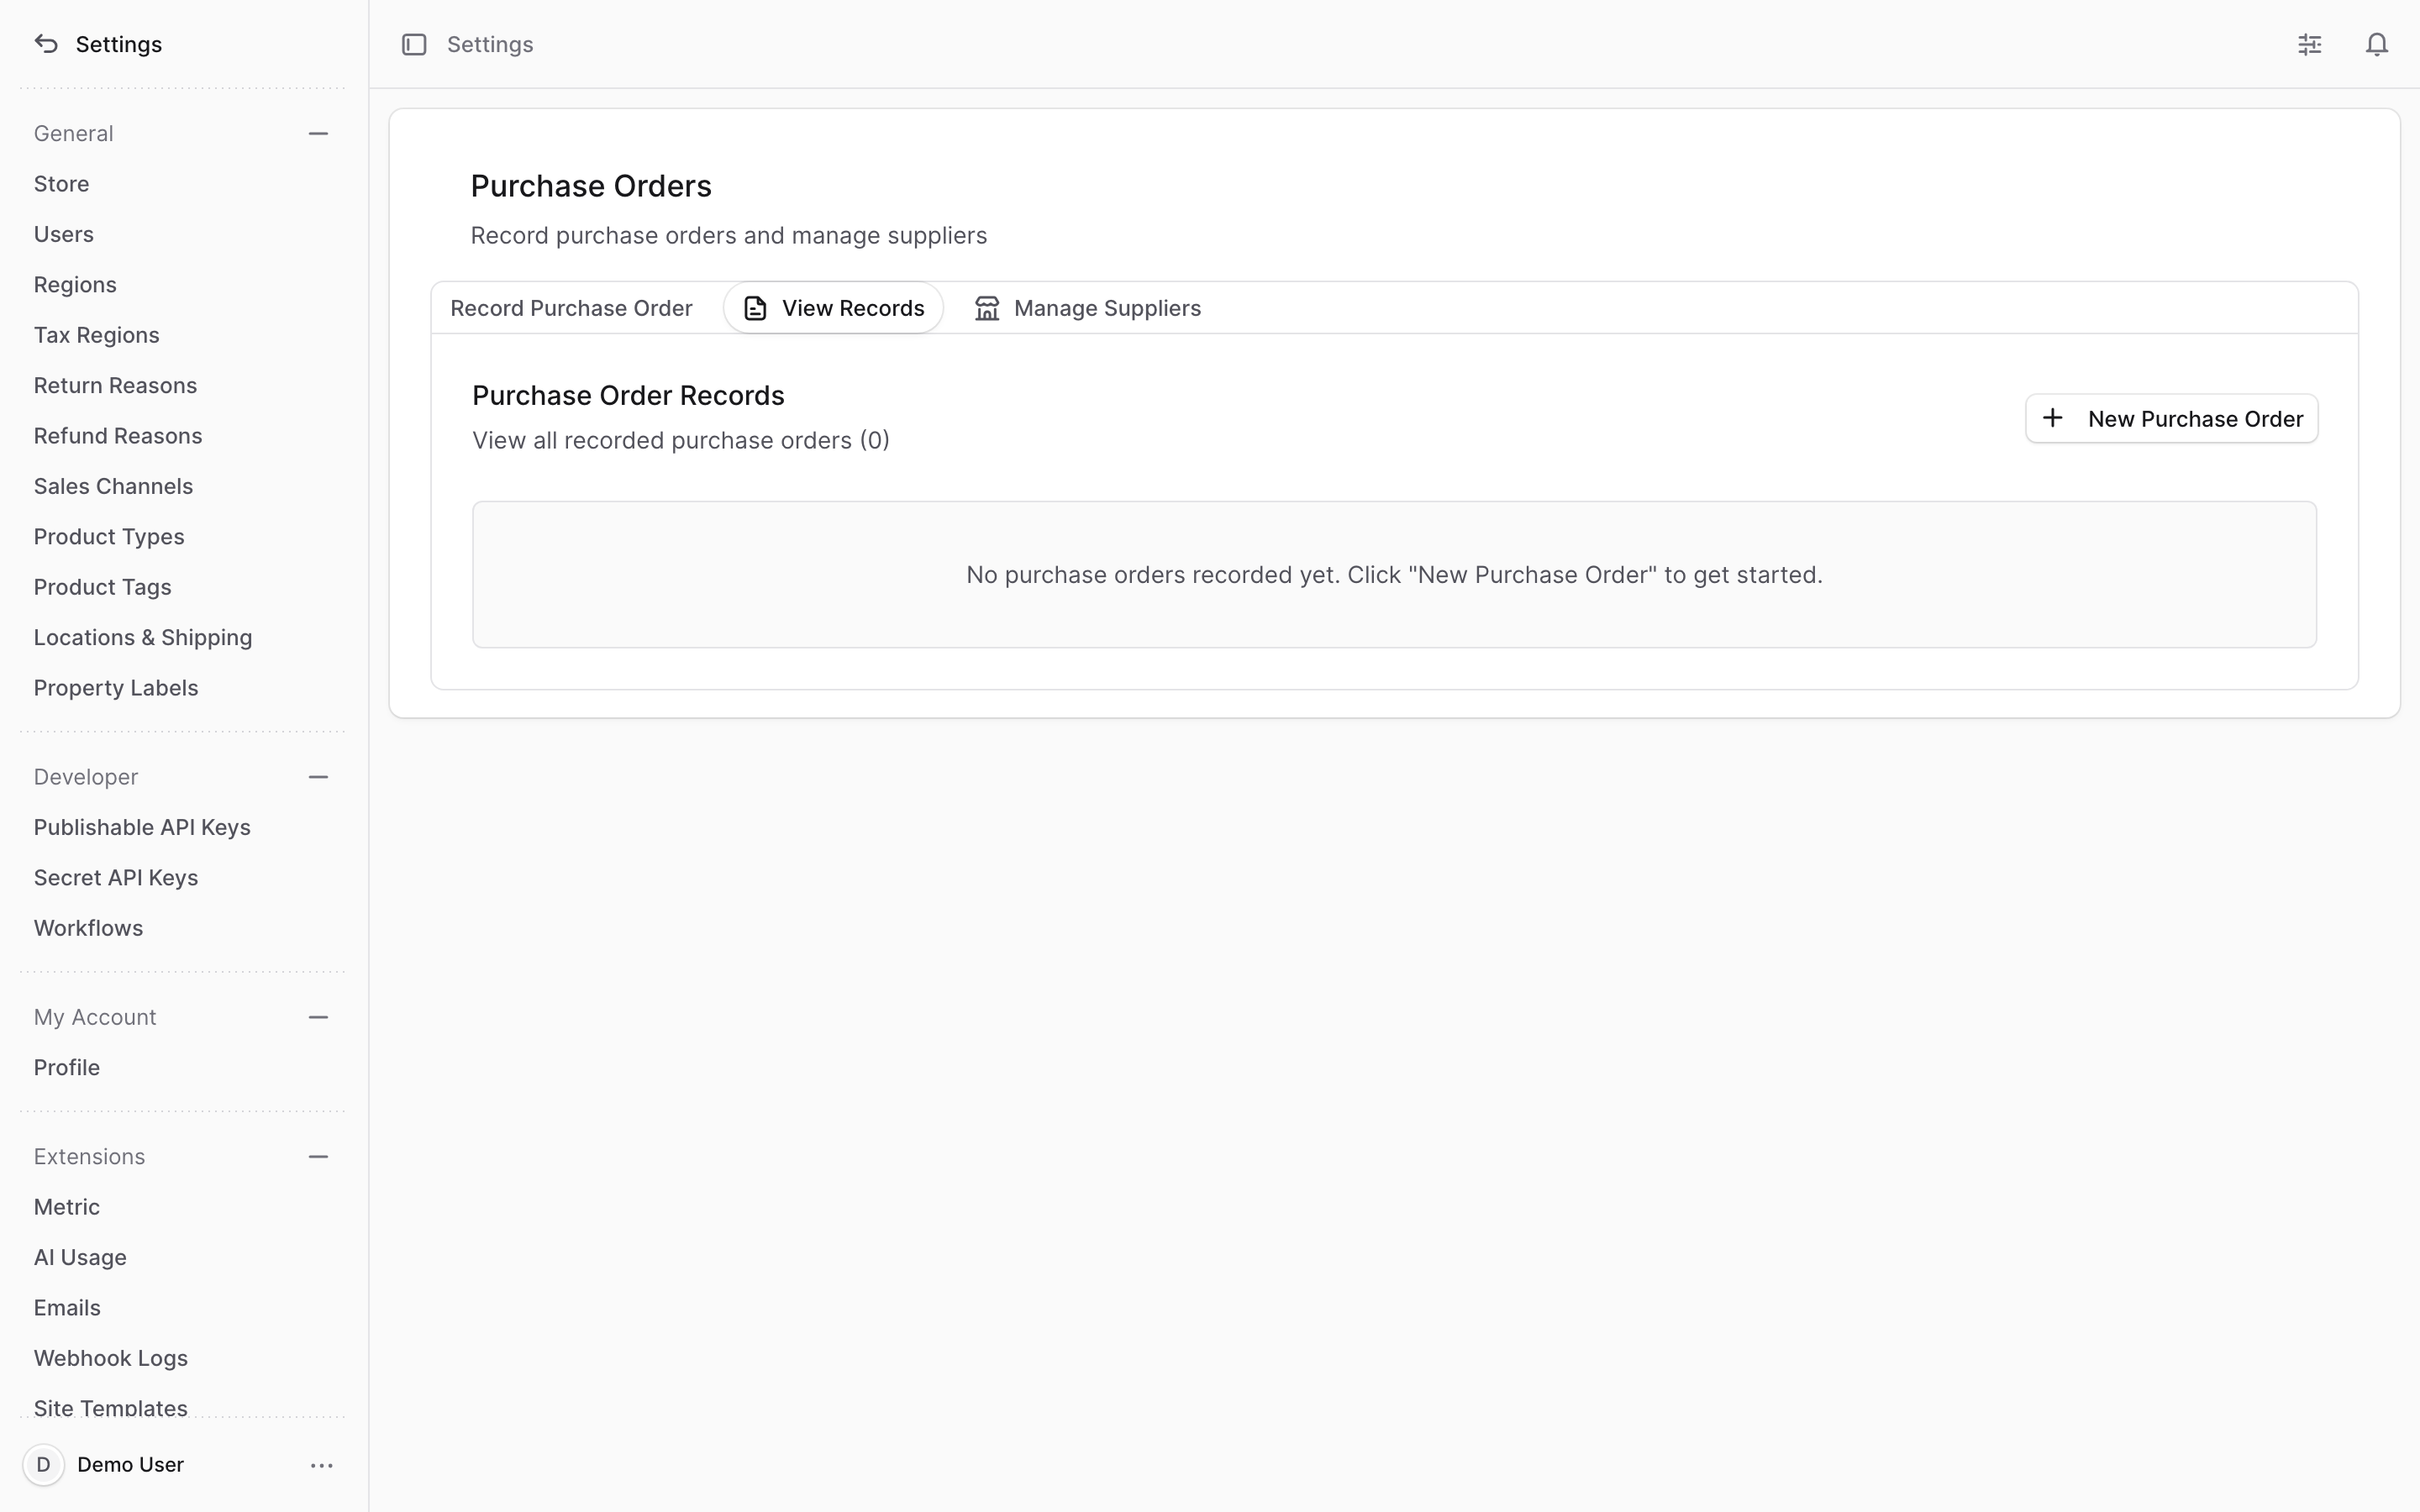
Use the tools above the list to narrow it down:
- Search — type to match by PO ID, PO number, supplier, date, product title, or SKU.
- Filter by supplier — pick a single supplier, or All suppliers.
Each row shows the PO ID, PO number, supplier, the products on the order, purchase date, currency, number of line items, the total amount, and when it was created. Long lists are paged; use Previous and Next to move between pages.
7. See cost history on an inventory item#
Open any inventory item detail page and scroll to the Purchase Orders section. This widget summarizes the replenishment activity recorded for that item.
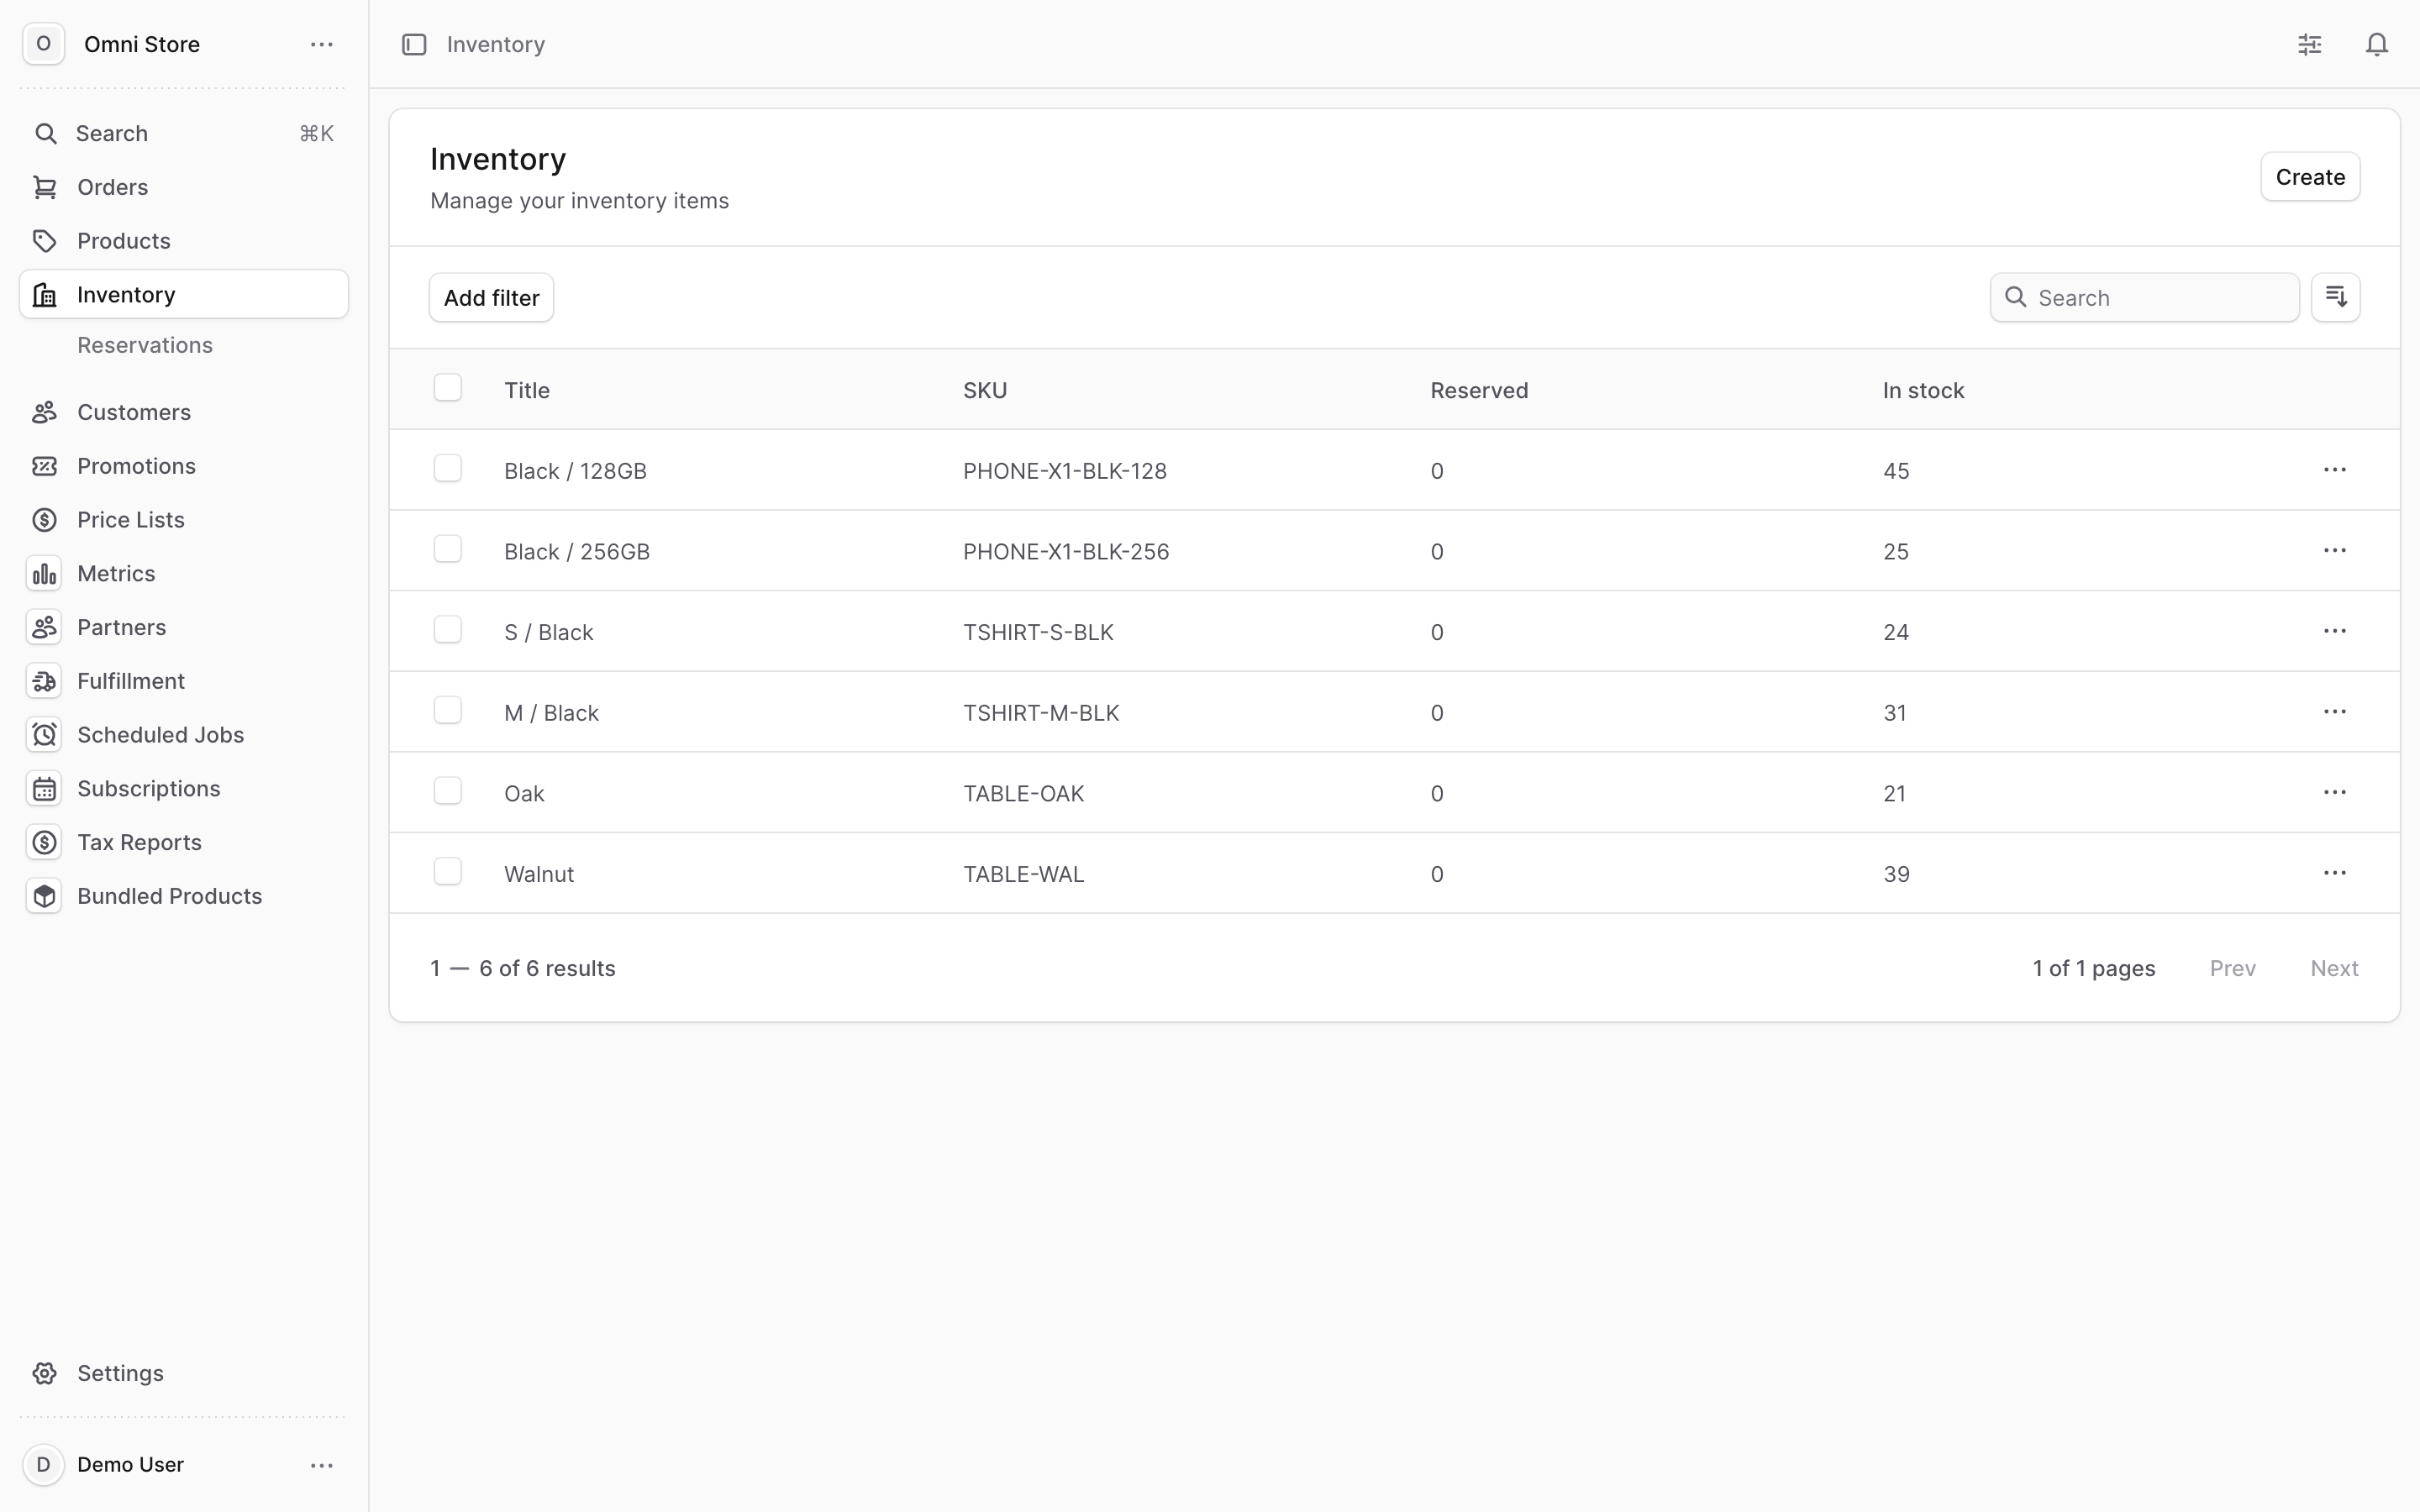
At the top you'll see summary cards for the Last Purchase date, Total Units Purchased (across locations), and Total Spend (with the average unit cost). Below that, a table lists the most recent purchase orders for that item — supplier, date, units, spend, and a per-location breakdown. If more orders exist than are shown, a link takes you back to the full Purchase Orders page.
The Record purchase order button in this widget is a shortcut back to Settings > Purchase Orders.
8. See cost data on a product#
Open any product detail page and scroll to the Cost of Goods Sold section. This widget shows per-variant cost figures built from your recorded purchase orders.
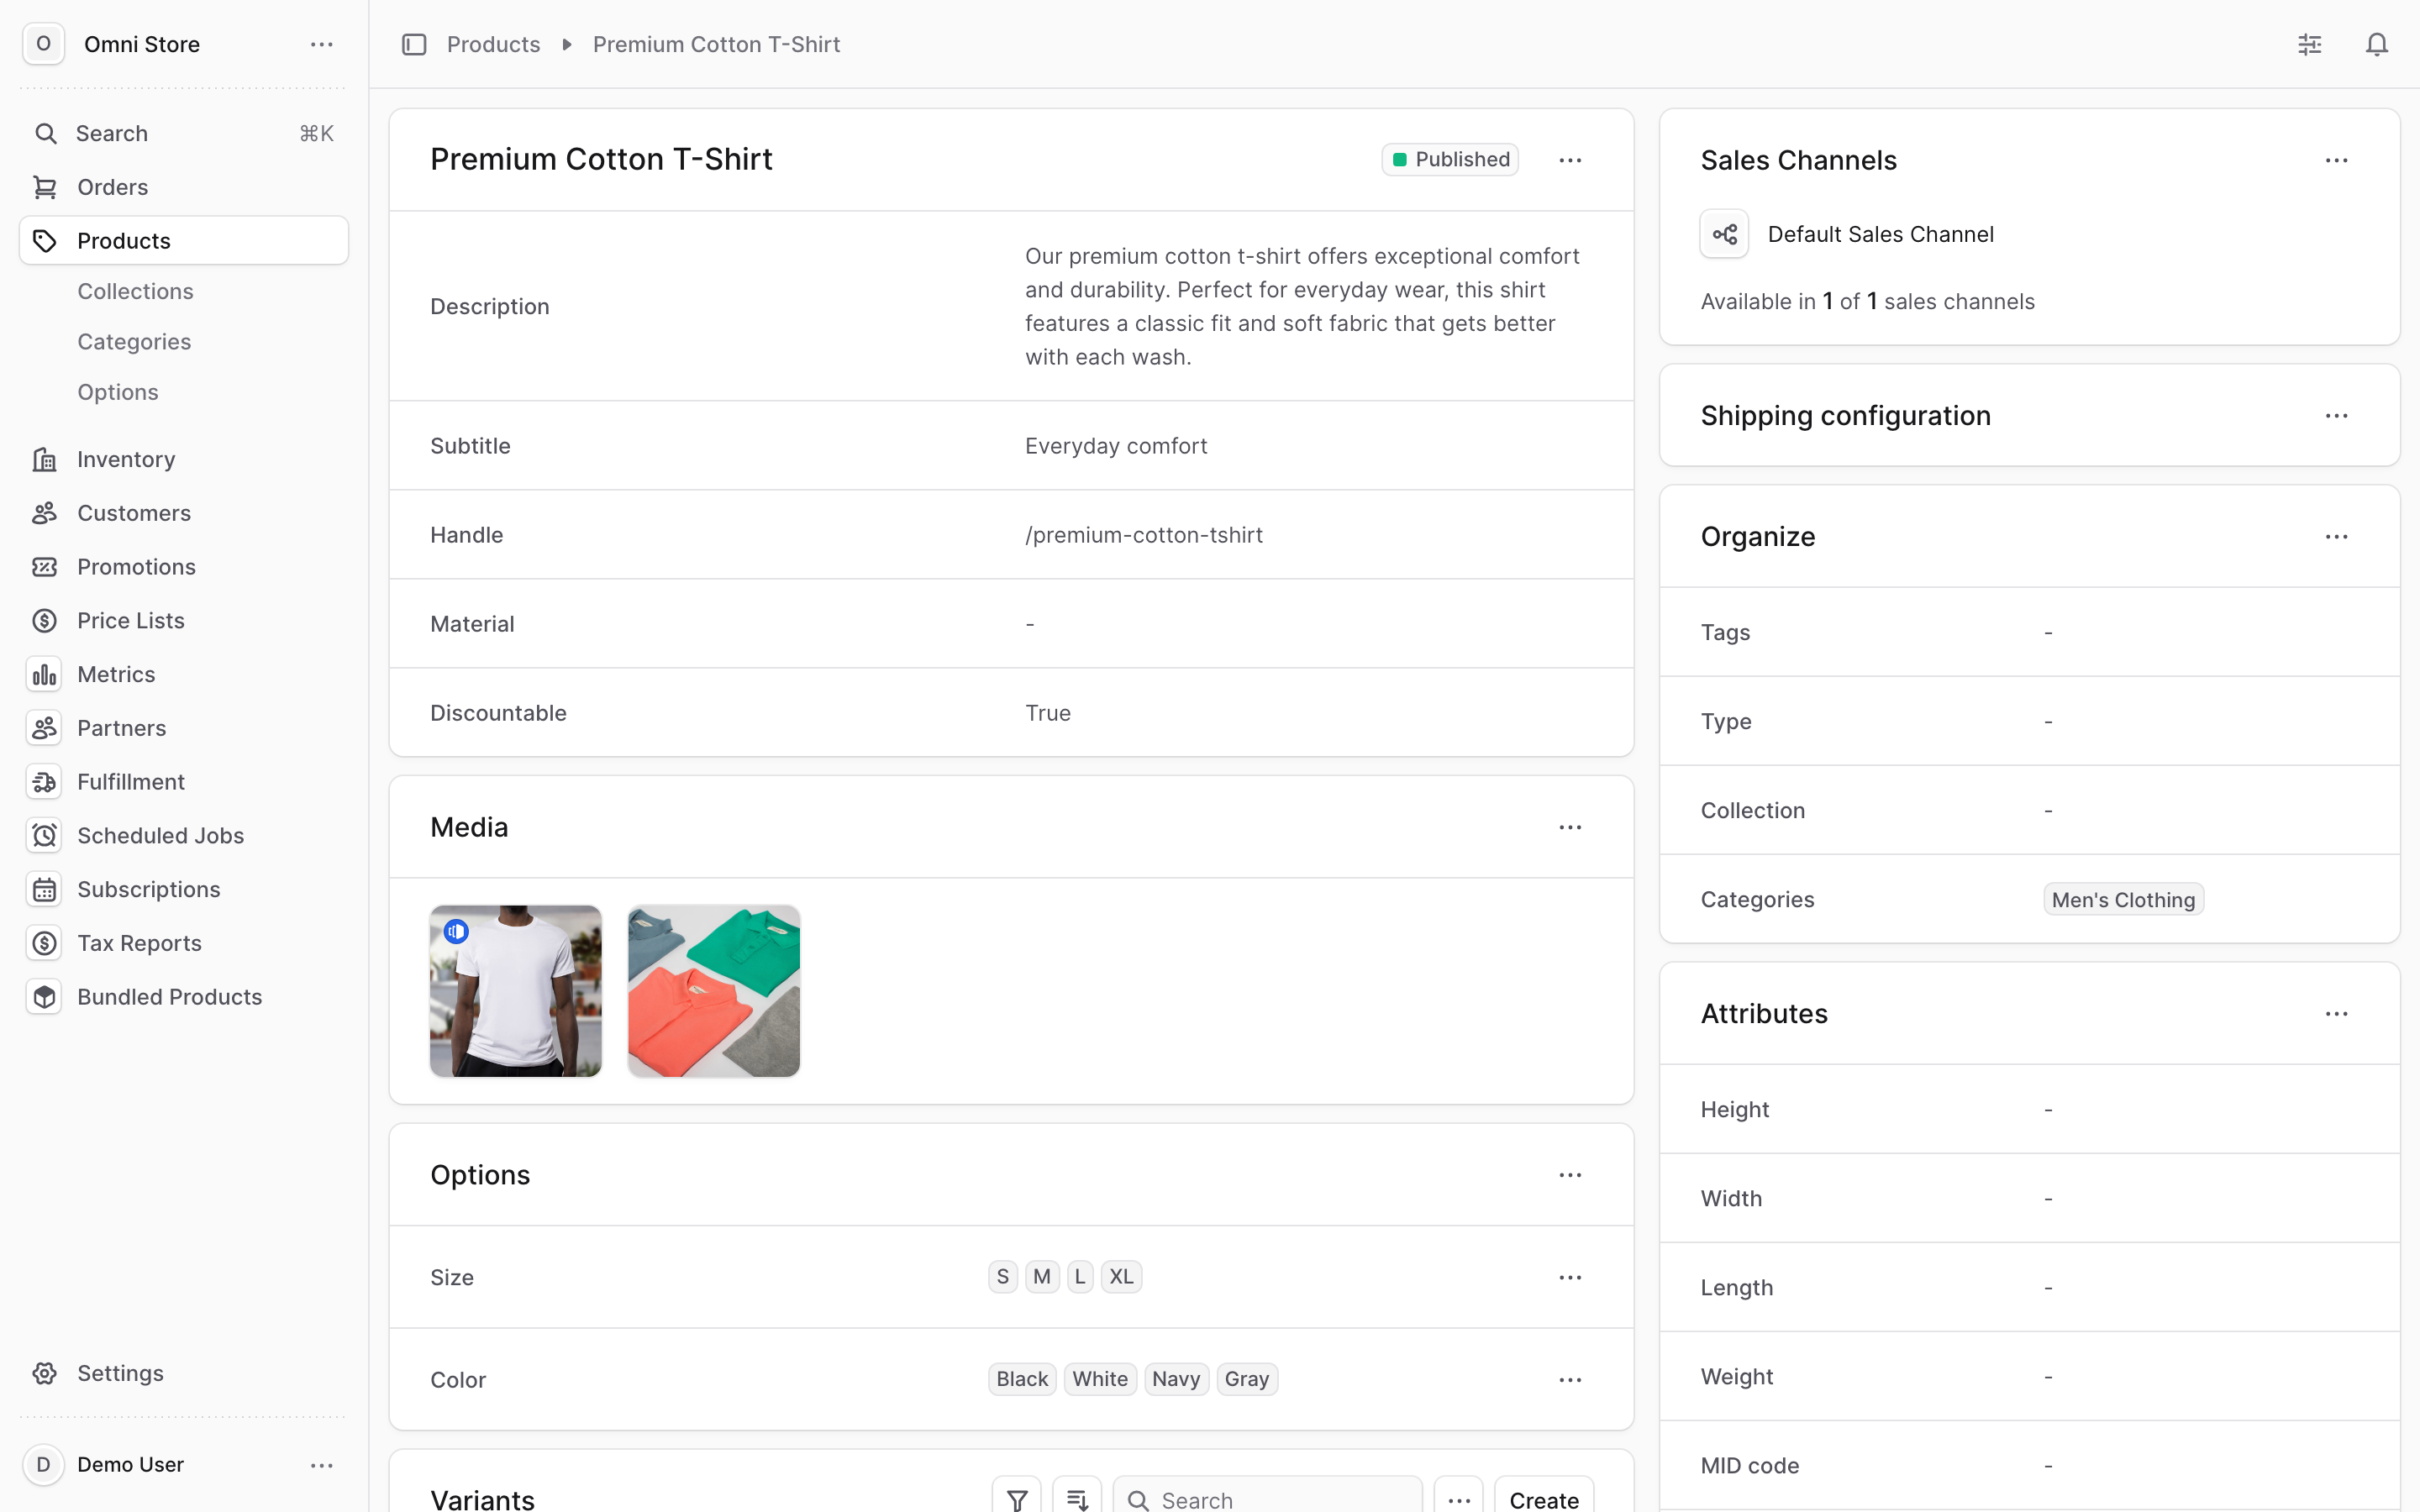
For each variant the table shows:
- Weighted Avg, FIFO, and LIFO — the variant's cost under each valuation method
- Total Qty — units on hand
- Inventory Value — the value of that stock
All figures are shown as decimals (for example, 12.50). If no cost data exists yet, the widget prompts you to record purchase orders to populate it. A View cost history button opens the variant's full cost history.
Quick reference#
| Task | Where to find it |
|---|---|
| Open Purchase Orders | Settings → Purchase Orders |
| Add a supplier | Manage Suppliers tab → Add Supplier (name required) |
| Record a PO | Record Purchase Order tab → fill details + line items → Record Purchase Order |
| Add a line item | Record form → Line Items → pick inventory item, location, quantity, unit cost |
| Find a recorded PO | View Records tab → search or filter by supplier |
| See an item's cost history | Open an inventory item → Purchase Orders widget |
| See a product's costs | Open a product → Cost of Goods Sold widget |
Common troubleshooting#
| Problem | Why it happens | How to fix it |
|---|---|---|
| A supplier I added is missing | Suppliers are stored in your browser, not the server | Re-add the supplier in the browser/computer you're using |
| The order won't save | A line item has no inventory item selected, or a required field is blank | Select an inventory item on every line and fill Purchase Order ID, location, quantity, and unit cost |
| Costs look wrong | Unit cost entered in the wrong format | Re-enter unit cost as a decimal (12.50, not 1250) |
| A product shows no cost data | No purchase orders have been recorded for its variants yet | Record a purchase order with that item as a line, then reopen the product |