Inventory Management
For: warehouse & operations staff managing stock levels in the admin dashboard What you'll learn: how to use the standalone Inventory section to view inventory items, read and adjust stock at each location, work with reservations, and understand what "in stock", "reserved", and "available" actually mean.
This is a how-to guide for the dashboard, not the API. If you're building an automated integration or bulk-updating stock instead, see the Usage Guide.
Before you start#
You'll need an admin login for your store and the Inventory section visible in the left navigation. If you don't see it, ask your administrator to grant inventory access.
This guide covers the standalone Inventory section — the place where you manage stock across every product at once. If you only need to check or set stock for a single product while editing it, that lives on the product page instead; see Products & Inventory for the product-side view.
Throughout this guide, screenshots use a demo store — the names, SKUs, and quantities shown are fake.
1. Open the Inventory section#
Log in to the admin dashboard and click Inventory in the left navigation.
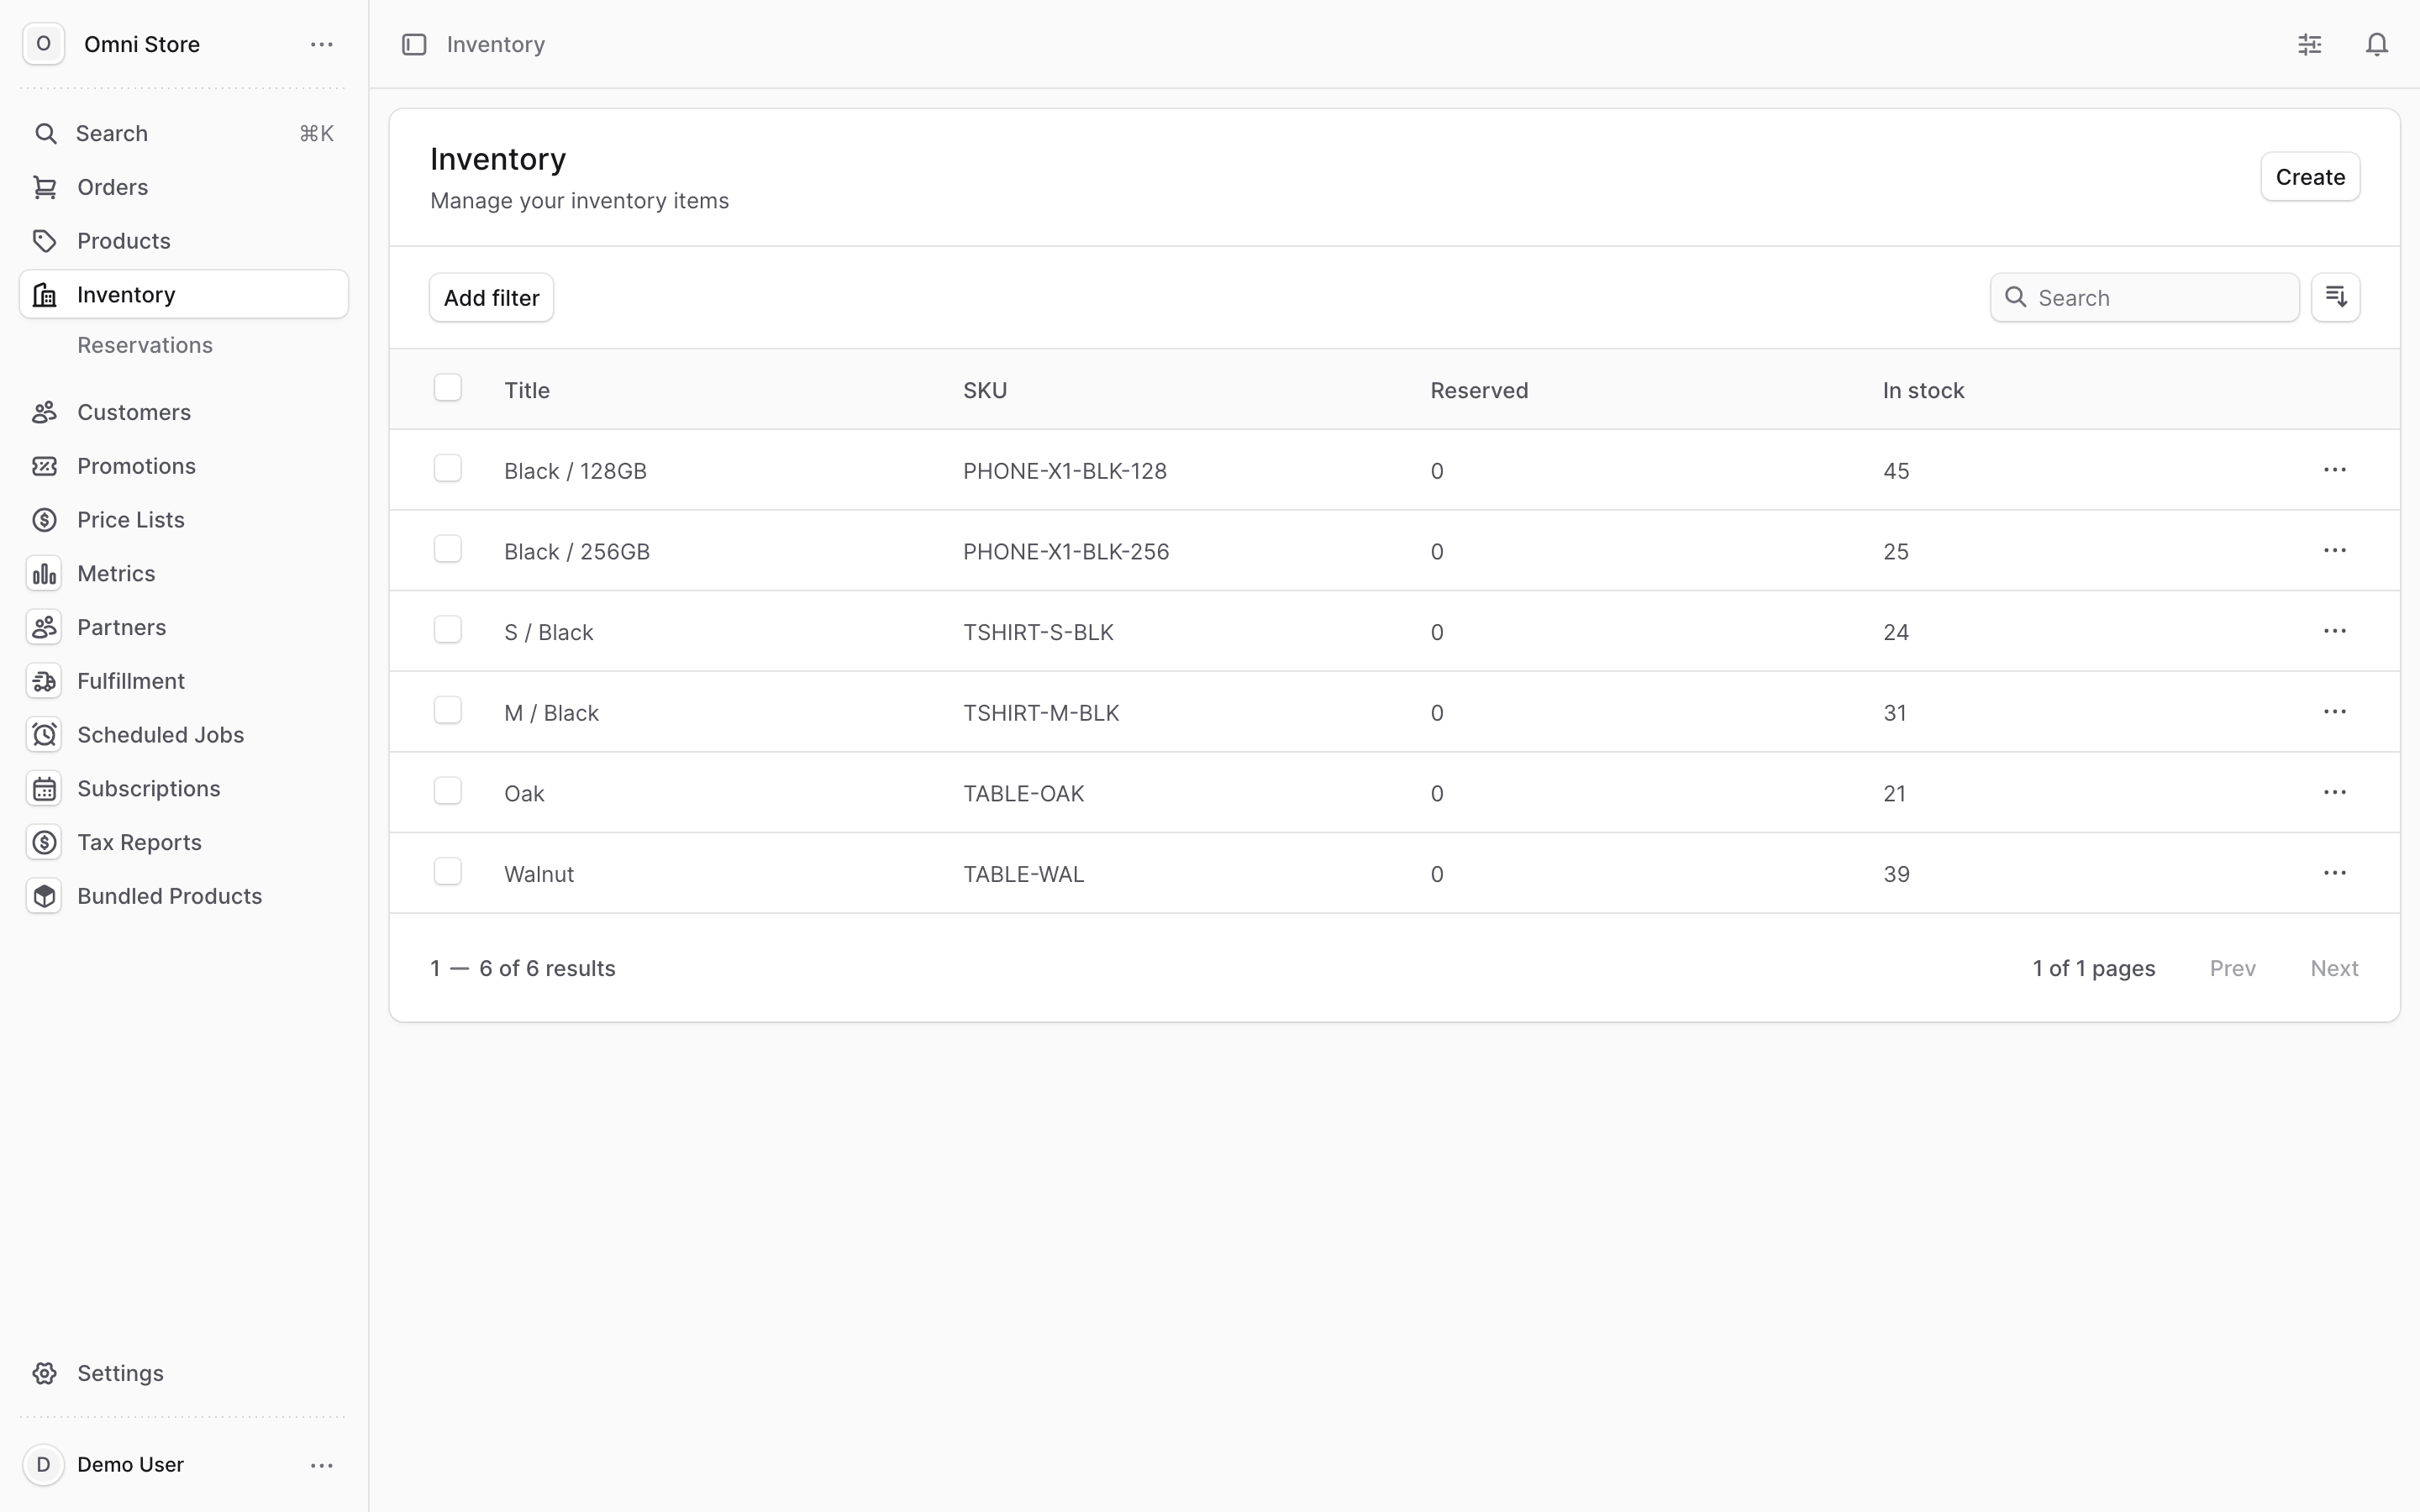
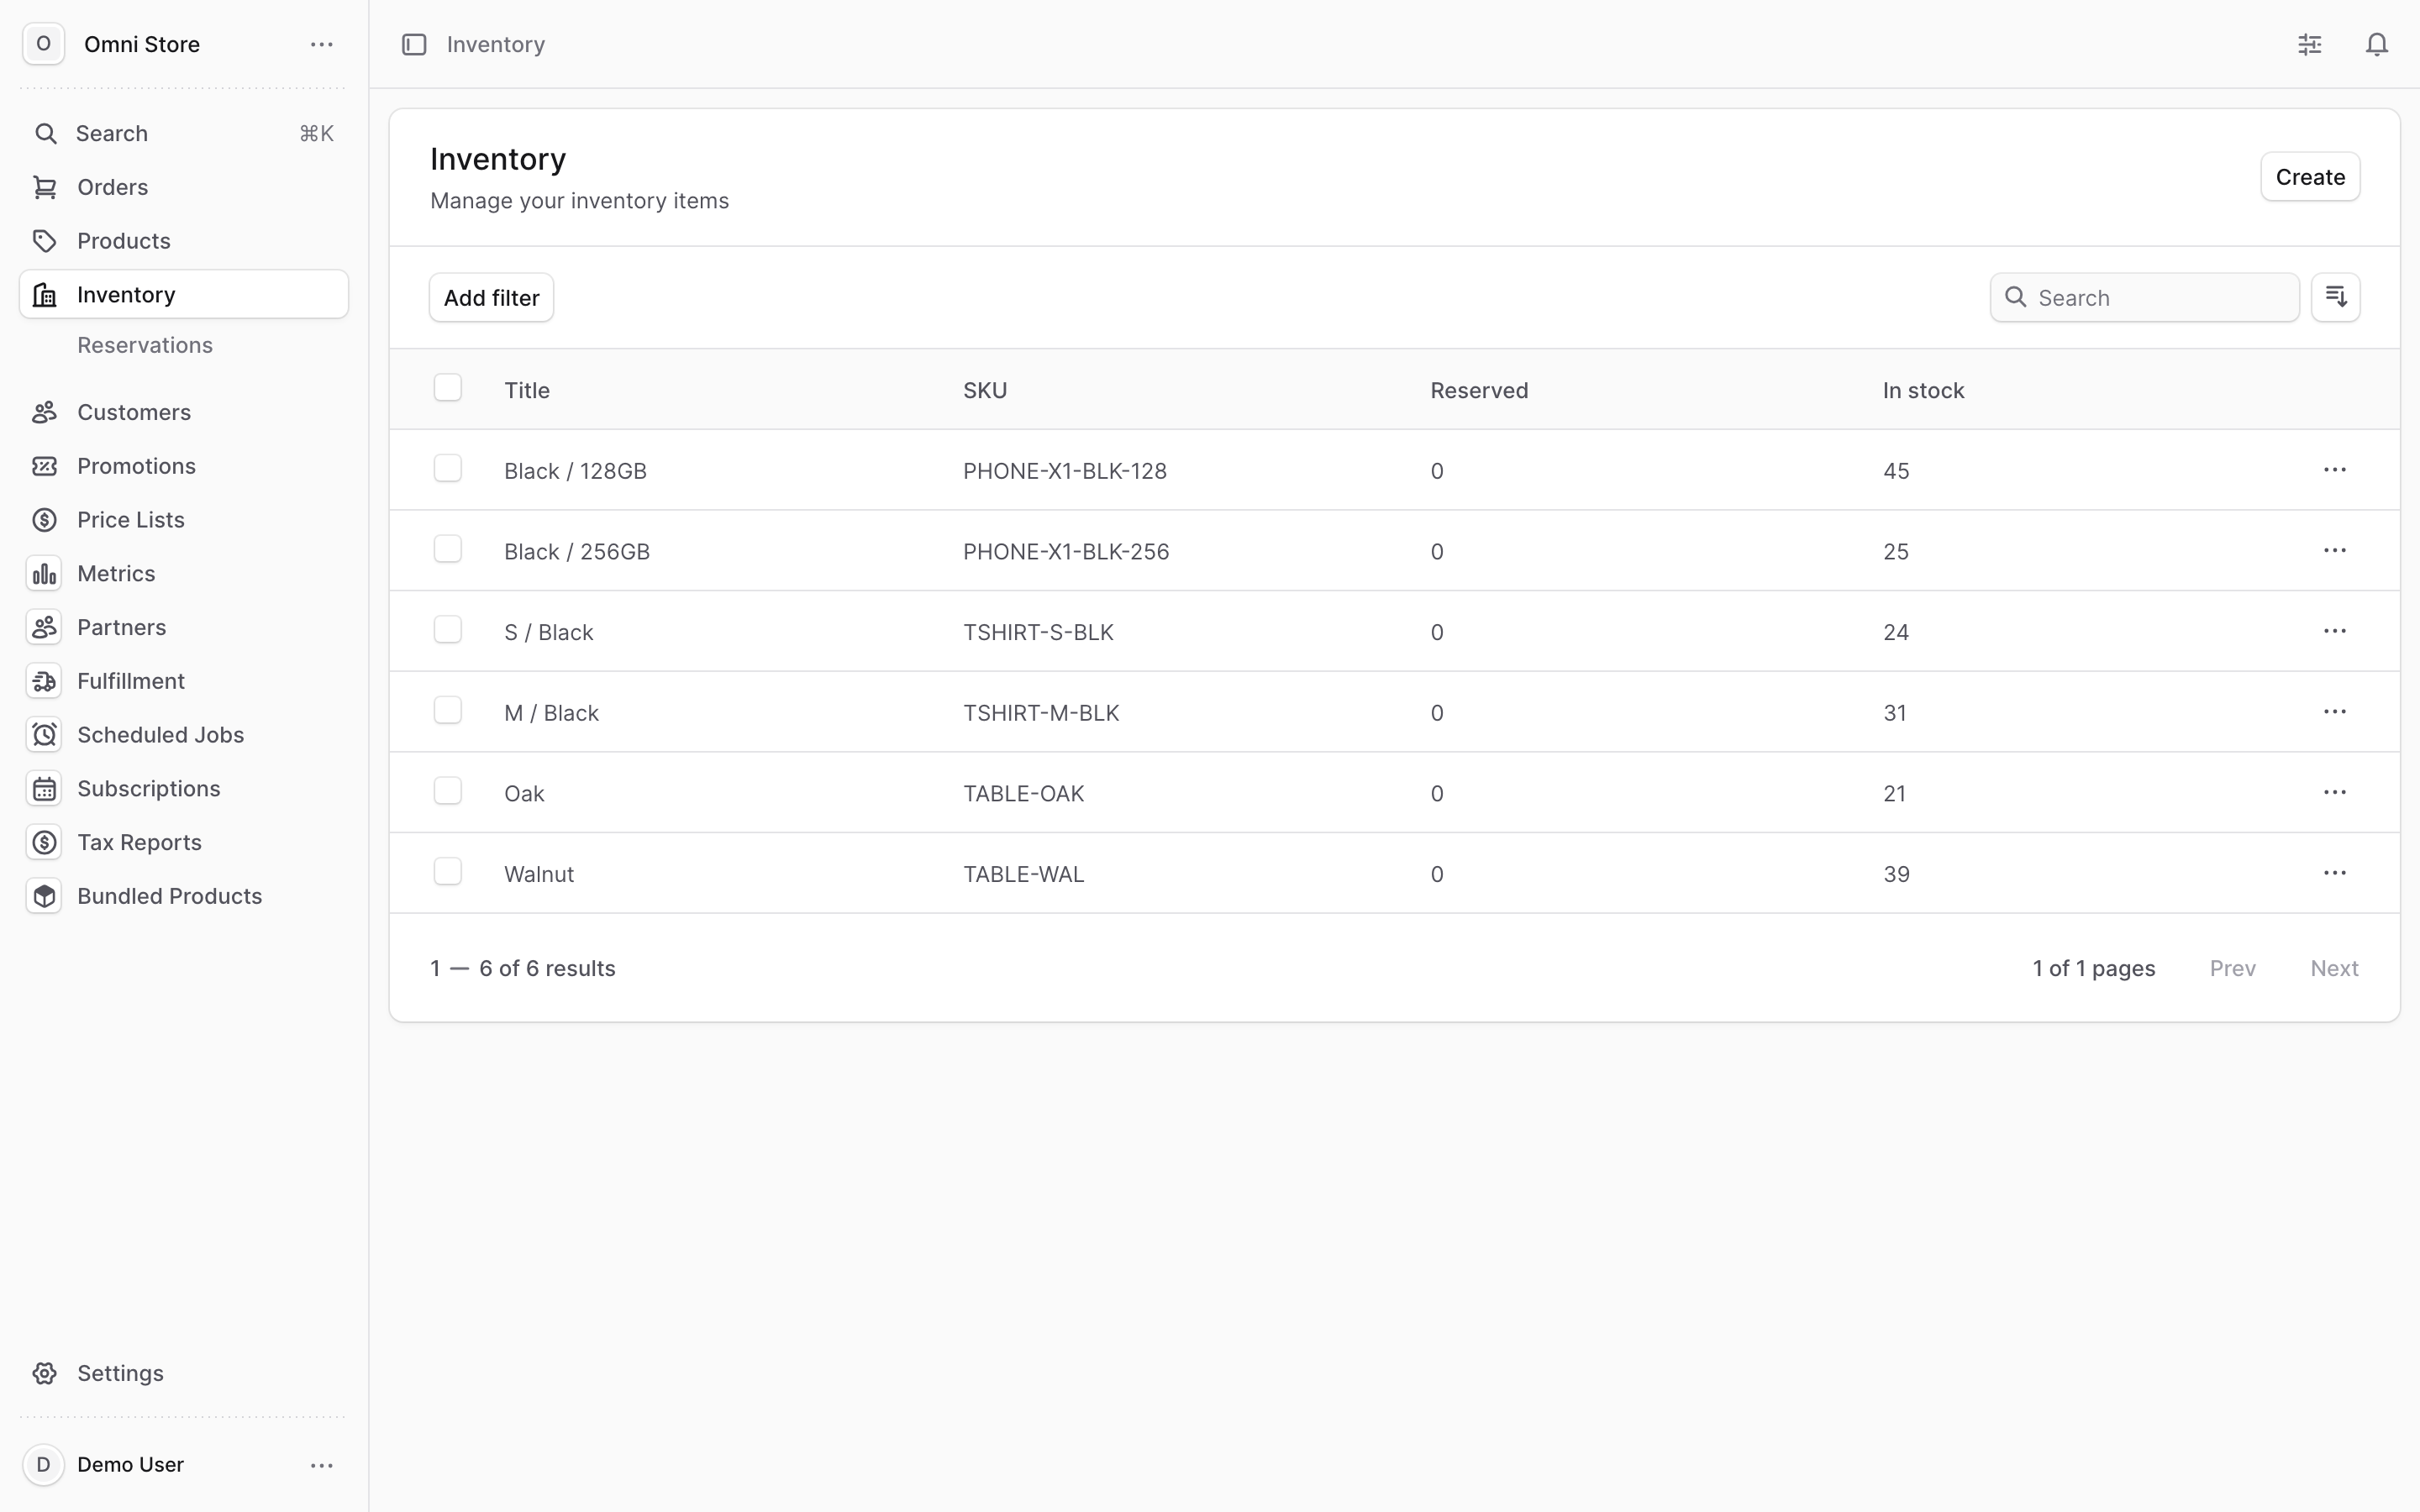
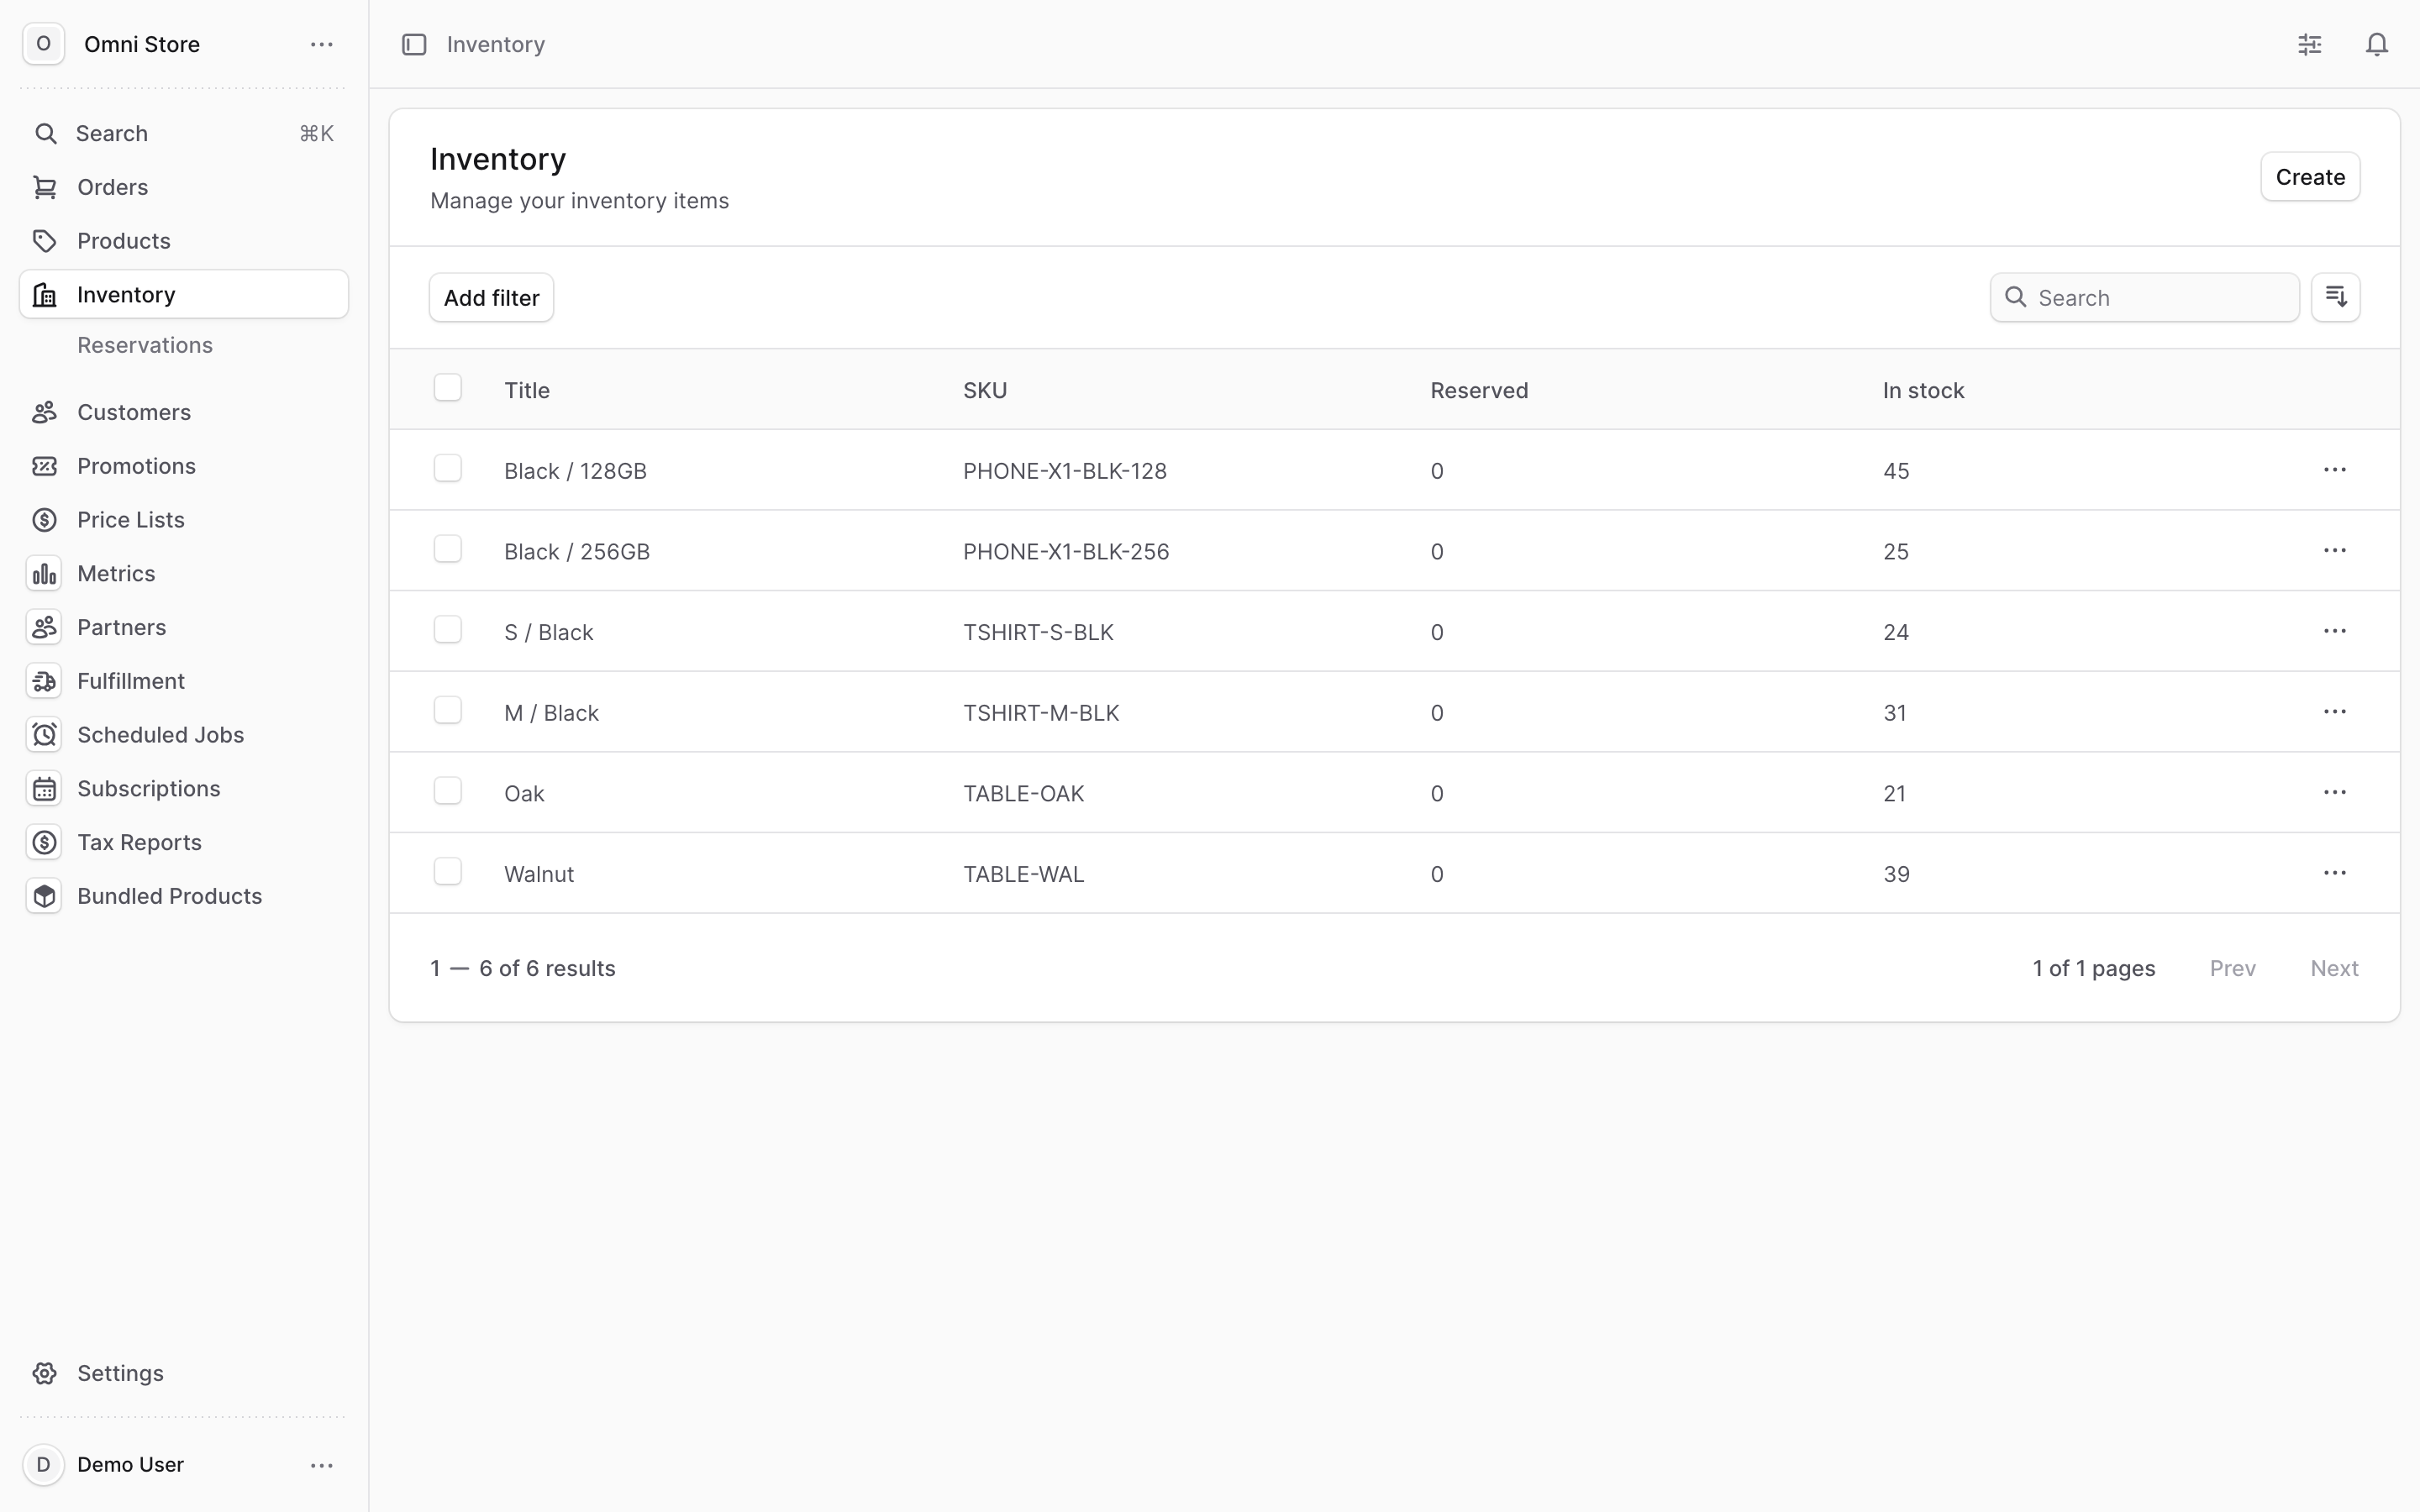
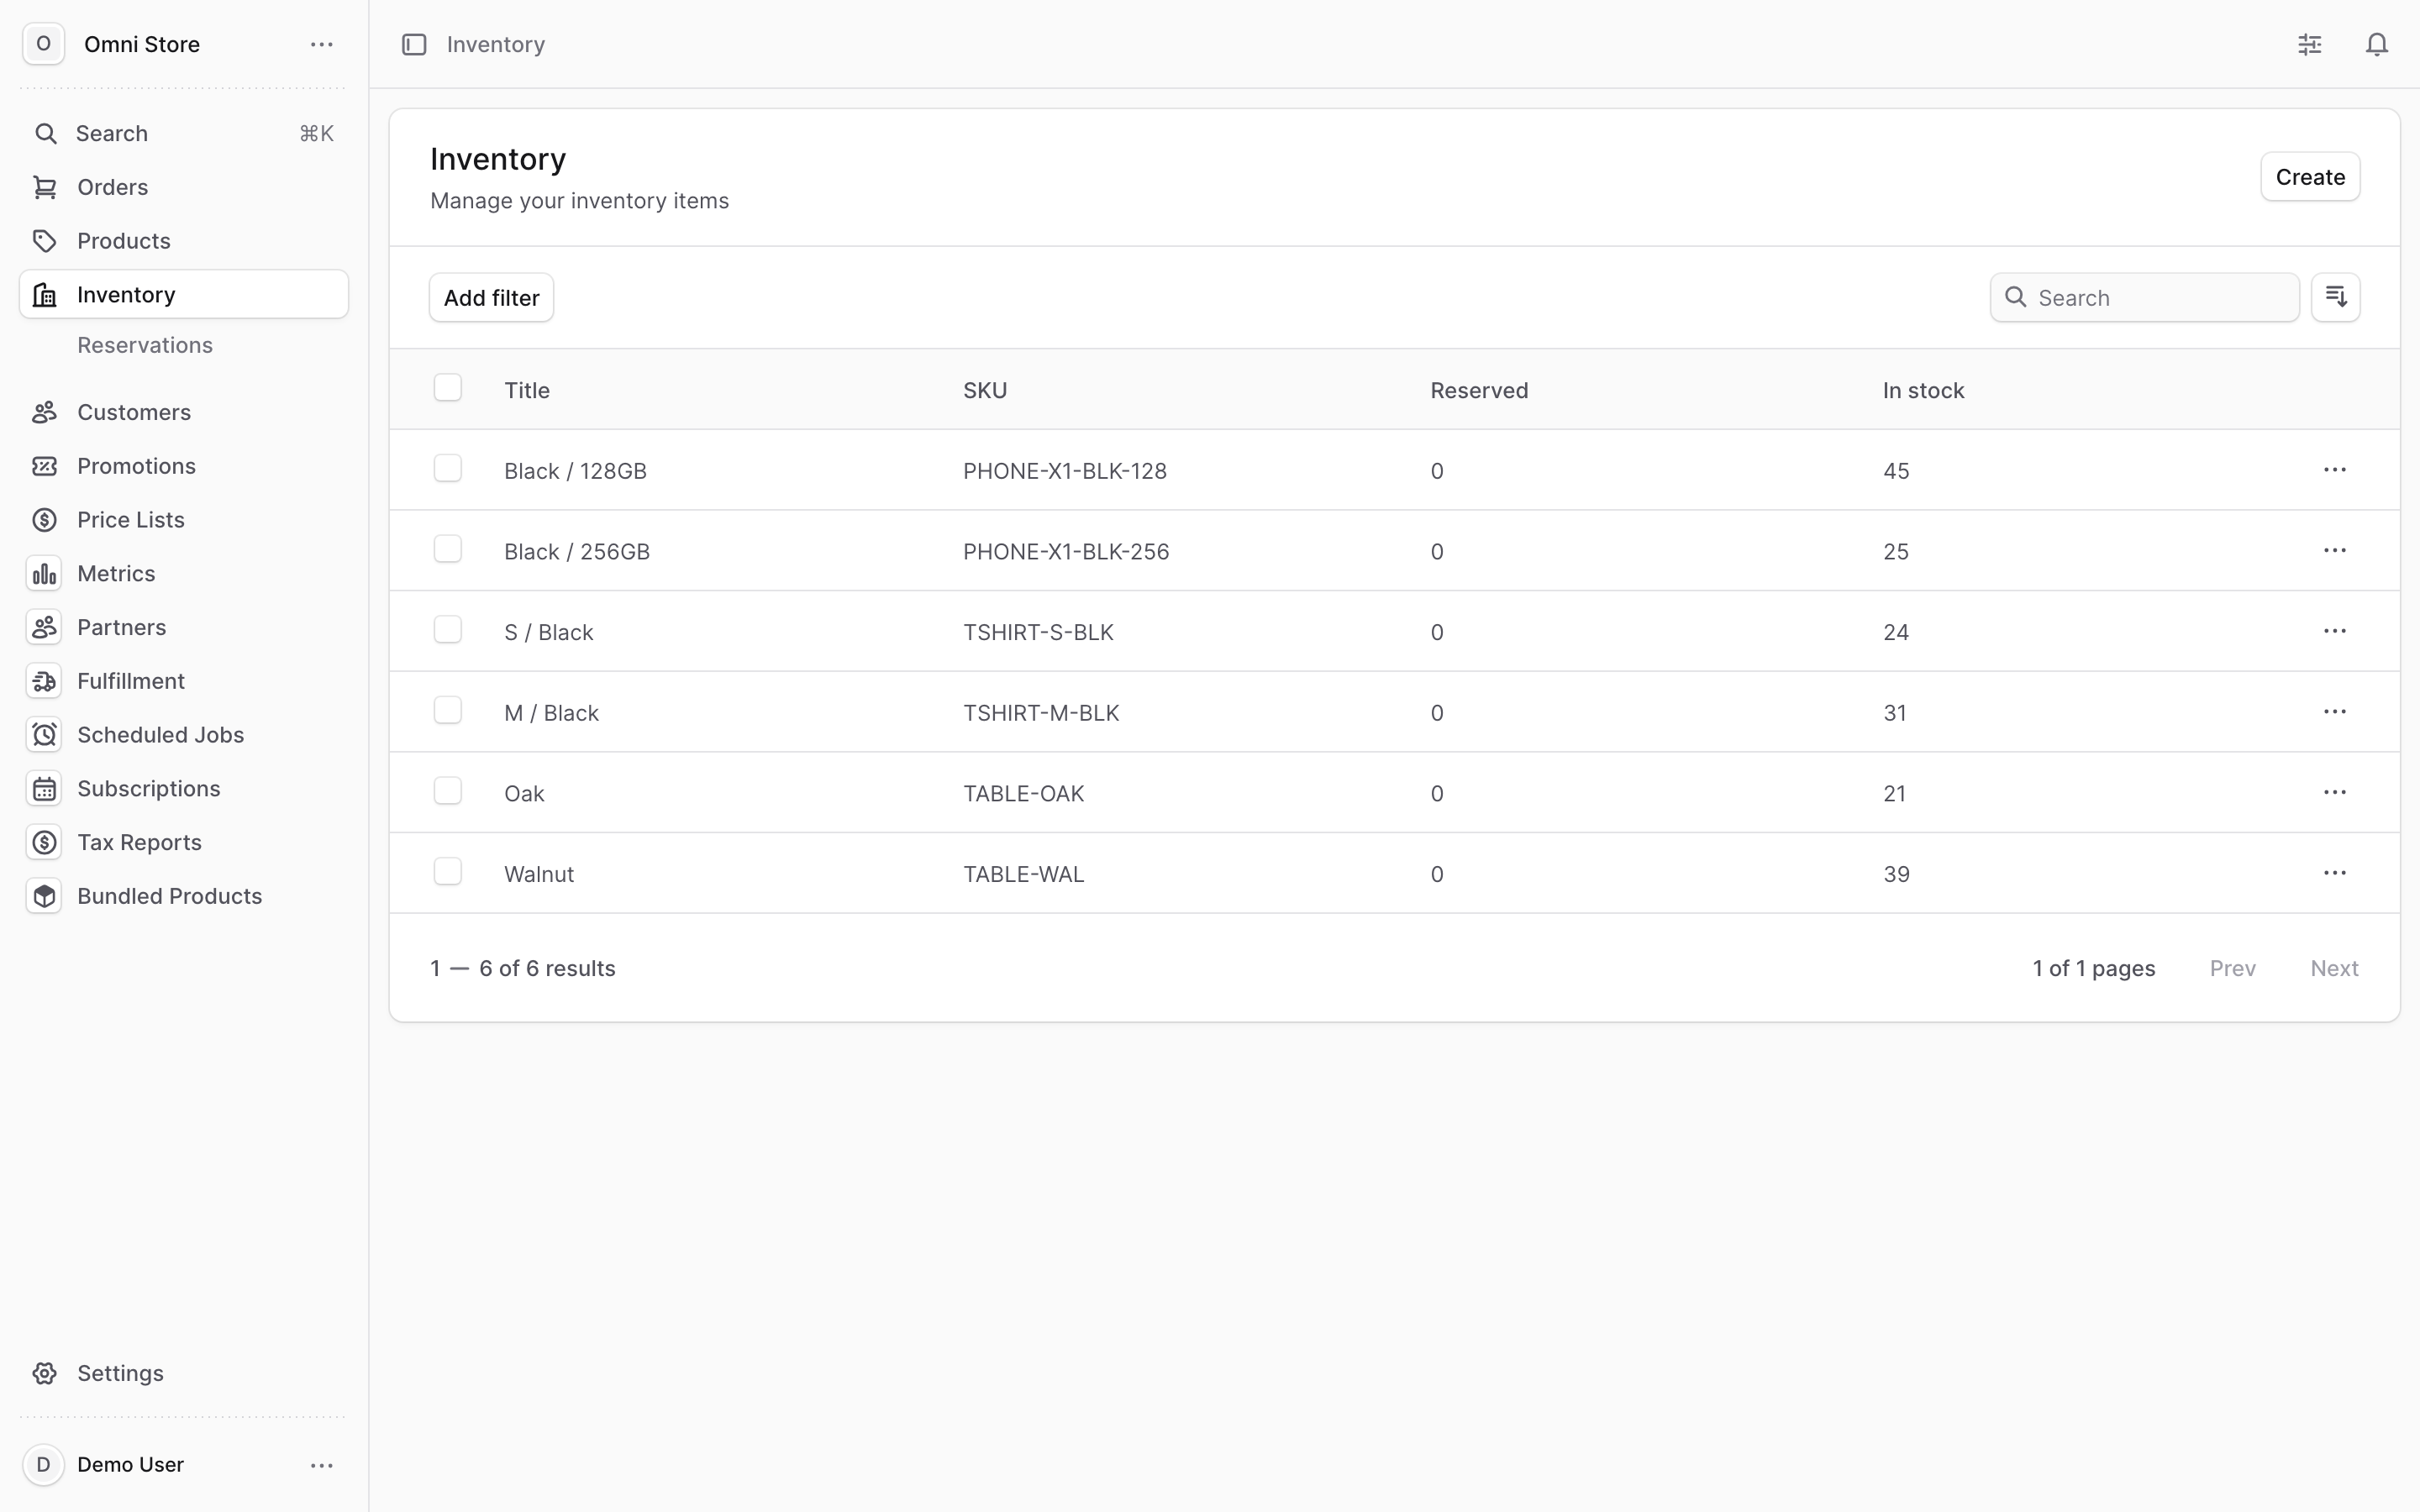
You'll see a list of every inventory item in your store. Each row shows:
- Title — the name of the item
- SKU — the unique stock keeping unit code
- In stock — how many units you physically hold across all locations
Use the search box to find an item by title or SKU, and the filter and sort controls to narrow the list — for example, to surface low-stock items.
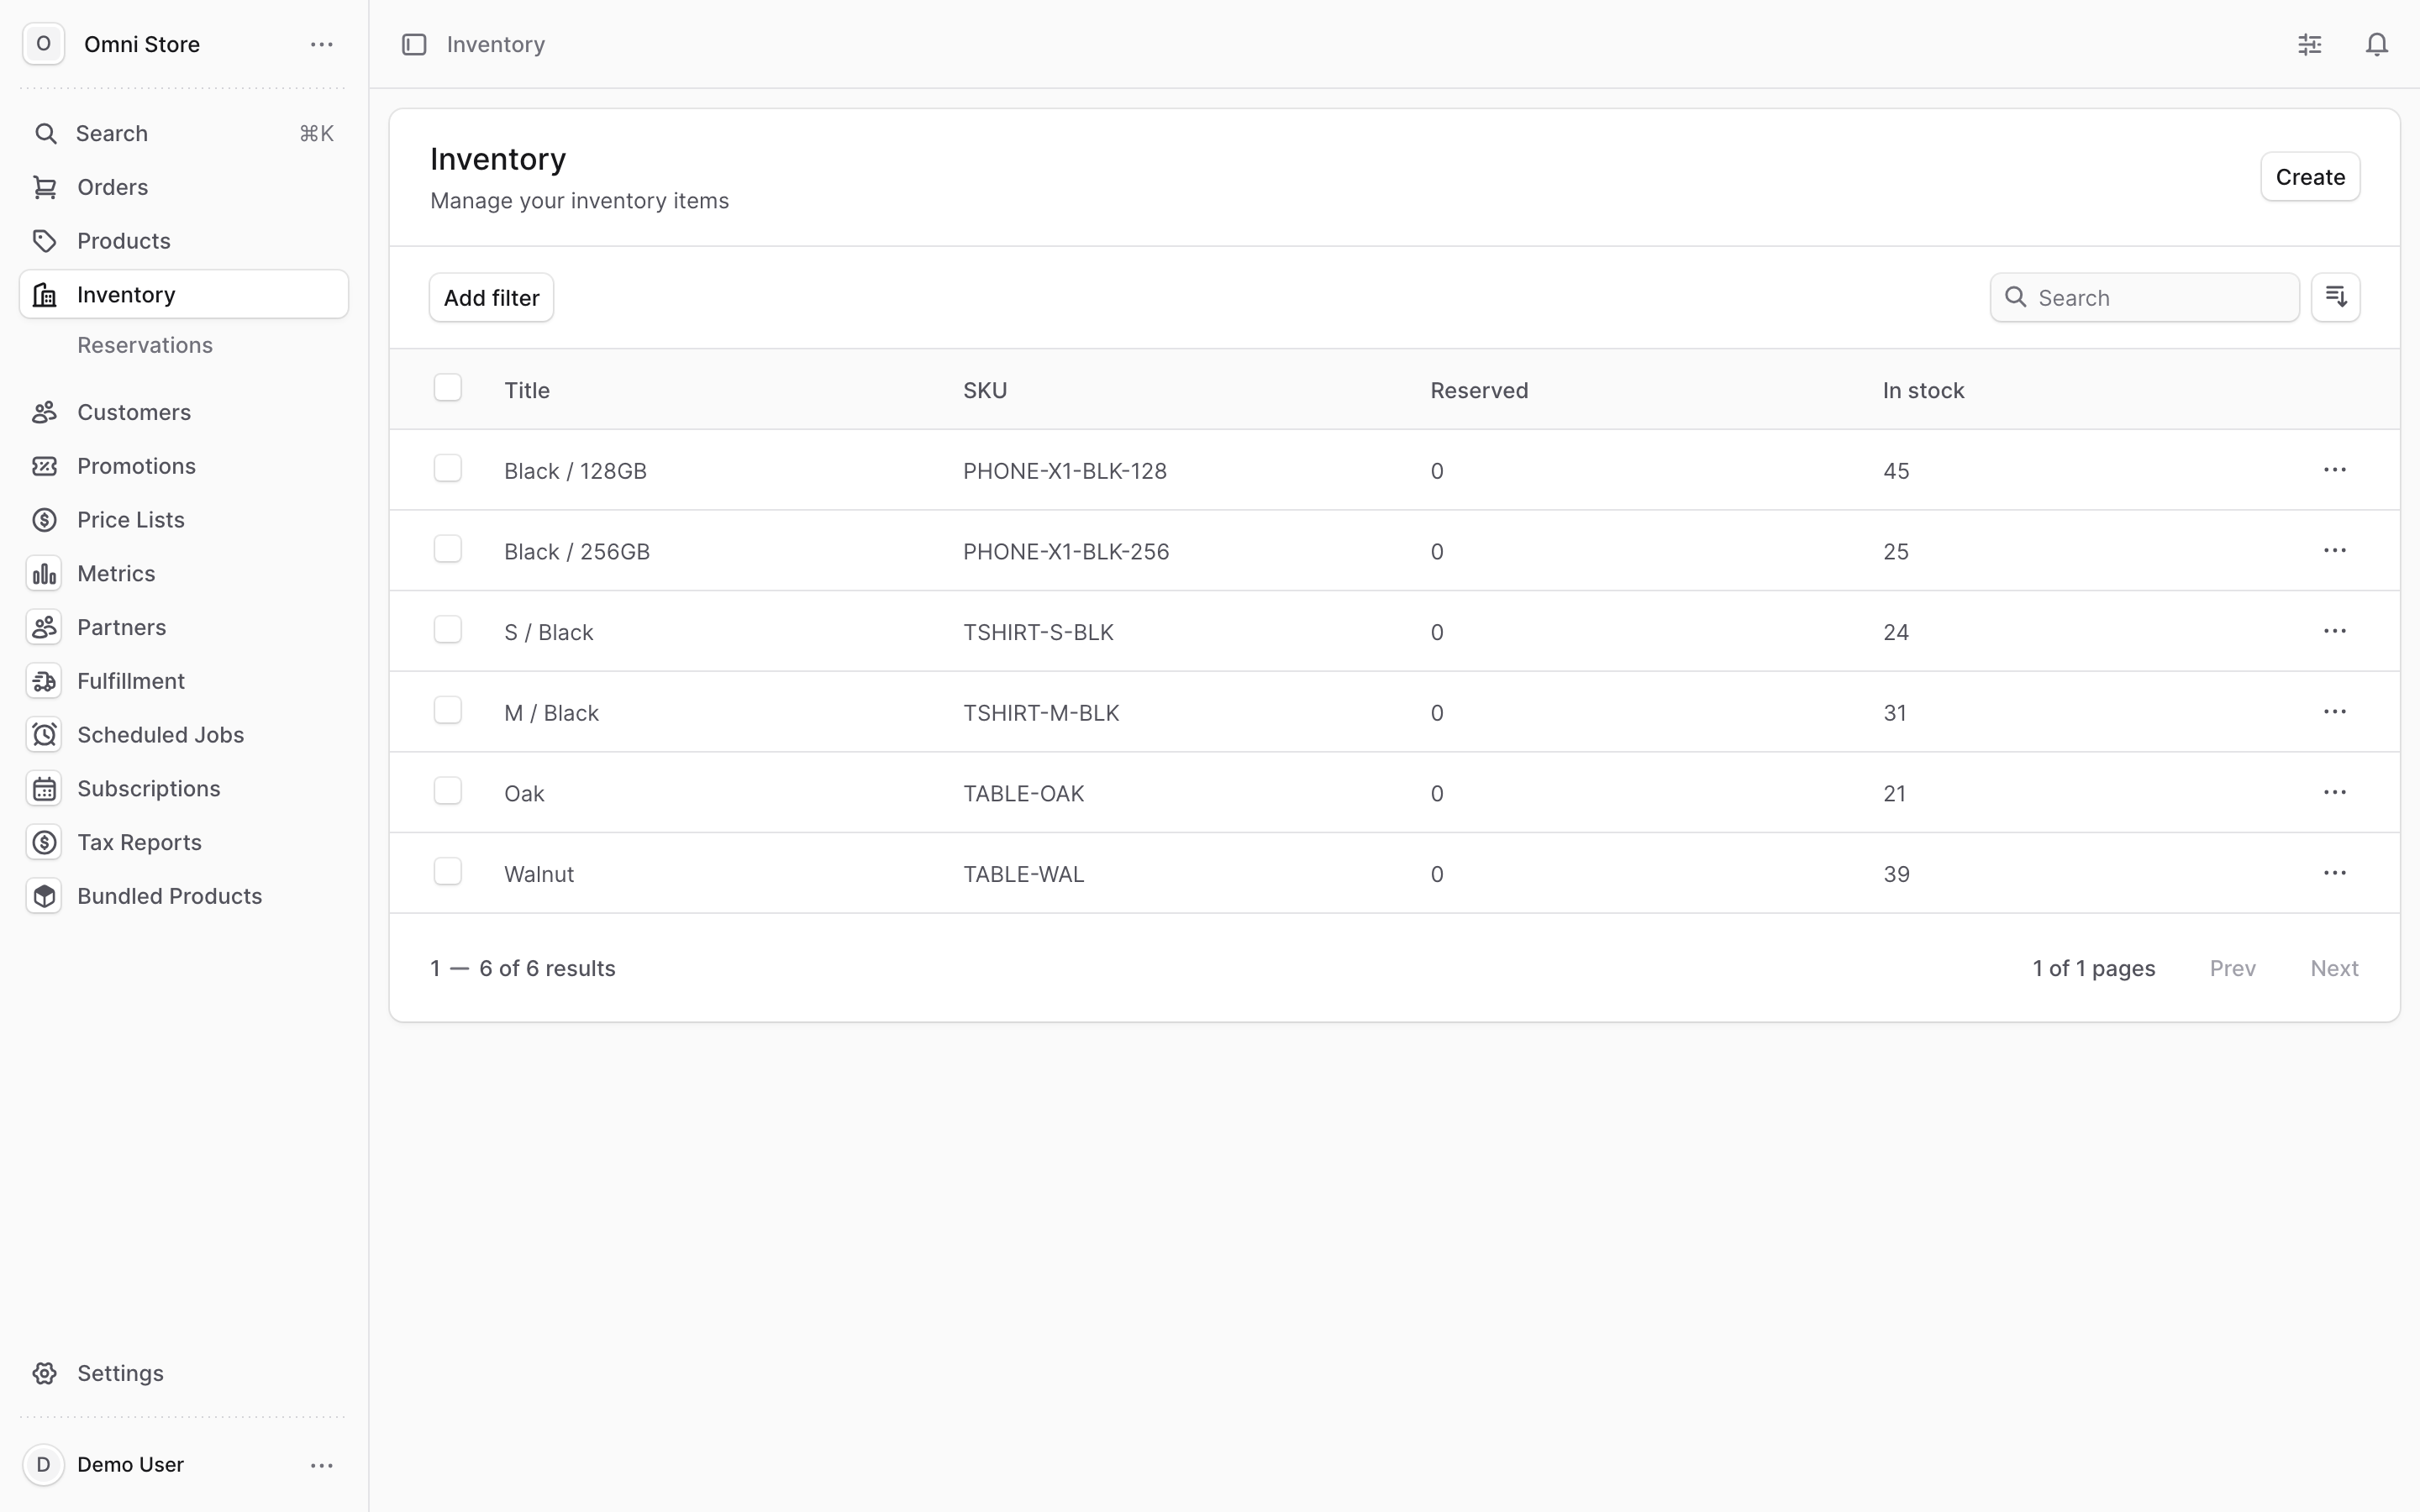
Tip: An inventory item is created automatically for any product variant that has Manage Inventory turned on. Items can also exist on their own for multi-part or bundled products that aren't a single sellable variant.
2. Understand "in stock", "reserved", and "available"#
These three numbers describe the same stock from three angles. Knowing the difference is the key to reading every screen in this section.
| Term | What it means |
|---|---|
| In stock | The total units you physically hold — everything on the shelf, whether or not it's promised to an order |
| Reserved | Units already committed to open orders but not yet shipped. They're still on the shelf, but they're spoken for |
| Available | What you can actually sell right now: in stock minus reserved |
So if you hold 100 units and 30 are reserved for orders waiting to ship, you're 100 in stock, 30 reserved, and 70 available. The storefront sells against the available number, which is why an item can show stock on the shelf yet still read as low or sold out online.
3. Open an inventory item to see its detail#
Click any row in the Inventory list to open that item's detail page. This is where you see its attributes and its stock broken out by location.
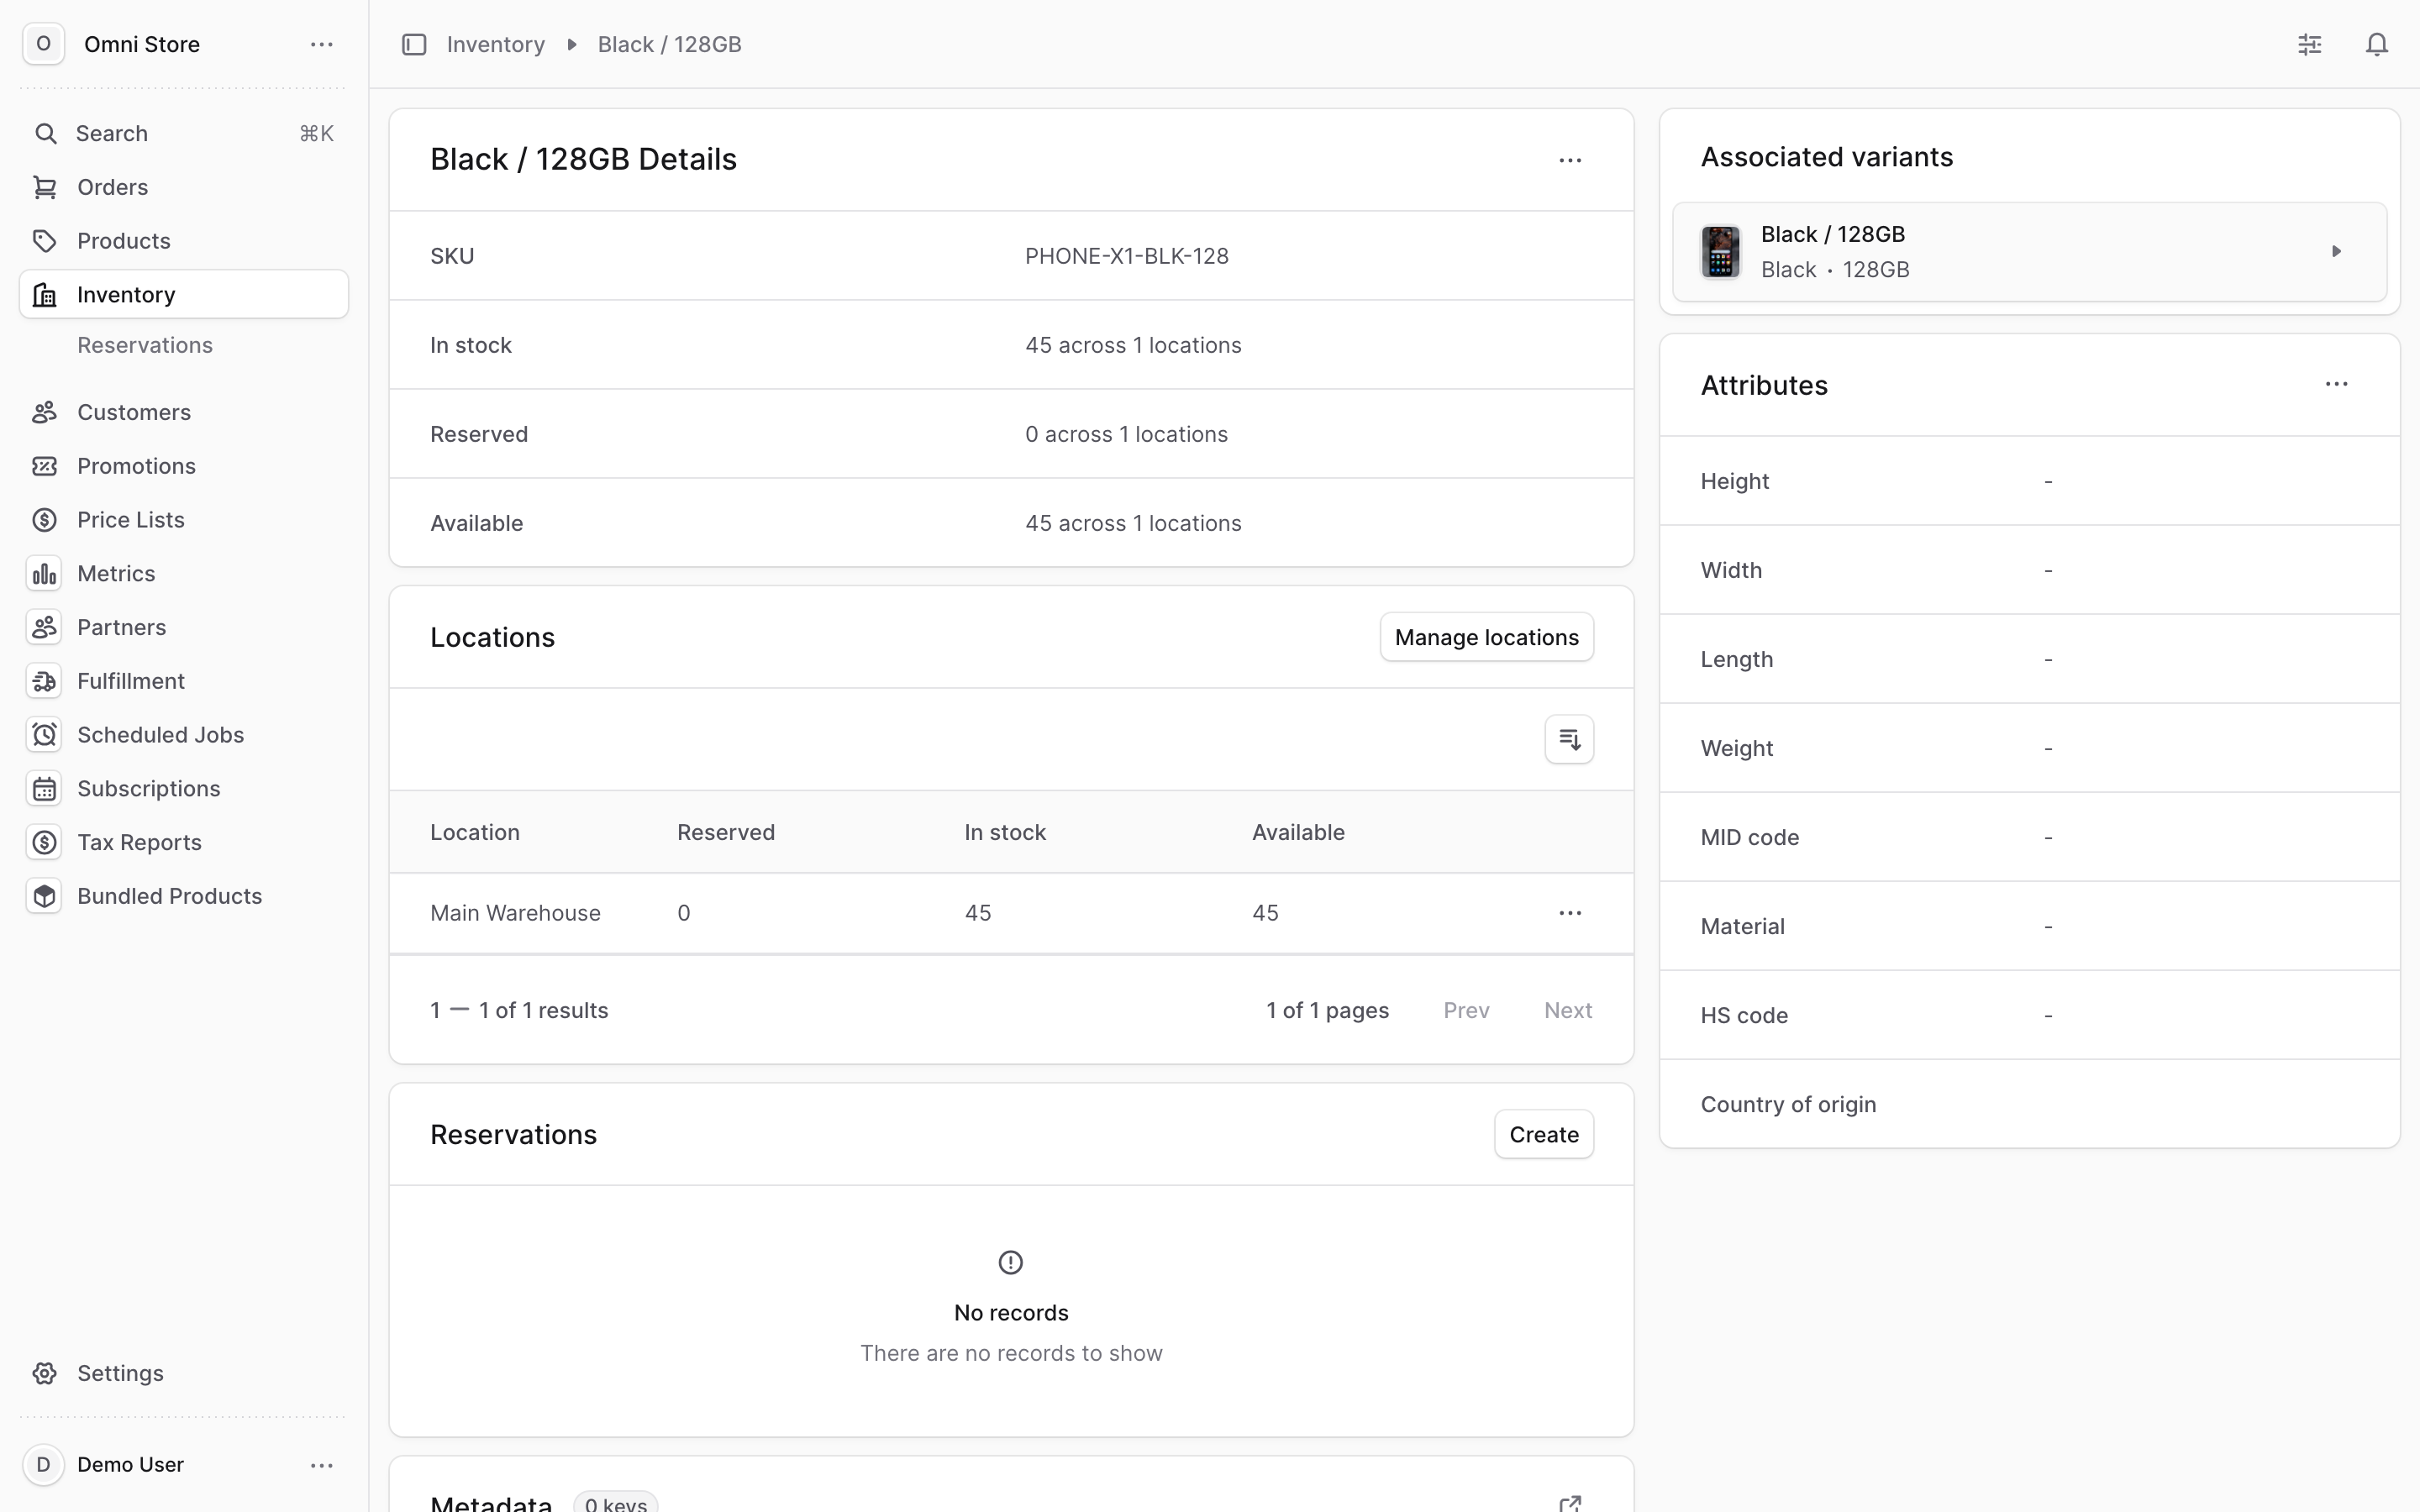
The Locations section lists every stock location the item is stored in, and for each one shows its in-stock, reserved, and available quantities. If you run more than one warehouse or fulfillment center, each appears as its own row here.
4. Adjust the in-stock quantity at a location#
When a physical count changes — a delivery arrives, or a cycle count corrects a number — update the in-stock quantity for the affected location.
- Open the inventory item (step 3).
- In the Locations section, find the location you want to change.
- Click the three-dot menu at the end of that location's row and choose Edit.
- In the side panel, set the new in-stock quantity.
- Click Save.
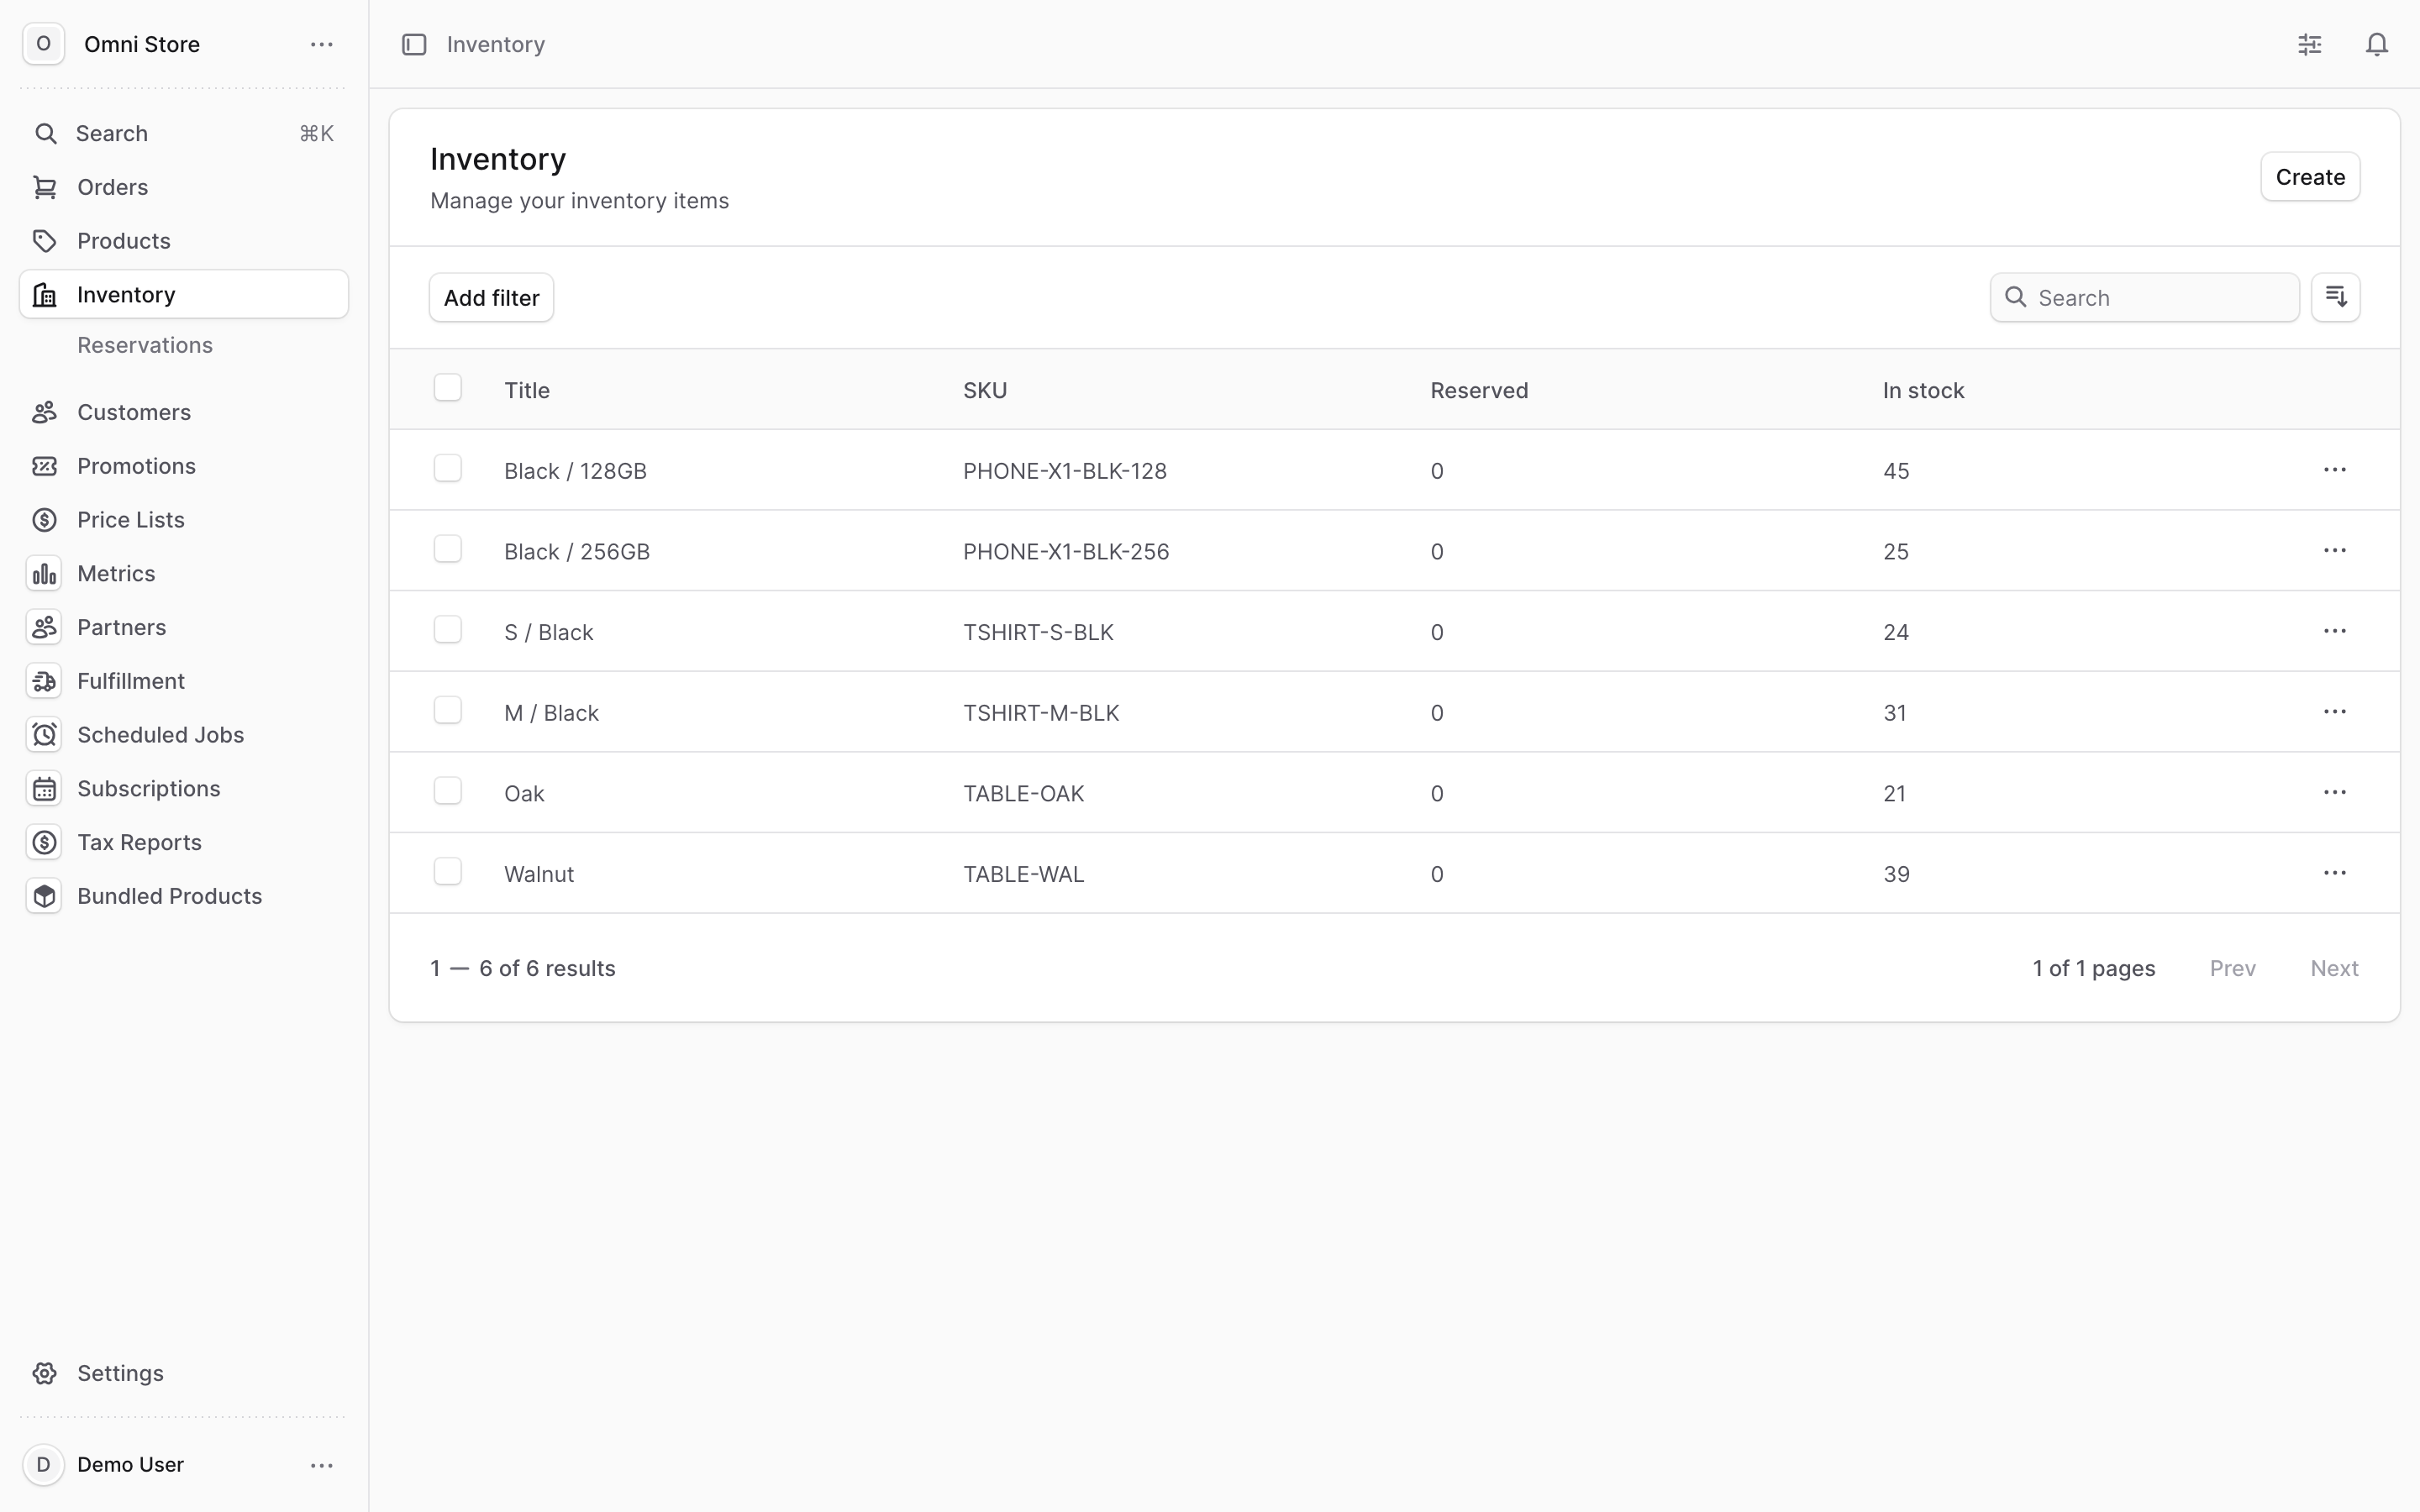
The available quantity recalculates on its own — you only ever set the in-stock number, and the system subtracts whatever is reserved.
Tip: You set in stock, never available or reserved. Reserved is driven by open orders (see step 6), and available is always in stock minus reserved.
5. Add or remove locations for an item#
If you start (or stop) storing an item at a warehouse, update which locations it lives in.
- Open the inventory item.
- In the Locations section header, click Manage locations.
- In the side panel, check a location to add it or uncheck it to remove it.
- Click Save.
Stock locations themselves are created and named by your administrator under Settings; this panel only chooses which existing locations hold this particular item.
6. Work with reservations#
A reservation is a quantity of stock held for an order — it's why the reserved and available numbers move. The system creates reservations automatically when an order is placed, so the units can't be oversold to someone else. You can also create one by hand, for example to hold stock for an offline or phone sale.
View reservations#
Open the Reservations view from the Inventory section. The list shows each held quantity along with its SKU and other details, and supports search, filter, and sort.
Click any reservation row to open its detail page.
Create a reservation by hand#
- Go to Inventory → Reservations and click Create.
- Fill in the form:
- Item to reserve — enter or select the SKU
- Location — choose which warehouse the stock is held at
- Quantity — the number of units to reserve (the availability figure above updates as you type)
- Description (optional) — a note explaining why the stock is held
- Click Create.
The reserved quantity goes up and the available quantity drops by the same amount.
Edit a reservation#
- On the Reservations list, click the three-dot menu on the row and choose Edit.
- Change the location, quantity, or description in the side panel.
- Click Save.
Delete a reservation#
- On the Reservations list, click the three-dot menu and choose Delete.
- Confirm in the pop-up.
Caution: Deleting a reservation is irreversible. If you delete a reservation the system created for an order, that order's stock is no longer held — you may need to allocate the item on the order again so it can ship. Only delete reservations you created by hand or ones you're certain are stale.
7. Edit an inventory item's attributes#
The item detail page also holds physical attributes used for shipping and customs.
- Open the inventory item.
- In the Attributes section header, click the three-dot menu and choose Edit.
- In the side panel, update any of: height, width, length, weight, MID code, HS code, and country of origin.
- Click Save.
8. Delete an inventory item#
You'll rarely do this, but you can remove an inventory item entirely from the Inventory list.
- On the Inventory list, click the three-dot menu on the item's row and choose Delete.
- Confirm in the pop-up.
Caution: Deleting an inventory item is irreversible and can affect the product variant(s) tied to it — a variant left without an inventory item can stop selling correctly. Confirm the item is truly unused before deleting, and when in doubt, set its in-stock quantity to zero instead.
Quick reference#
| Task | Where to find it |
|---|---|
| Find an item | Inventory → search by title or SKU |
| See stock by location | Open the item → Locations section |
| Change on-hand stock | Open item → Locations → row three-dot menu → Edit → set in-stock → Save |
| Add/remove a location | Open item → Locations → Manage locations → check/uncheck → Save |
| See what's held for orders | Inventory → Reservations |
| Hold stock manually | Reservations → Create → SKU, location, quantity → Create |
| Release held stock | Reservations → row three-dot menu → Delete (irreversible) |
| Edit shipping attributes | Open item → Attributes → three-dot menu → Edit → Save |
| Product-side stock view | Products & Inventory |
Remember the three numbers: in stock is what's on the shelf, reserved is what's promised to orders, and available — in stock minus reserved — is what the storefront can still sell.