Price Lists
For: merchandising and ops staff running sales and special pricing
What you'll learn: what a price list is, how to create one, when to choose the Sale type versus the Override type, how to add products and set their prices, and how to schedule a price list with start and end dates.
This is a how-to guide for the dashboard, not the API. If you're building an automated integration that sets prices in bulk instead, see the Usage Guide.
Before you start#
You'll need an admin login for your store and the Price Lists section visible in the left navigation. If you don't see it, ask your administrator to grant you the right permissions.
A price list is a set of custom prices for a chosen group of products. Instead of changing each product's regular price one at a time, you build one price list that overrides those prices all at once. A price list can optionally apply to only specific customer groups (for example, wholesale or VIP customers) and can optionally run only during a set sale period with a start and end date.
A few things to know before you begin:
- Regular product prices are never touched. A price list sits on top of your normal catalog prices and takes over only for the products, customers, and dates you specify. When it ends or is turned off, your regular prices come back automatically.
- Prices are decimals. Enter
49.99for forty-nine dollars and ninety-nine cents — never4999or cents. - Throughout this guide, screenshots use a demo store — the names, products, and prices shown are fake.
1. Open Price Lists and start a new one#
Log in to the admin dashboard and click Price Lists in the left navigation. You'll see a list of any price lists you've already created, along with their status.
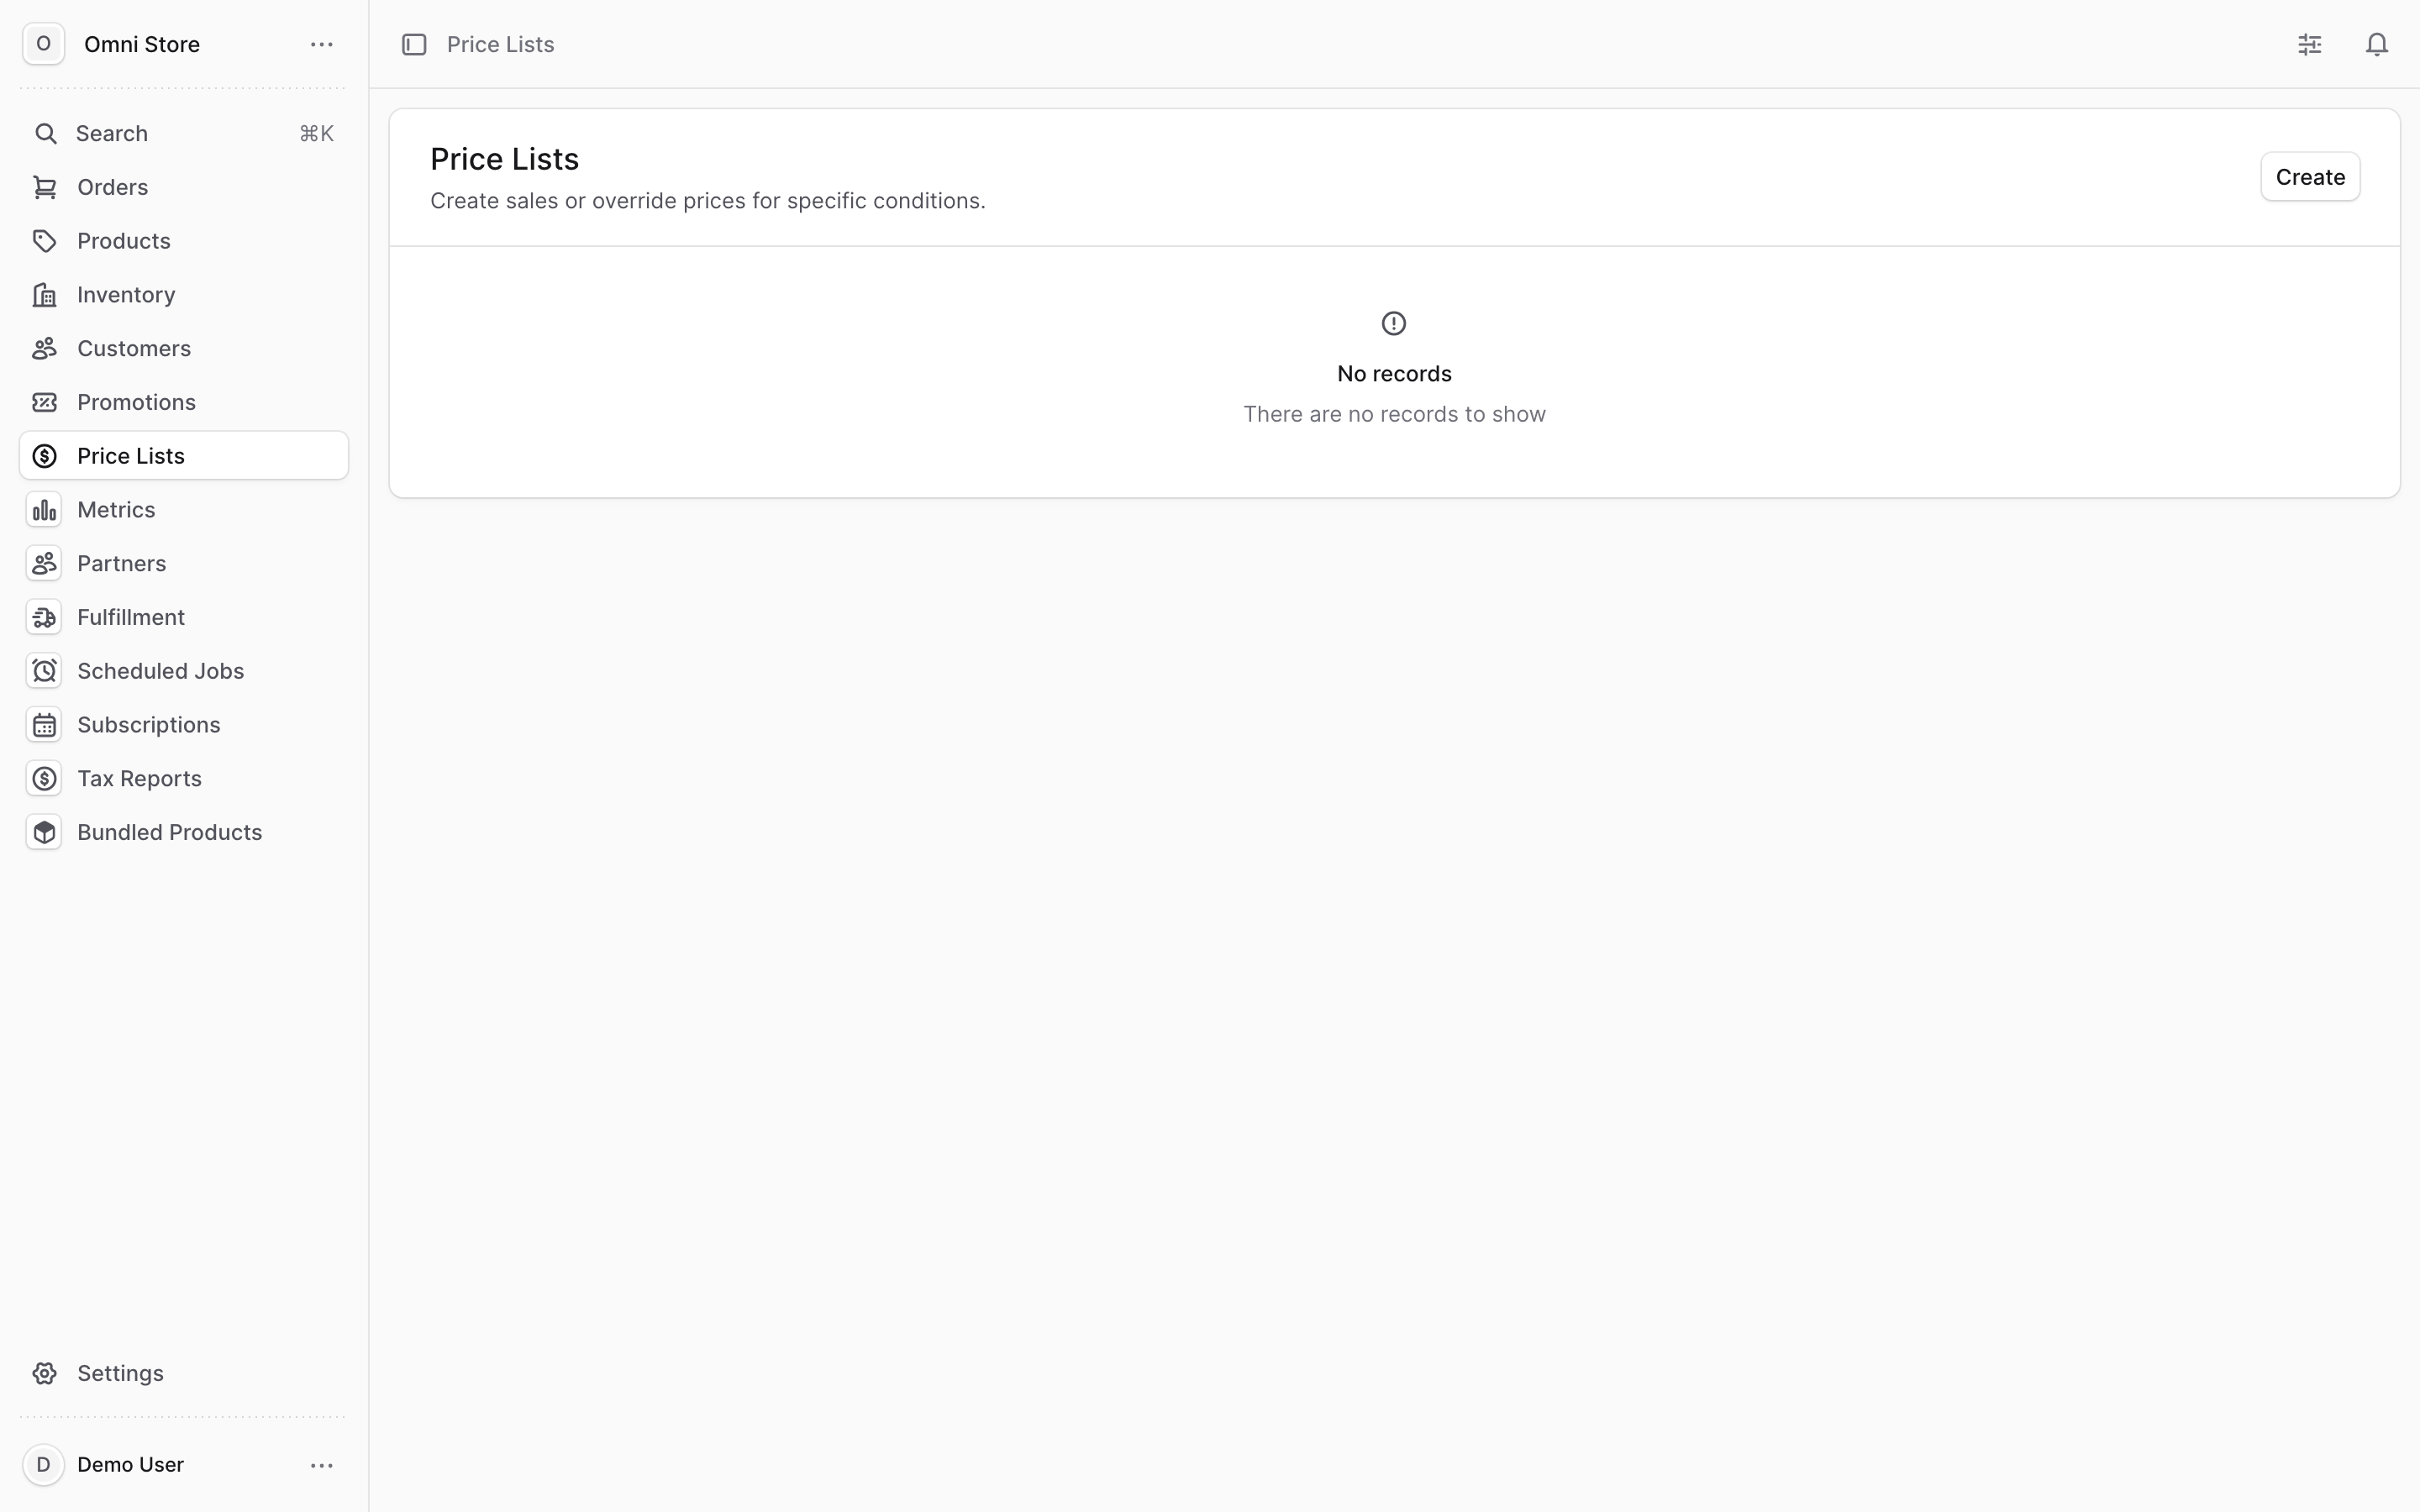
Click the Create button in the top-right corner to open the new price list form. The form walks you through three steps: Details, then Products, then Prices.
2. Fill in the details and choose a type#
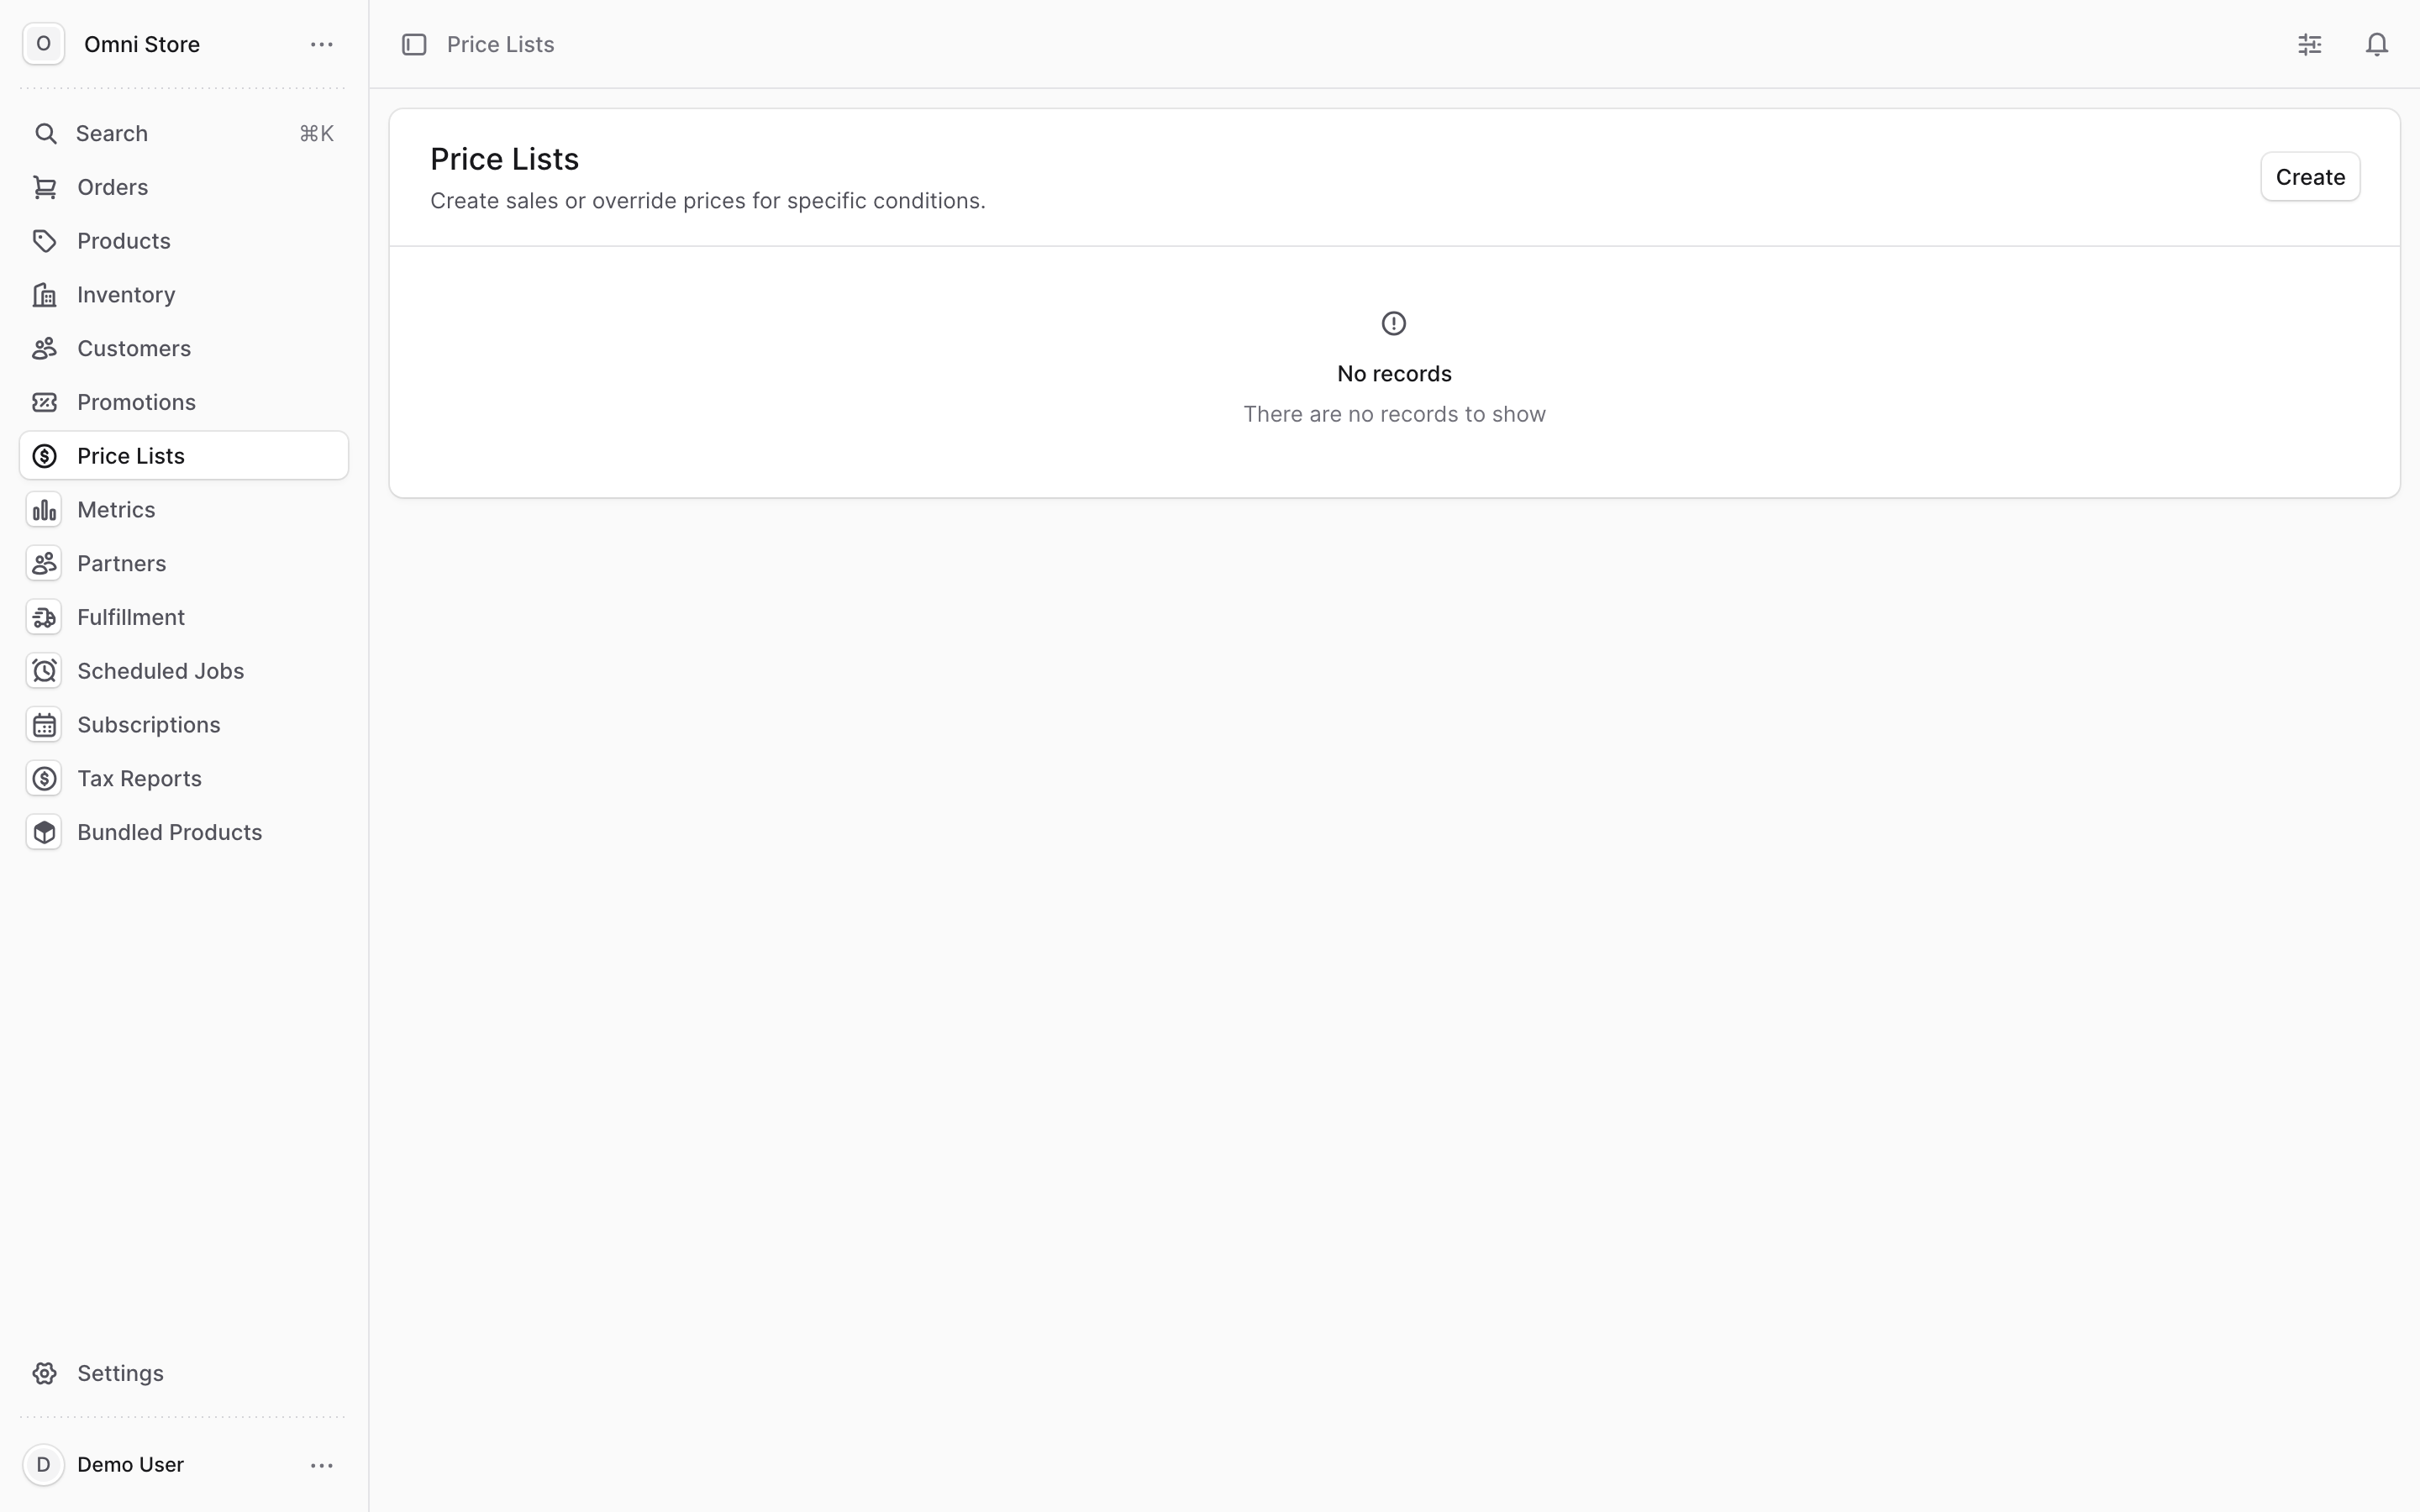
The first step is Details. Give the price list a clear Title (this is for your own reference — customers don't see it) and, optionally, a Description so your team knows what it's for.
Choose Sale or Override#
This is the most important choice on the page. There are two types:
| Type | Use it when | Example |
|---|---|---|
| Sale | You're running a temporary sale on some products. | A weekend 20%-off promotion. |
| Override | You're permanently replacing prices for a segment of customers. | Standing wholesale pricing for a B2B customer group. |
Tip: If the special pricing has an end date, it's almost always a Sale. If it's an ongoing arrangement for a group of customers with no planned end, it's an Override.
Set the status#
- Active — the price list goes live (immediately, or from the start date you set below).
- Draft — the price list is saved but stays inactive until you're ready. Use this while you're still building it.
3. Set the sale period (start and end dates)#
Still on the Details step, you can limit when the price list is in effect.
- Turn on Price list has a start date to set when the special pricing begins.
- Turn on Price list has an expiry date to set when it ends and your regular prices return.
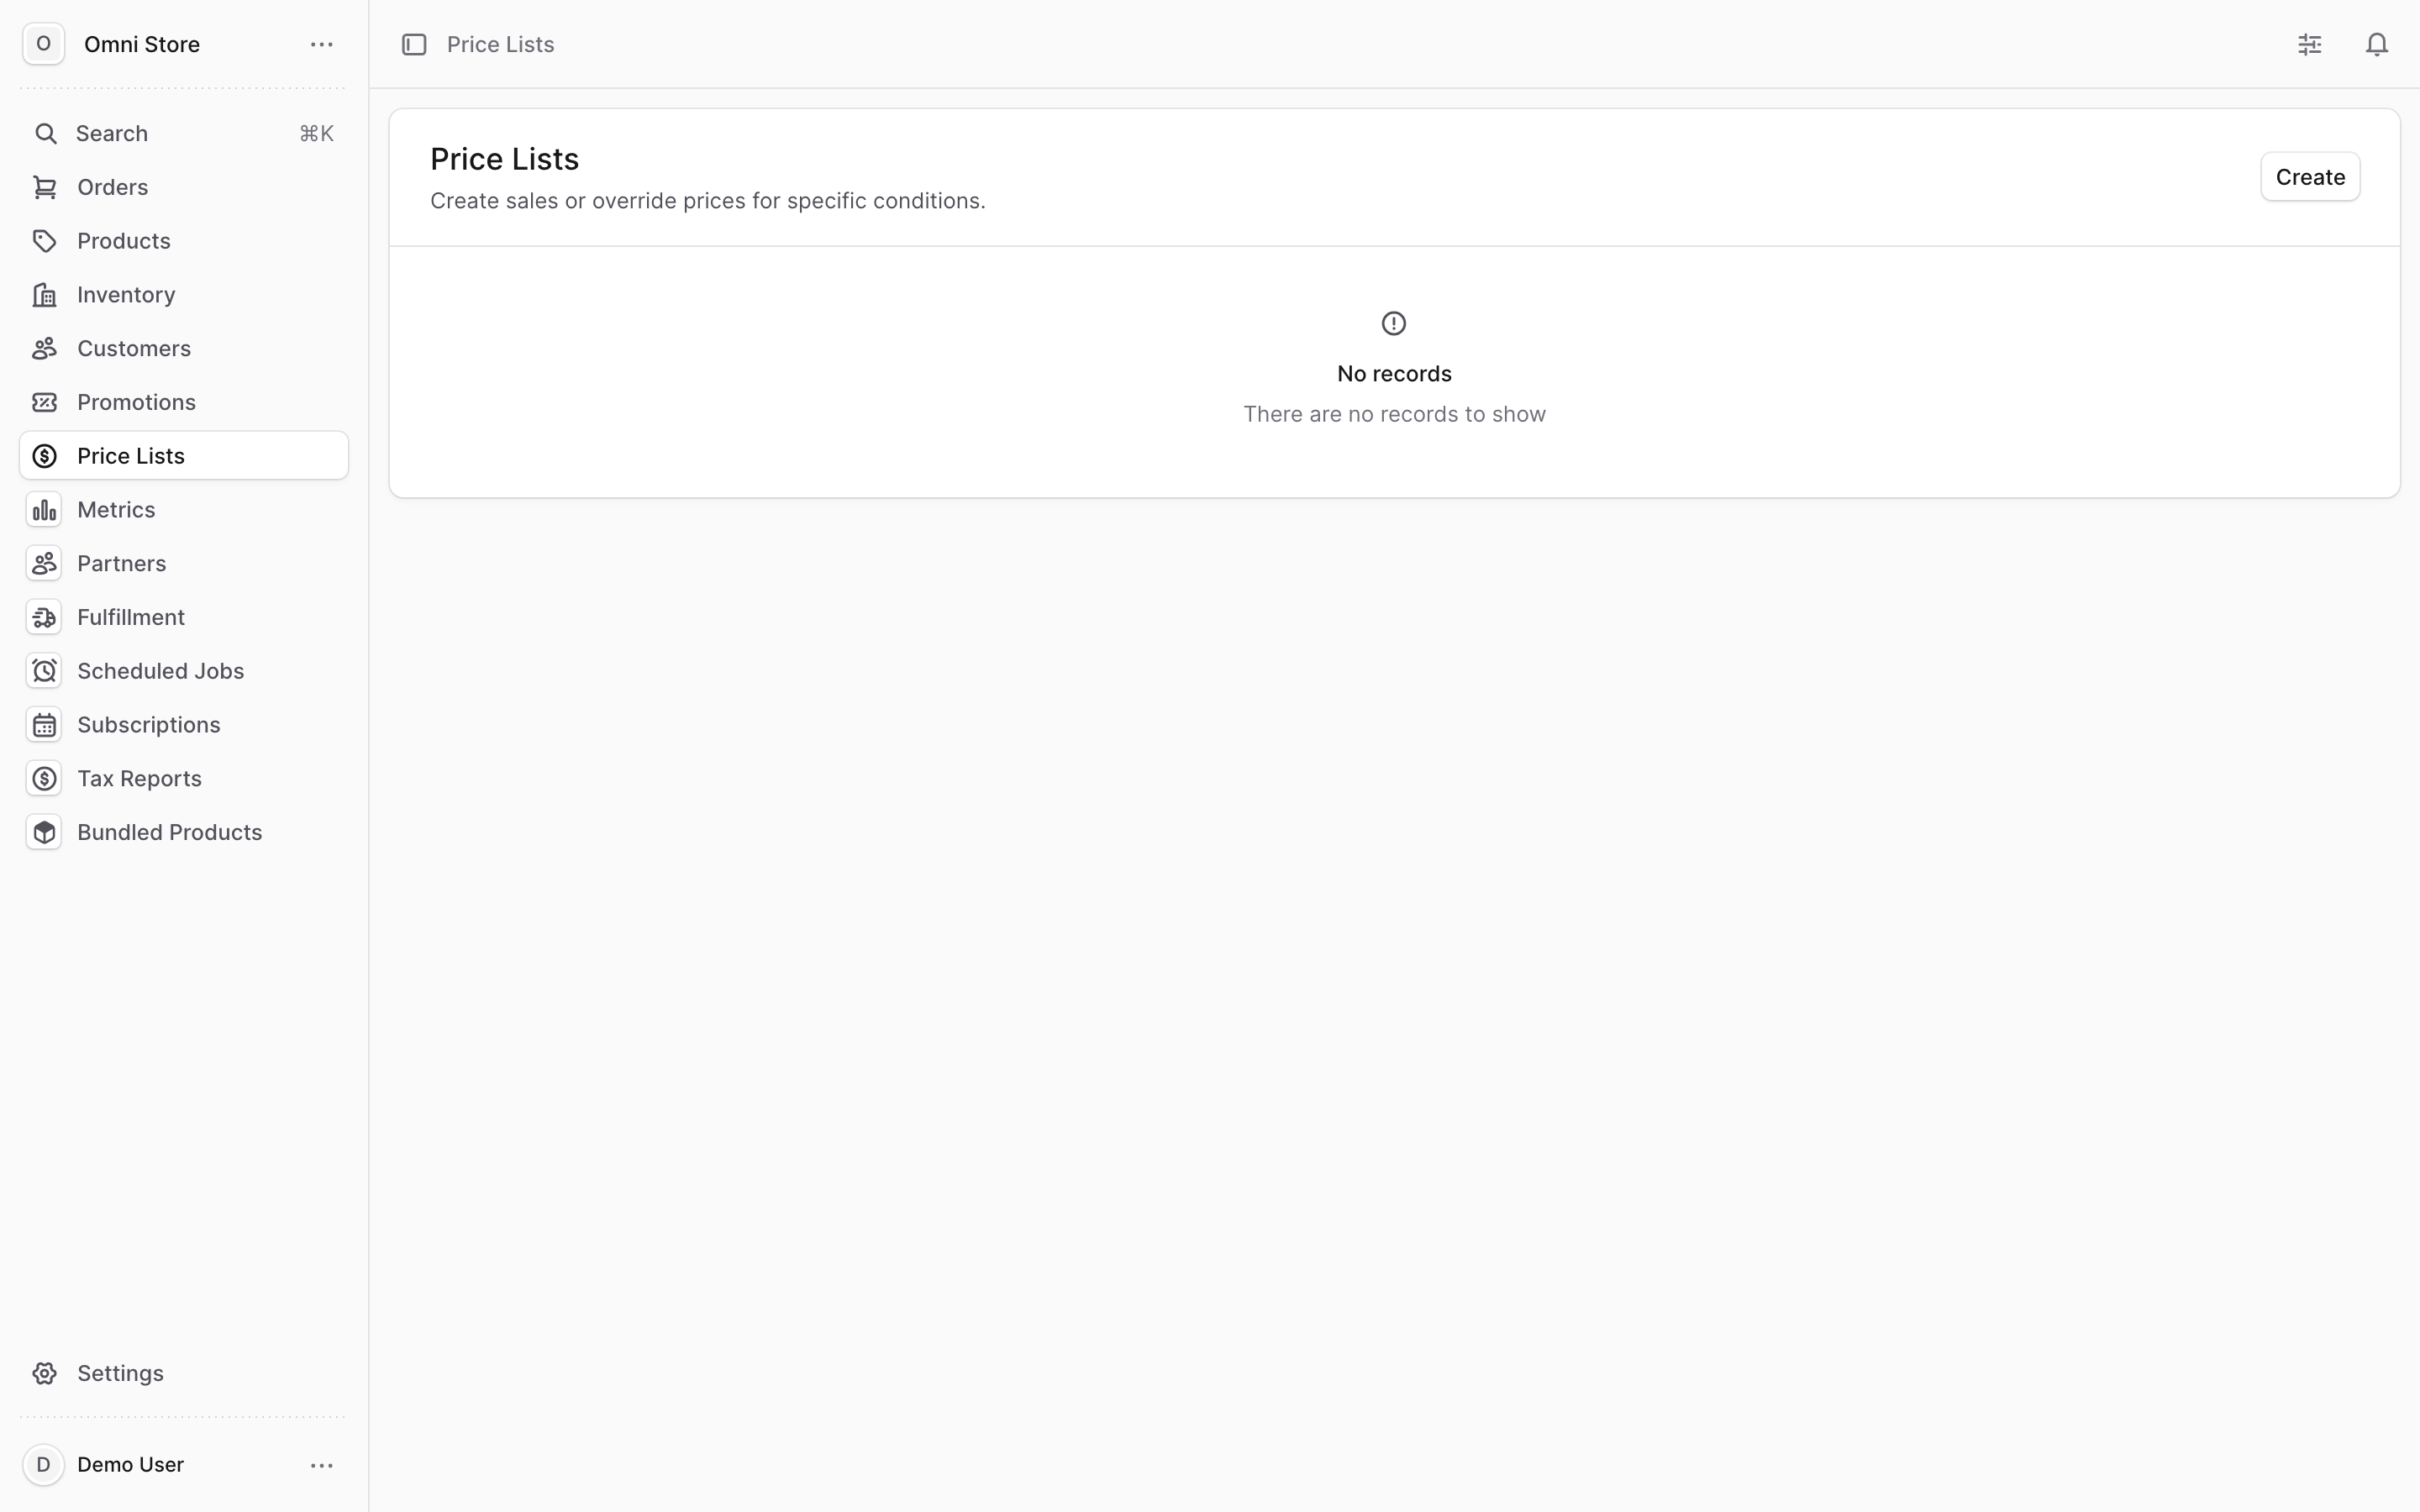
Both are optional. Leave them off and an Active price list applies right away and stays on until you turn it off.
Tip: If you set the status to Active but the start date is in the future, the price list shows a Scheduled status. It won't affect prices until that date arrives — this is the safe way to line up a sale in advance.
4. Choose who it applies to (customer groups)#
By default a price list can apply to all customers. To limit it to specific segments, use the Customer availability area on the Details step.
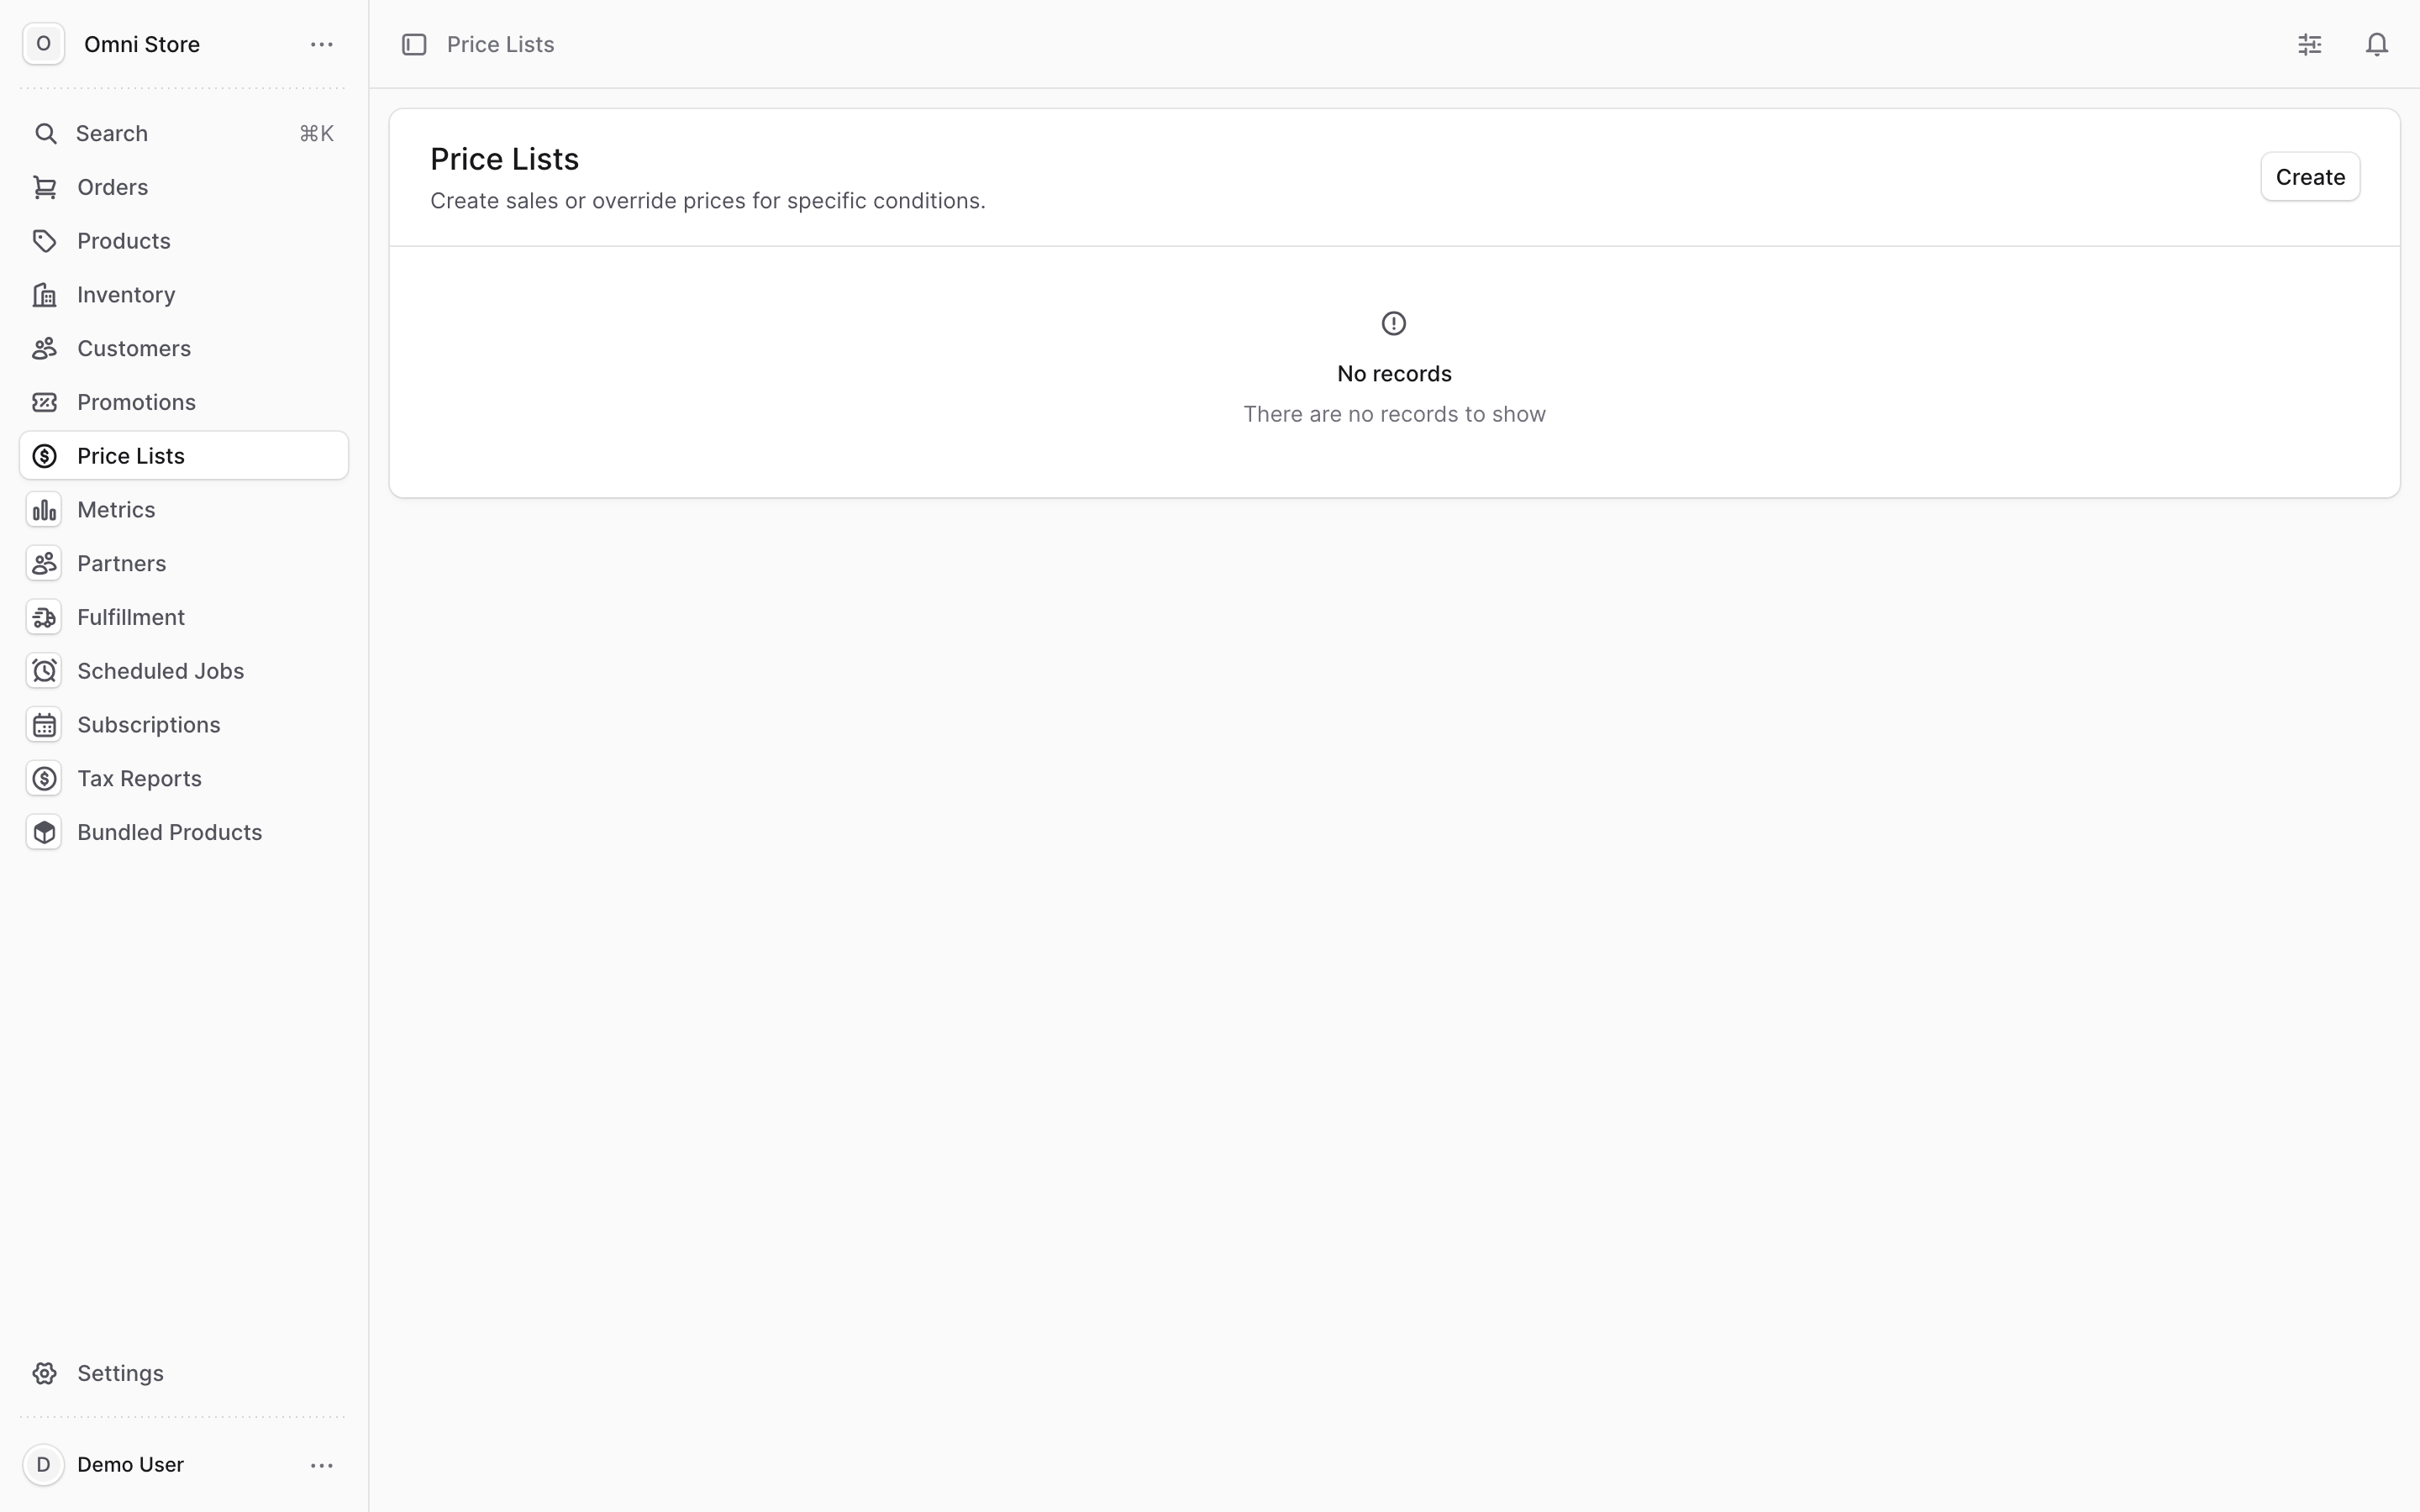
Click Browse, check the customer groups the price list should apply to, and click Save. When you select groups, the price list applies only to customers in those groups — everyone else sees your regular prices.
Leave customer groups empty if the pricing should be available to all shoppers (common for a store-wide sale).
When the Details step is complete, click Continue.
5. Add the products#
On the Products step, check the box next to each product whose price you want this list to change. Use the search box, filters, and column sorting to find items quickly.
You can select as many products as you need. When you're done, click Continue.
6. Set the special prices#
The final step is Prices. Here you use the Bulk Editor — a grid where each product variant has a cell for every currency and region your store supports. Type the new price into each cell you want to change.
- Enter every price as a decimal: type
49.99for $49.99, never4999or cents. - You only need to fill in the variants and currencies you want to change. Anything you leave blank keeps its regular price.
Optional: quantity-based (tiered) pricing#
If you want a lower price when customers buy more, you can add price tiers:
- Click a currency/region cell, then click the expand icon to open the pricing form.
- Click Add Price to create a tier.
- For each tier, enter the price, a minimum quantity, and a maximum quantity.
- Click Save.
When the grid looks right, click Save to create the price list.
Caution: If this price list is Active with no future start date, it goes live on your storefront the moment you save. Double-check the prices — a decimal typed as cents (for example
4999instead of49.99) would put the wrong price in front of customers immediately. When in doubt, save it as a Draft first and review before activating.
7. Edit or update a price list later#
Open any price list from the Price Lists page to see its details.
- Change the title, type, status, or description: click the three-dots icon in the header and choose Edit, adjust the fields in the side panel, and click Save.
- Change the dates or customer groups: click the three-dots icon in the Configuration section and choose Edit.
- Add more products: in the Products section, click the three-dots icon and choose Add products, then set their prices in the Bulk Editor.
- Change existing prices: in the Products section, click the three-dots icon and choose Edit prices.
Remove products from a price list#
In the Products section, check the products you want to remove, then click Delete at the bottom of the list and confirm in the pop-up. The products keep their regular catalog prices — only their entry in this price list is removed.
8. Delete a price list#
If you no longer need a price list at all, you can delete it.
Caution: Deleting a price list is permanent and cannot be undone. To be safe, if you only want to stop the special pricing temporarily, set the status to Draft instead of deleting — that keeps all the products and prices for later.
To delete: click the three-dots icon in the header, choose Delete, type the price list's title into the confirmation box to confirm, and click Delete.
Quick reference#
| Task | Where to find it |
|---|---|
| Start a new price list | Price Lists → Create (top-right) |
| Temporary sale | Choose type Sale |
| Permanent pricing for a customer segment | Choose type Override |
| Go live now | Status Active, no start date |
| Line up a sale in advance | Status Active + a future start date → shows Scheduled |
| Limit who gets it | Details → Customer availability → Browse → pick groups → Save |
| Set the sale window | Details → turn on start date and/or expiry date |
| Add products | Products step (or Products section → Add products) |
| Set prices | Prices step → Bulk Editor (enter decimals: 49.99, never 4999) |
| Buy-more-save-more | Bulk Editor → expand a cell → Add Price tiers |
| Pause a sale | Set status to Draft (keeps everything) |
| Remove it for good | Header three-dots → Delete → type the title to confirm (permanent) |
- Prices are decimals: always
49.99, never4999or cents. - Regular prices are safe: a price list overrides them only for the products, customers, and dates you set, and reverts automatically when it ends.
- For editing regular catalog prices, see Products & Inventory.